Posts Tagged ‘Sunday School’

Drawing the Days of Creation

Wednesday, January 15th, 2014

drawing-the-days-of-creation

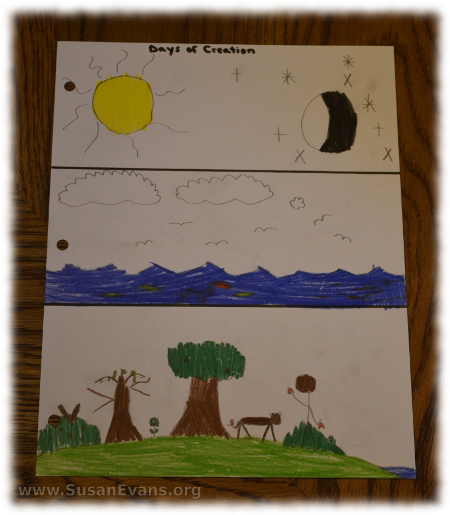
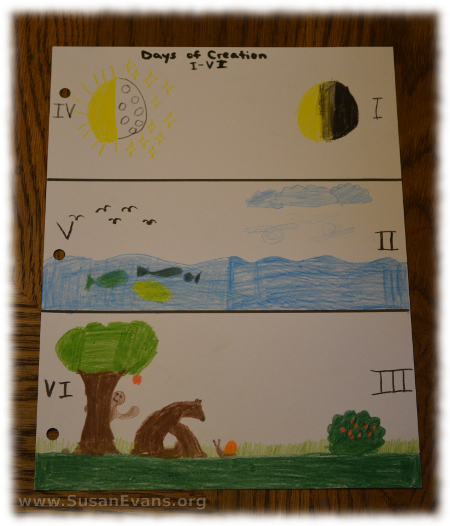
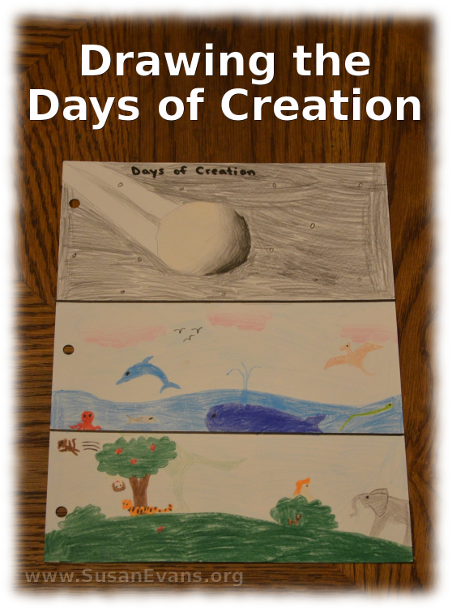
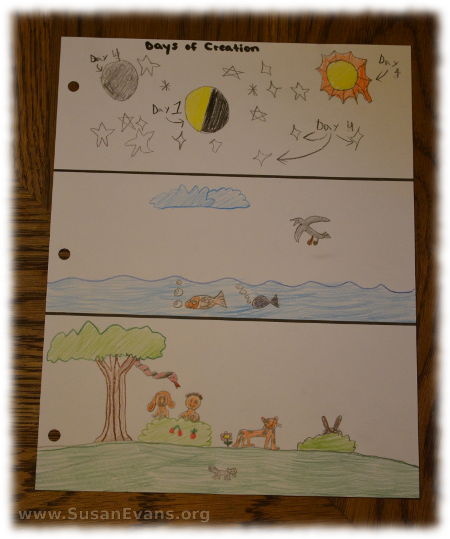
I came across a fabulous tutorial from Answers in Genesis on drawing the days of creation. First you divide the paper into thirds, separating the three sections with a black permanent marker. Next we read the days of creation from Genesis 1. For each day, we drew what was created:

  • Day 1: Light and darkness
  • Day 2: Separating the waters from the clouds
  • Day 3: Plants and trees
  • Day 4: Sun, moon, and stars
  • Day 5: Birds and fish
  • Day 6: Animals and people
  • Day 7: God rested

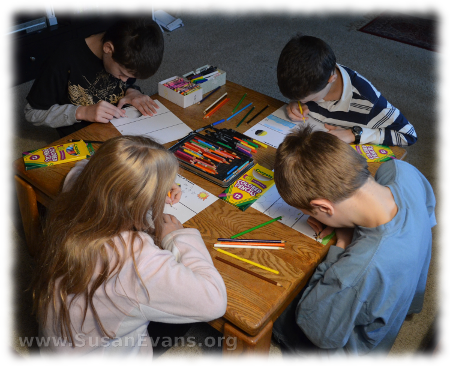
Days 1 and 4 are drawn on the top part of the page, days 2 and 5 are drawn in the middle of the page, and days 3 and 6 are drawn on the bottom of the page. I was delighted to see how organized creation was, because days 1, 2, and 3 go from the top to the bottom of the page, creating a habitat for what was created in days 4, 5, and 6. I had never seen this done before, and my kids enjoyed drawing the days of creation this way.

drawing-the-days-of-creation-4drawing-the-days-of-creation-3drawing-the-days-of-creation-2drawing-the-days-of-creation-5

Sign up below for a free Bible crafts e-book!

For more awesome activities to teach your children the Bible, pick up Using Simple Costumes and Props to Teach the Bible. Or you can get this workshop for free when you join the Vault, which has a huge hands-on Bible section!
New Jerusalem Model

Thursday, October 31st, 2013

New-Jerusalem-model

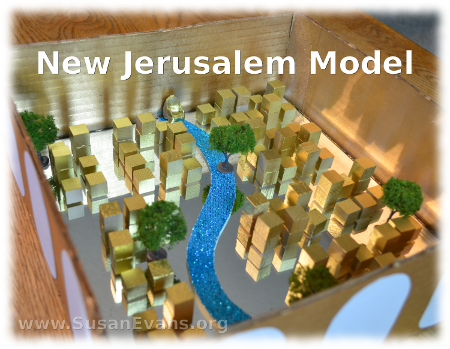
When you teach your children about heaven, why not build a beautiful New Jerusalem model? Read the book of Revelation, chapters 21 and 22. (These are great chapters to read to believers who are about to die. I’ve seen these words help them to endure the passing over from death to life.)

The first item you will need is a square mirror. You can buy it at a craft supply store. This will be your base. Cut corrugated cardboard for the 4 walls, and spray paint them gold. (The walls are actually jasper, which can be a variety of colors, including a golden yellow.)

You can buy scrapbooking paper that shimmers like a pearl. Cut 12 gates out of this white pearl paper. (You can also use regular white paper.) There are 3 doors on each side of the city, and since each door is a pearl, they need to be slightly rounded at the edges.

For the throne, you can form a chair out of white self-hardening clay. Let it dry overnight. Then spray paint it gold.

For the city buildings, I used small wooden blocks from a craft store. I used wood glue to connect two blocks together for the taller buildings. I spray painted those gold.

For the river, I cut shimmering blue scrapbooking paper in a wavy line, the width of the throne. I lay that on top of the mirror. The streets of the city are pure gold–transparent–which is why I used a mirror.

I bought toy railroad trees, which I interspersed around the city, with the most important tree coming out of the river. This is the Tree of Life, whose leaves bring healing to the nations.

The video tutorial for this New Jerusalem model will be in the Unit Study Treasure Vault, where I have a gigantic Bible section. God has given me limitless creative ideas for how to teach the Word of God to children, and He prompted me to start the Unit Study Treasure Vault for homeschoolers. But anybody can join. It contains thousands of hands-on learning activities, and I add new exclusive videos every month!

Tree of Life Craft

Wednesday, October 30th, 2013

tree-of-life-craft

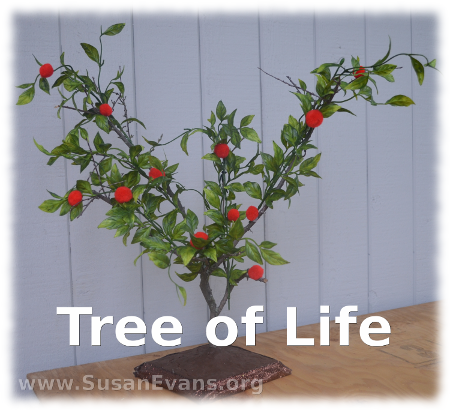
If you are teaching the book of Genesis or Revelation to your children, you can make a beautiful Tree of Life craft. The Tree of Life is mentioned in Genesis as having fruit that allowed a person to eat of it and live forever. This is why God placed angels guarding the way to the Garden of Eden, so that Adam and Eve would not have eternal death, since they had already chosen to eat from the Tree of Death, or the Tree of the Knowledge of Good and Evil (Genesis 3:22-24). Eating from the Tree of Life at that point would have caused eternal separation from God, not allowing them to be redeemed.

In Revelation, this tree appears again in the New Jerusalem, and its leaves bring healing to the nations (Revelation 22:2). This is truly a remarkable tree.

For this Tree of Life craft, you will need the following items:

  • wooden base
  • gnarly tree branch
  • brown clay
  • brown ribbon
  • silk leaves (from yard sales or craft store)
  • red pompoms

tree-of-life-craft-2

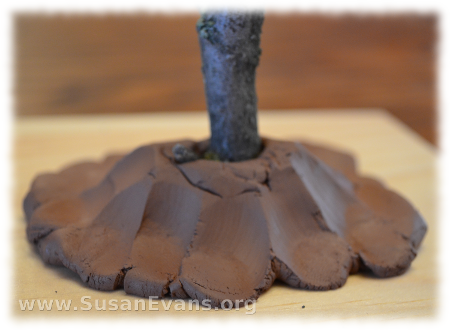
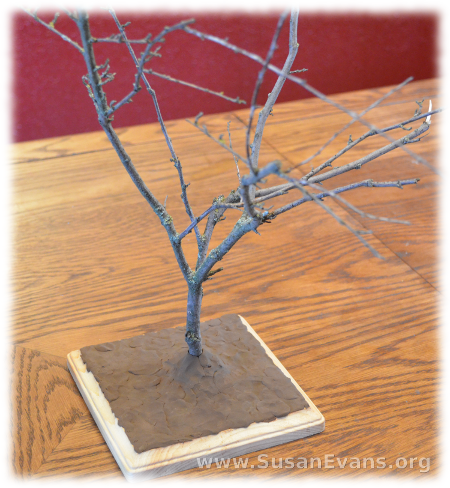
Attach the branch to the base with the clay. Use the clay to cover the entire base. I got this square base at Hobby Lobby for $2, but you can use any scrap of wood from your garage.

tree-of-life-craft-3

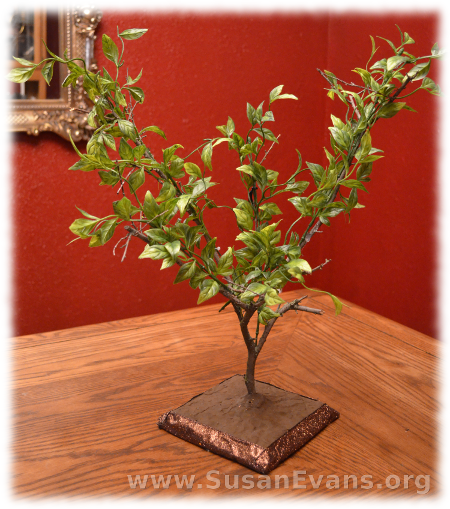
Hot glue brown ribbon around the base, to give the base a finished look. I used thick sparkly ribbon left over from a turkey candle we made last year for Thanksgiving. You could also paint it with gold paint instead, if you have that on hand.

tree-of-life-craft-4

Hot glue silk leaves all over the branches, bringing the tree to life. The leaves need to be green because it is the Tree of Life. It does not die during the winter. It’s not a conifer, though, because the “leaves” bring healing, not the “needles.”

Finally, you will want to hot glue some fruit to the tree. If you can find some apples just the right size, you could hang these on the tree. I couldn’t find any, so I used red pompoms. Your Tree of Life craft is now complete.

Sign up below for a free printable e-book of this Bible crafts series!

If you enjoyed making this Tree of Life craft, you will love Using Simple Costumes and Props to Teach the Bible. You receive this 2-hour video for free when you sign up for the Unit Study Treasure Vault, which has an enormous Bible section!

Sword of the Spirit Craft

Tuesday, October 29th, 2013

sword-of-the-spirit

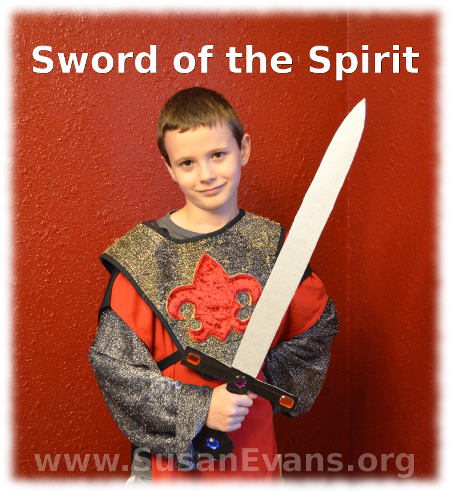
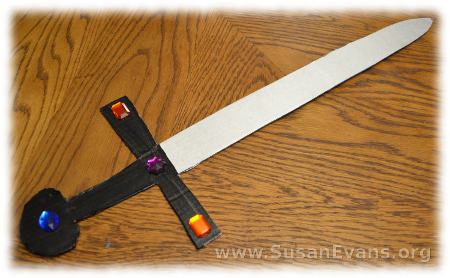
When you teach the Sword of the Spirit to your children, you can make a simple cardboard sword. All you need is cardboard, a razor blade (or knife), and silver spray paint. To make it more fancy, you can use black acrylic paint, fake jewels, and a hot glue gun.

sword-of-the-spirit-3

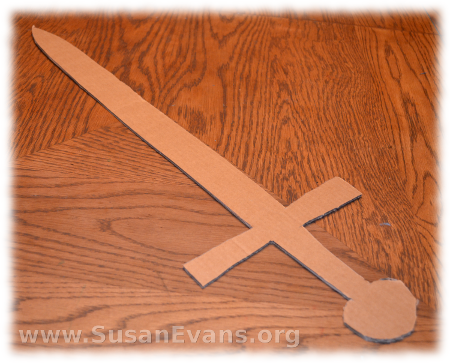
First cut a sword shape out of cardboard. I drew it with pencil first. You can use a ruler to get the sides of the sword straight.

sword-of-the-spirit-4

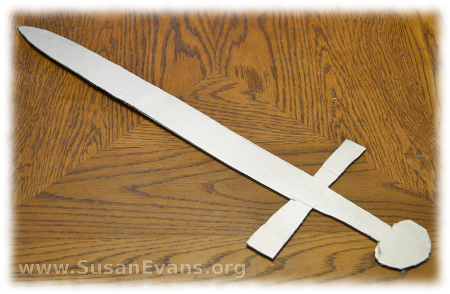
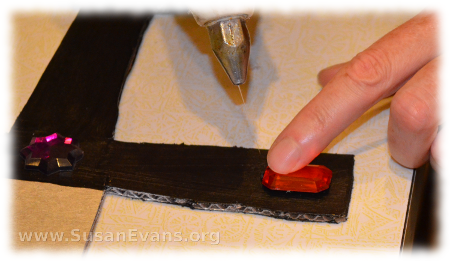
Spray paint the sword silver on one side. Let it dry a couple of hours. Then spray paint the other side. After drying a couple of hours, the kids can paint the hilt of the sword with black acrylic paint. Let dry before hot gluing fake jewels to it. (You can also use white school glue to attach the fake jewels.)

sword-of-the-spirit-5

Enjoy your finished Sword of the Spirit. Read about the armor of God in Ephesians 6: 10-17. The Sword of the Spirit is the Word of God, and it’s our only offensive weapon against sin in our lives.

For the word of God is quick and powerful, and sharper than any two-edged sword, piercing even to the dividing asunder of soul and spirit, and of the joints and marrow, and is a discerner of the thoughts and intents of the heart.” Hebrews 4:12 KJV

sword-of-the-spirit-6

Sign up below for a free printable e-book of this Bible crafts series!

If you enjoyed making this Sword of the Spirit, you will love Using Simple Costumes and Props to Teach the Bible. You receive this 2-hour video for free when you sign up for the Unit Study Treasure Vault, which has an enormous Bible section!