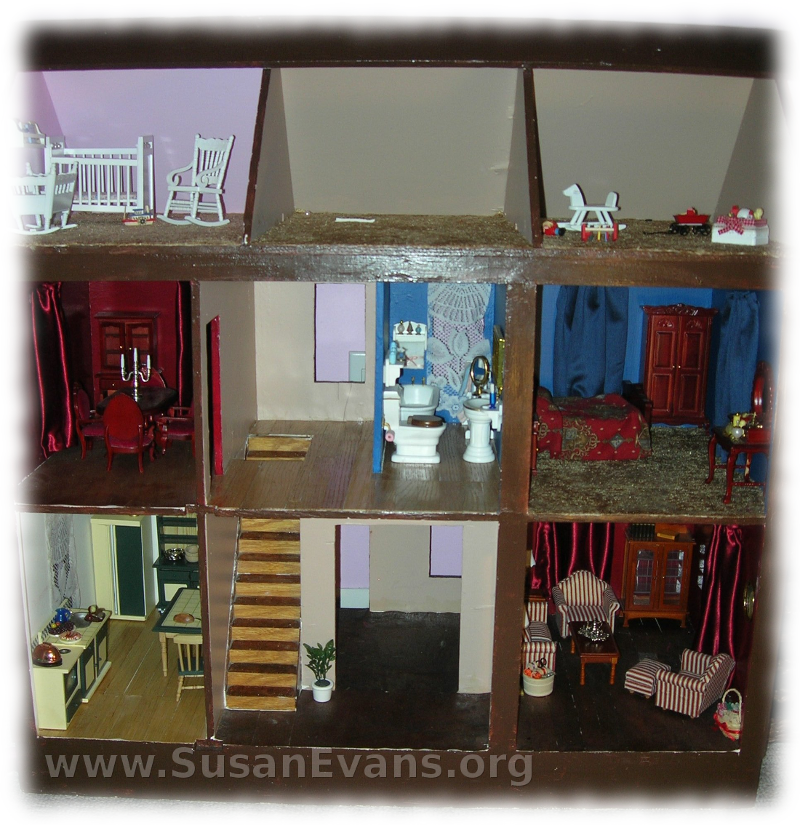
When I was pregnant with my third son, I saw an unfinished doll house at a yard sale. The owners kept going down in their price until they were willing to sell it for $7. I thought that if I ever had a daughter, I would kick myself for passing up this deal, so I bought it. I stored it under the stairs for five years until my daughter was 3 years old. I painted the whole thing an off-white, so that she could play with it right away.
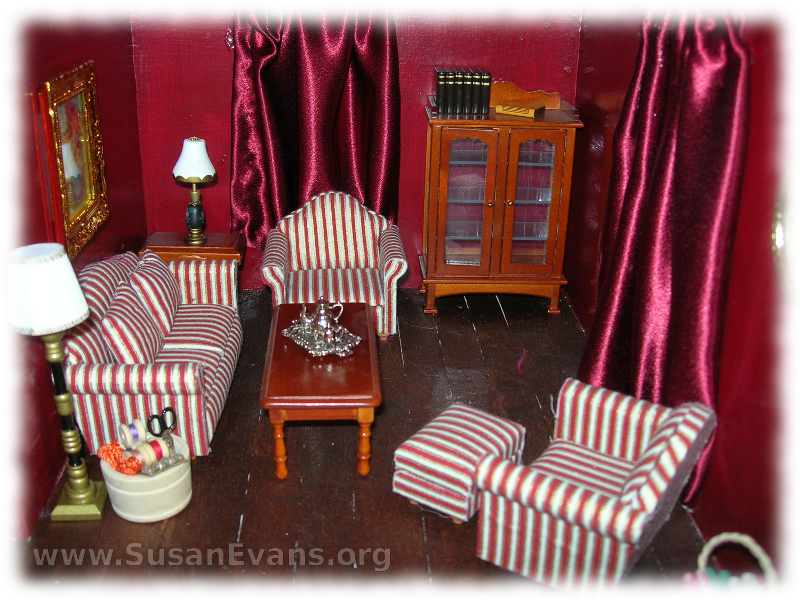
I looked for doll furniture, and my favorite set was Melissa and Doug, although I have to say that as cute as the furniture is, it breaks easily. For example, the refrigerator broke on the first day, and my husband looked at the tiny pin that had come out and said that it could have been constructed better. I love the furniture sets so much, though, that I give them a thumbs up and recommend them for older girls, maybe ages 6 and up.
I gave my daughter one furniture set for each birthday and Christmas, and my mother did the same. When I bought them, they were $20 per room for furniture, and $15 per room for accessories. The accessories are so super cute!! For example, the silverware and plates are real metal, and they are heavy based on their size. They are so well-made that I’m surprised that they are so inexpensive. Yes, oddly, the accessories are more solidly built than the furniture.
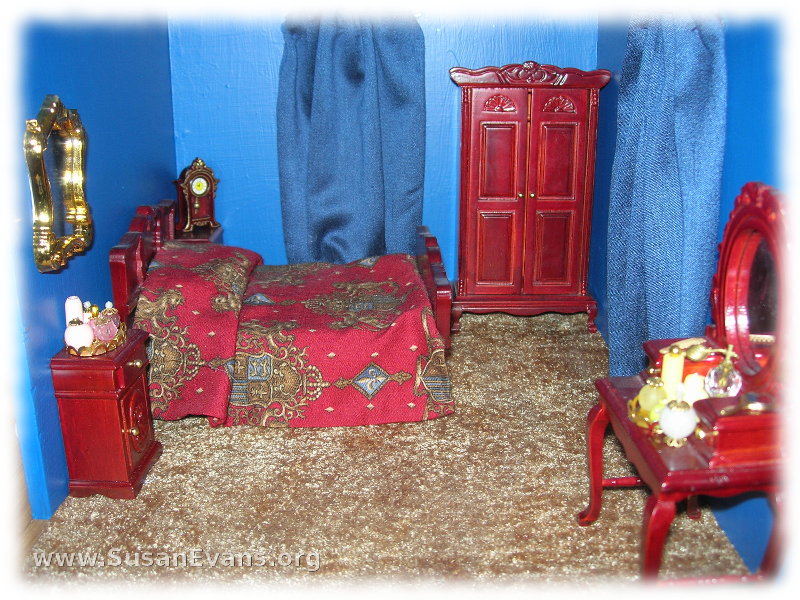
After waiting years to collect the furniture for the different rooms, I was ready to make the doll house look more realistic. I started by painting each room to color-coordinate with the furniture I already had. For those of you who like interior decorating, making these rooms look realistic was so fun! (Painting the red wall 4 times was tedious, though, since the paint looked streaked until the 4th coat.)
I chose fabric that looked good for the curtains. I ran thread through the top of the curtain to scrunch it up. Then I ran a line of hot glue above the window. I glued the curtain straight onto the wall above the window opening. It looked really good. I also made a bedspread for the bed that matched the wall and curtains.
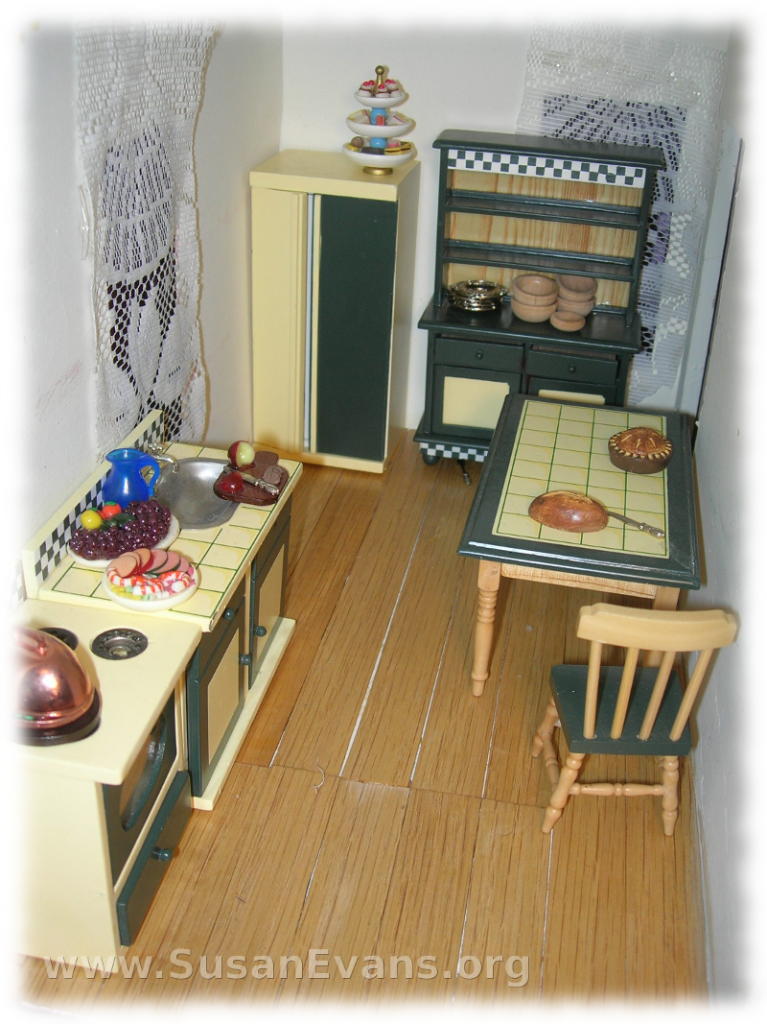
Oh, I forgot to mention the floors. I did those after painting the walls, before “hanging” the curtains. I asked an architect from my church if he had any leftover scraps that would make a good hardwood floor for a doll house. Sure enough, he did. I used wood glue to attach each plank to the floor. This was tedious, but I was listening to audios while doing the mindless work, so it wasn’t too bad. After gluing down the wood, I put heavy books on top of it overnight. After letting it dry, I used a clear polyurethane over all the floors to make them shine and seal the wood.
For the bedrooms, I made carpet by getting some cloth and gluing it down with wood glue. Gluing the “carpet” down was easy and fast compared to the wood floors. (Anyone can easily carpet an entire doll house, and it would look quite nice.)
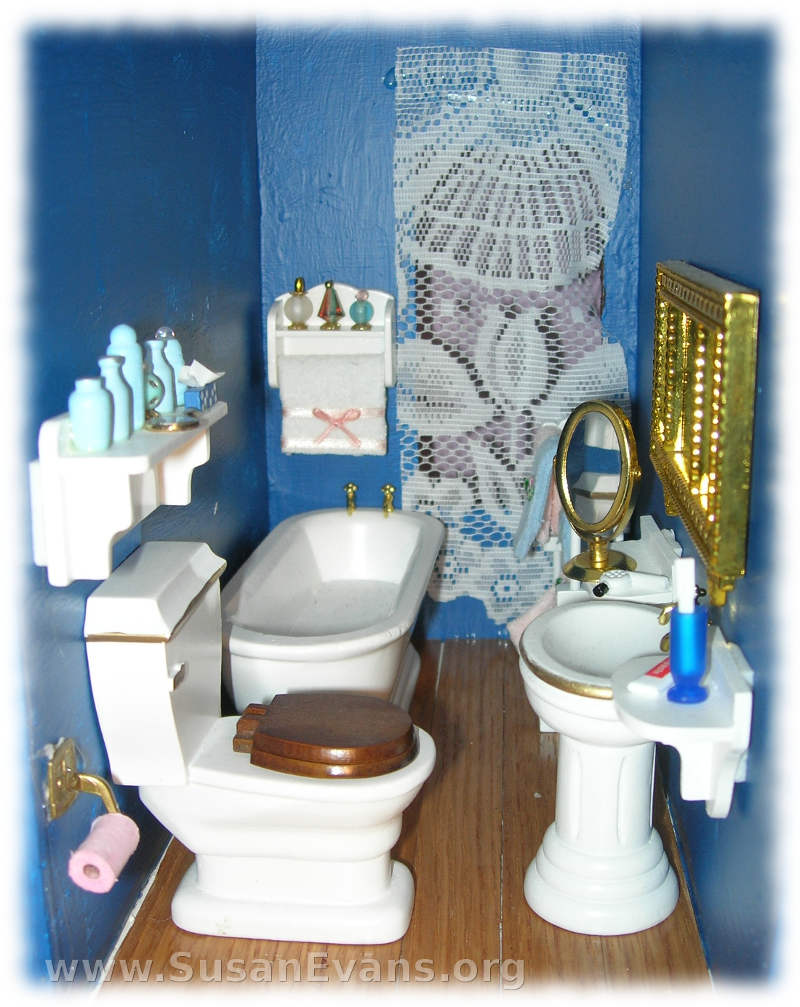
Growing up as a missionary kid, I never had a doll house as nice as this. I would have loved to have something this spectacular. I did eventually have a doll house that looked like a wagon wheel, but I had to make most of my accessories out of paper. What I like most about my daughter’s doll house is the fact that everything looks realistic, even down to the toilet paper roll!
