Posts Tagged ‘unit study’

Squid Dissection

Wednesday, February 2nd, 2011

squid-dissection

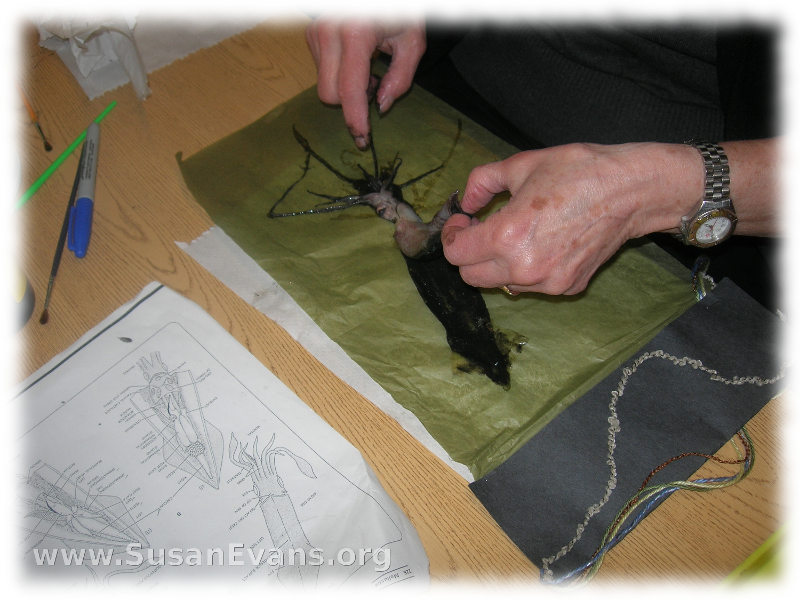
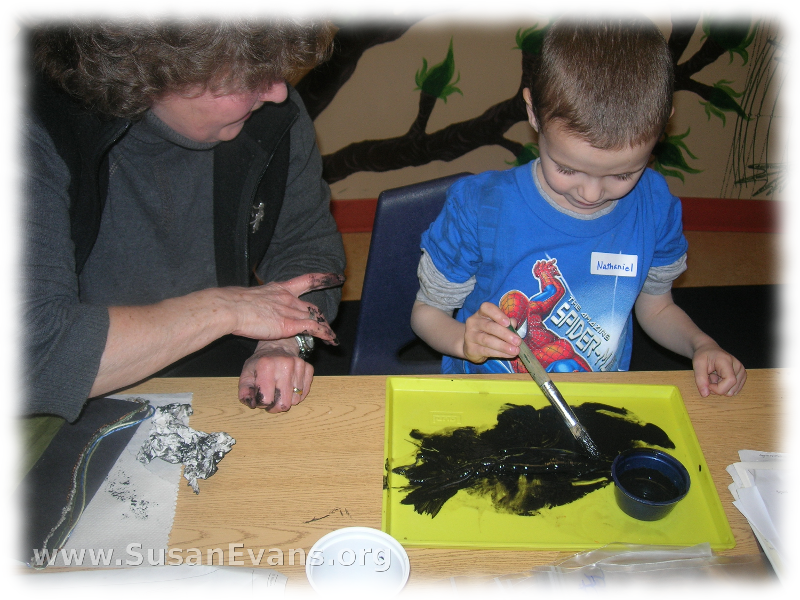
Back when we were studying underwater sea creatures, we attended a squid dissection class at the local Children’s Museum. One squid was provided for each child. The squid was painted with black ink on one tray, then it was used as a rubber stamp to make an artistic banner made out of tissue paper. It left the print of the squid, almost as if it was a fossil.

squid-artsquid-art-2

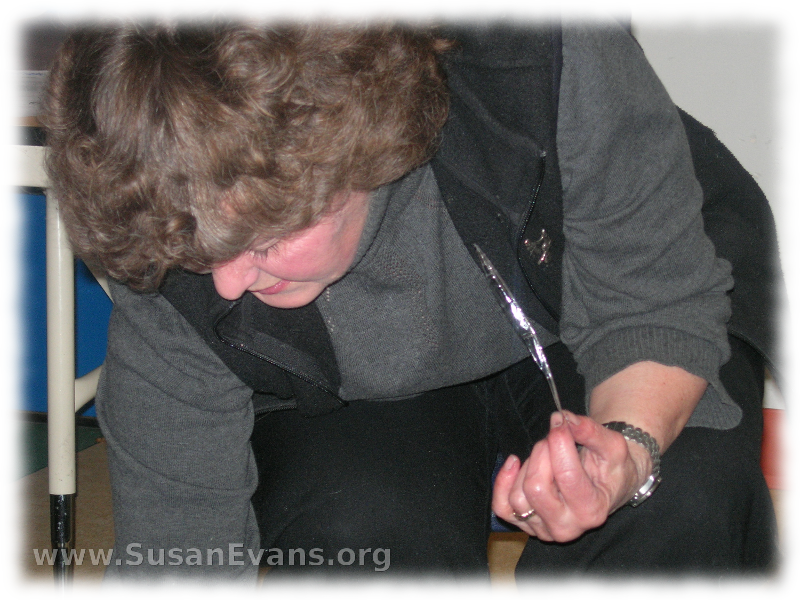
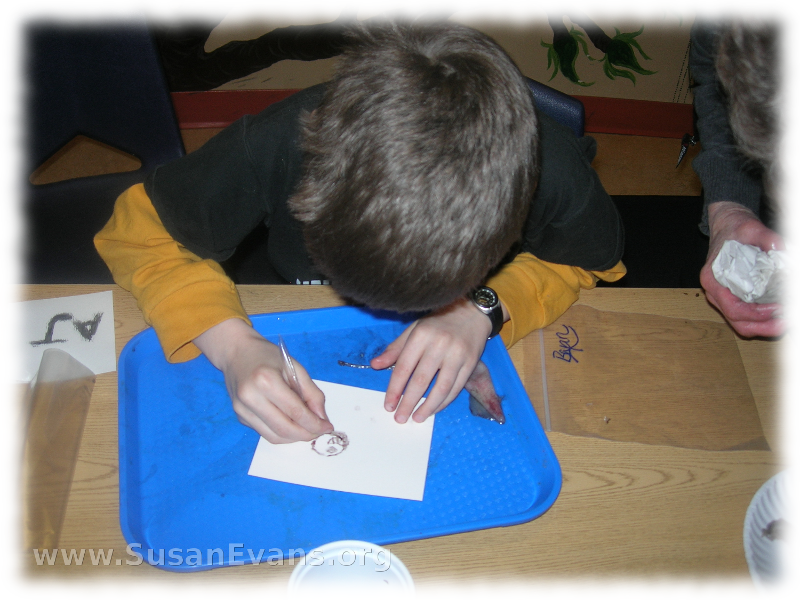
After washing off the paint, the squid was examined under a magnifying glass and dissected by the instructor. Inside the squid was a beak and a long bone. The instructor pulled it out with much dramatic flair, to the amazement of the children. The ink pouch was removed, and the squid ink was used to write words on a piece of paper, using the squid bone as a quill.

squid-beaksquid-ink-art

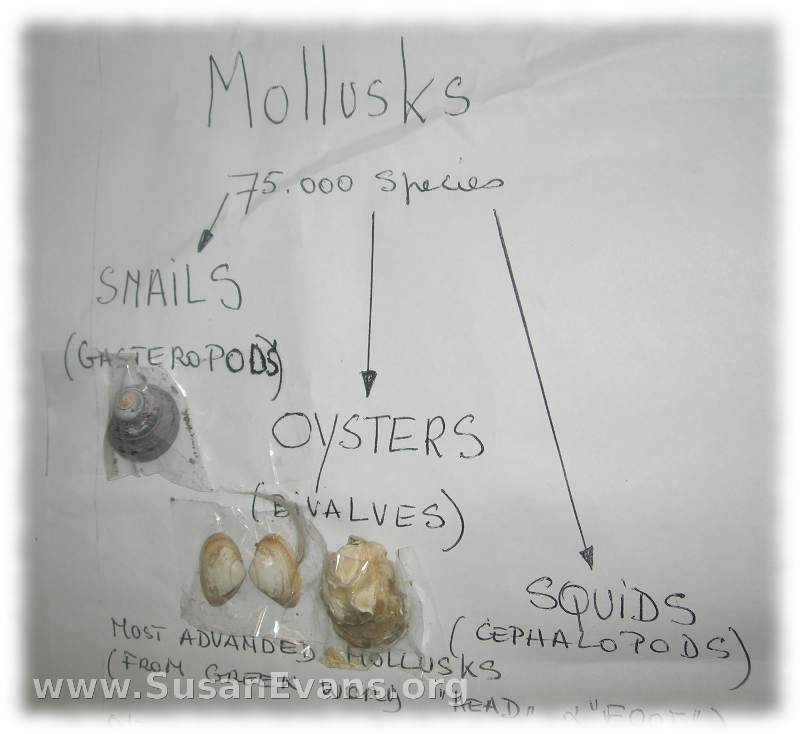
A chart was shown to the children, so that they could see how the squid was actually a mollusk, similar to snails and oysters.

mollusk-chart

Other hands-on activities took place, including grabbing objects with a velcro disc, to represent the suckers on the ends of the squid arms. When the class was over, my children had a greater knowledge of squid, and so did I!

Here is a squid dissection similar to the one we did, so that you can see the different parts of the squid:

Coral Farm

Tuesday, February 1st, 2011

coral-farm

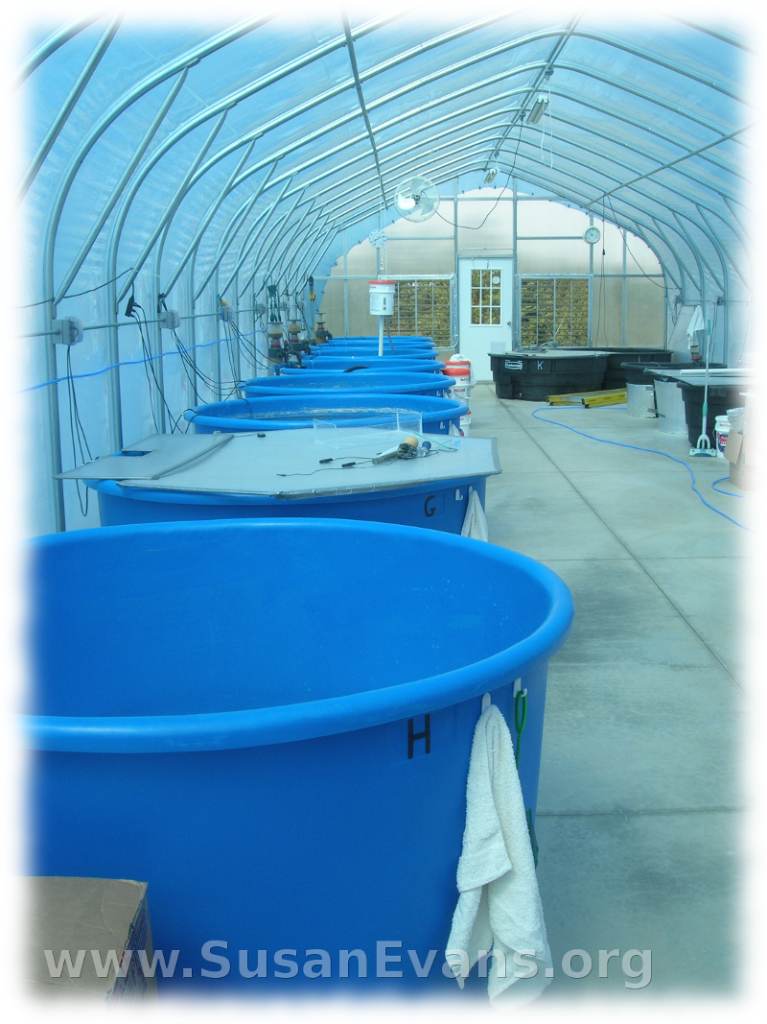
Several years ago we visited a coral farm. It was basically a big room that was like a greenhouse situated in the backyard of someone’s house that lived in the country. There were about six big blue tubs which were filled with salt water. Because it was cold outside, the entire room had to be heated.

coral-farm-2

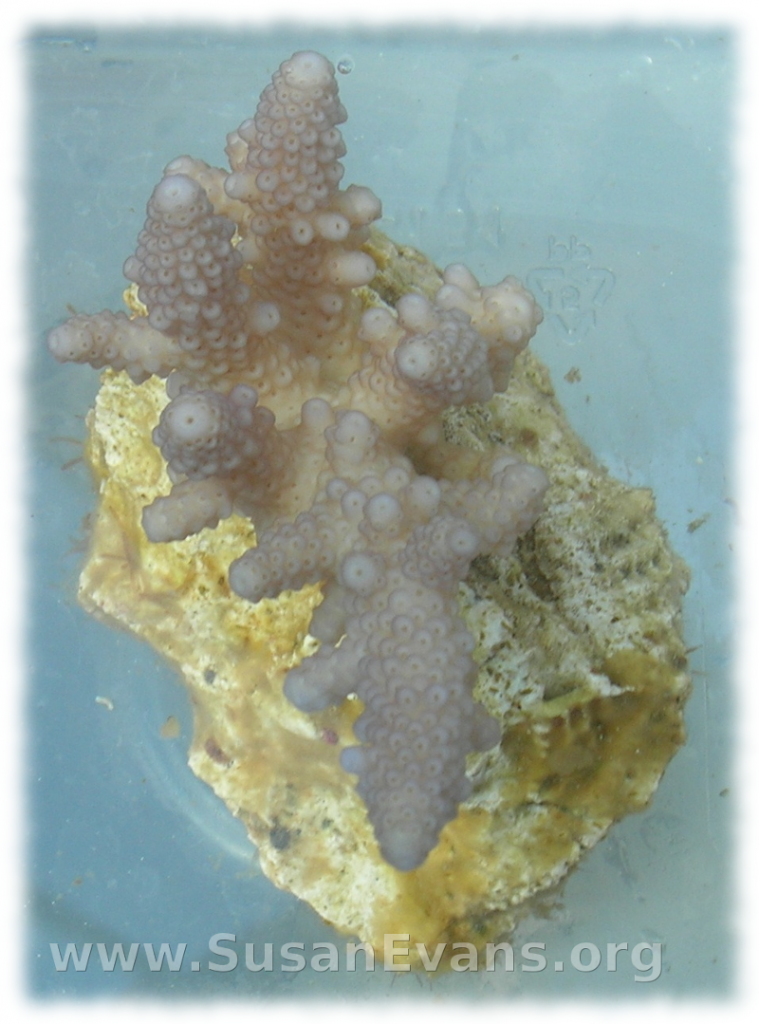
I can’t imagine that this man is making any money growing coral. He buys the coral very small. Then he grows the coral over time. He has gauges in the water to make sure the chemicals are correct as well as the temperature. Coral reefs only grow in the tropics, if you haven’t noticed.

coral

Anyway, I just felt sorry for the man, because he spent a ton of money setting this up, and he only had about 20 or 30 specimens in total. There was one coral that he let the children touch during our tour, and the children enjoyed that. Some of the coral was colorful, even though it was all pretty small. I don’t recommend going on this tour because it wasn’t very interesting, considering that I had to drive almost an hour to get there.


Tips for Success with a Toy Pottery Wheel

Wednesday, January 26th, 2011

toy-pottery-wheel

Here are some tips and a video for how to be successful when your children use a lousy toy pottery wheel (because all toy pottery wheels are lousy):

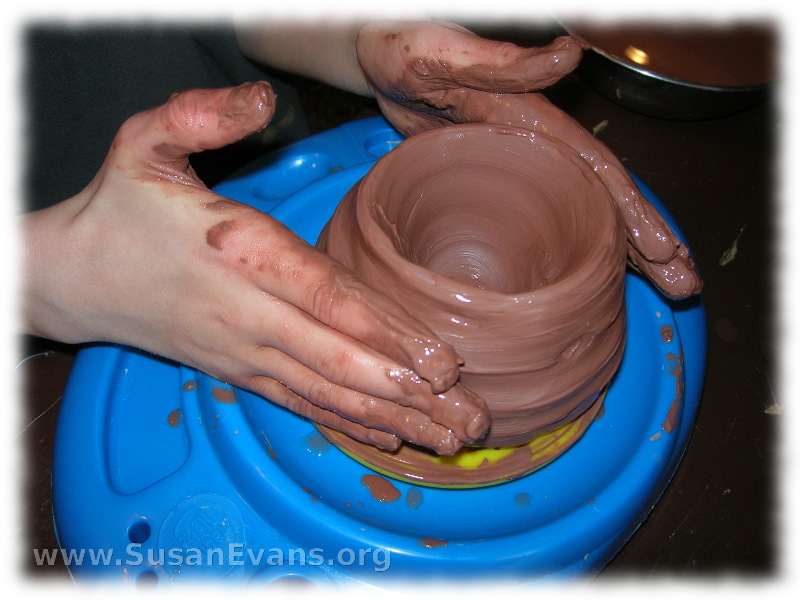
  • Start with a ball of clay the size of the pot you want. Place it on the toy pottery wheel. We used self-hardening clay because we had no money to get our pots fired professionally. (This is also why we were using a toy pottery wheel instead of a real one that was way out of our price range.)
  • Press the pedal to make the wheel go around. Don’t start crying because of the lack of power. I already told you it was lousy, so just make do.
  • Hold it firmly with wet hands so that you can shape it into a smooth blob. Feel it swooshing through your hands.
  • Stop the machine. Take your foot off the pedal. Push your fist into the blob, making a bowl.
  • Now press the pedal and make the spinner go around in circles again. Smooth it out with wet hands.
  • Keep your hands wet at all times.
  • It has to stay symmetrical, or it will start to fall apart. Keep it symmetrical and balanced all the way around. Smooth out the bumps.
  • When you’re finished with the pot, set it on wax paper to dry.
  • Wait at least overnight for the self-hardening clay to dry. Then use a black Sharpie marker to draw a pattern on it. Use black paint to fill it in. Let it dry.
  • Enjoy your finished pot. Give it to Grandma, who is the only one who will truly appreciate it.

My Experience Basket Weaving

Thursday, January 20th, 2011

my-experience-basket-weaving

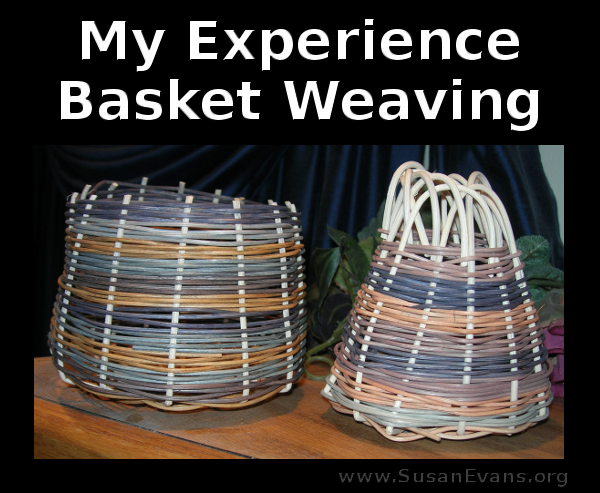
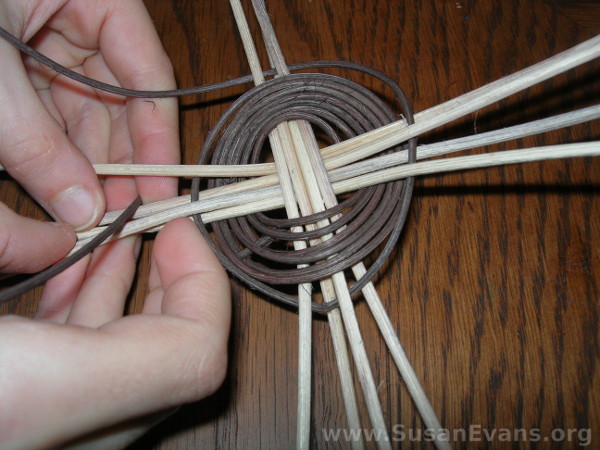
Weaving the sides of a basket is fun, easy, and beautiful, but let me tell you, the bottom is extremely frustrating. It’s a lot of work and comes out looking terrible, but at least it’s hidden by the beautiful sides. In this article I will explain our experience with basket weaving.

weaving-basket-bottom

I bought the basket-making kit at a Boy Scout store. (You can see the package in my YouTube video Ancient Egypt Unit Study. And if you look closely, you will see it in my Ancient Greece Unit Study, at the front middle of the floor. I was going to make it a standing joke to have the unmade basket during each time period, but I decided to just do it after all.) The kit gives you tiny directions that look so difficult that it took me three years to even decide to try. I was not looking forward to it.

weaving-basket

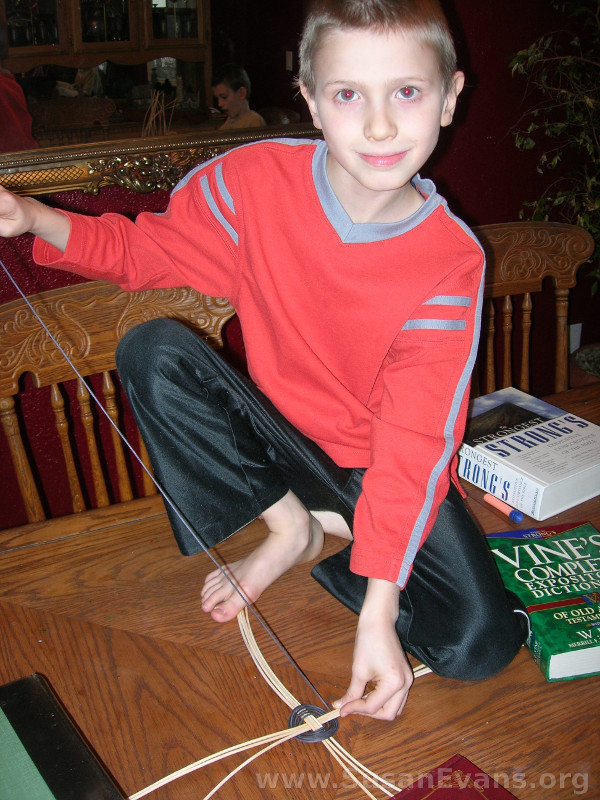
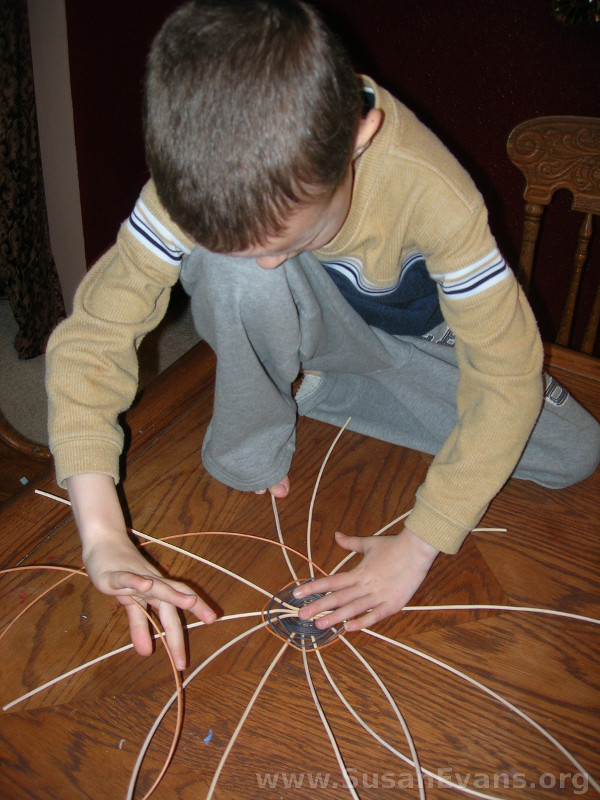
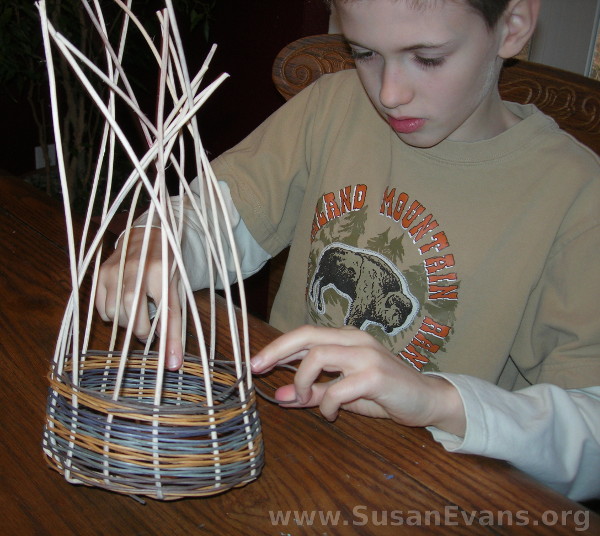
First you had to soak all the reeds in water to soften them up so that they wouldn’t be brittle. Then you have some reeds crossing each other like an X on the bottom. I weighed down the sides of the X with heavy books to keep them from moving. The thinner reeds get woven through in a spiral. I finally figured out that I needed to have my kid’s foot on top of the reeds that kept popping up on one side, and it went a lot better when we made the second basket.

weave-a-basket

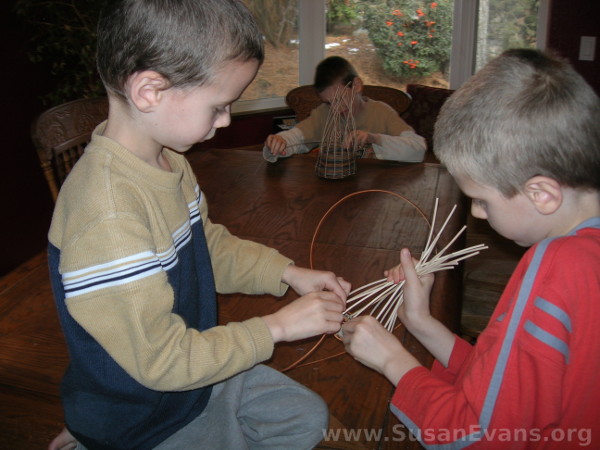
You have to keep the unused reeds in a wet towel to keep them from drying out. After finishing the bottom of the basket, you soak the reeds, bend them upwards, and tie them with a twist tie. You keep weaving the sides of the basket higher and higher, choosing different colors of reeds as you go. When you come to the top, you loop the big reeds over in a loop.

to-weave-a-basket

Well, for the first basket, we forgot to soak the top reeds, so they broke. It was so frustrating. I finally grabbed a large pair of scissors and clipped off all the reeds that were sticking up. In other words, the basket can easily unravel now, so don’t do this.

The other basket tapered inwards because we forgot to take the twist tie off earlier. Oh, well. At least the sides are looped and won’t come apart.

how-to-weave-a-basket

In summary, after initial frustration with the bottom of the baskets, we had a lot of fun weaving the sides of the baskets, so I would give the entire experience a thumbs up.