Archive for the ‘Fun Autumn Activities’ Category

Visiting a Farm

Monday, October 18th, 2010

visiting-a-farmVisiting a farm can help your children understand where food comes from. This was our experience at a farm.

But for some reason, many of the farms around here have transformed themselves into quasi-amusement parks. Jumpy castles, trains, and pedal cars take the place of the traditional farm tour. Why? Who knows? I guess they’re trying to make money.
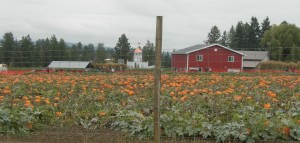
visiting-a-farm-2Yes, there was a big red barn at the farm we visited, and crops were growing. Farmers drove tractors, and supposedly there were some animals. It seems like every farm should have chickens and cows. The farm we went to last week had no animals that I could see, but there was a sign saying, “Don’t touch the animals.” I just shrugged to my kids.

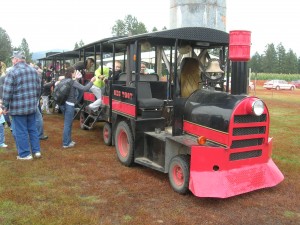
My kids ran throughvisiting-a-farm-3 a hedge maze to a castle at the center. They played on a pirate ship at the end of the maze. After that, we got on a small train, and we rode around a large pumpkin patch, with some sort of orchard on the other side. When we hopped off the train, the kids went running to a huge slide (jumpy-castle style). Do jumpy castles belong at farms? Do trains? It seems like a hay ride would have been more appropriate.
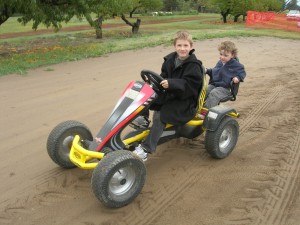
visiting-a-farm-4After the slide, the kids enjoyed pedaling a car that seated a driver and a passenger. The kids drove around a dirt track. When the ride was over, the kids couldn’t wait to pick a pumpkin. Unfortunately the word “pick” has several meanings, and we were required to choose among several small pumpkins that were already “picked.” All in all, it was an academically disappointing day, but the kids had fun. It seems like if you went to a normal farm, you might be able to learn how to milk a cow and other fabulous things like that. Maybe next time I’ll look at the description a little bit better!
Autumn Leaf Rubbings

Thursday, October 14th, 2010

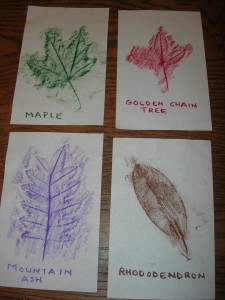
leaf-rubbingsThe best way to do leaf rubbings is to use oil pastel crayons. They are like creamy crayons, and the rubbings come out much nicer than ordinary crayons. I always cut the paper in half so the children can do one leaf per page, labeling each kind of leaf after doing the rubbing.

Always choose darker colors for the crayons; the lighter colors don’t provide enough contrast. Hold the crayon sideways, parallel to the paper. In other words, use the side of the crayon. Make sure to get good coverage so that you can see the veins of the leaf. Pay attention to the edges of the leaf, to make sure the shape of the leaf is clear.


black-leaf-rubbingYou can hole-punch the pages and make a book out of the leaf rubbings by adding a construction paper cover and binding it with yarn.

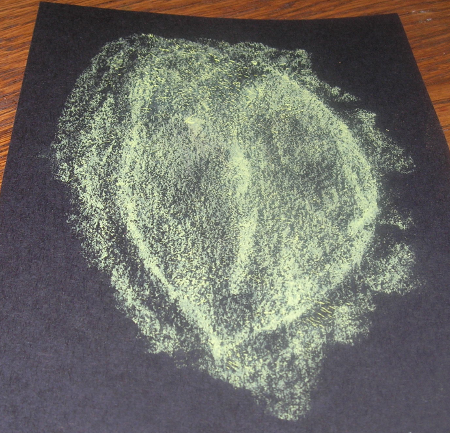
Another variation is to grab some black paper and do a leaf rubbing with a lighter-colored crayon. Yellow, light green, or light orange work well. The leaf rubbings come out looking gorgeous. And if you shine a black light on it, it will glow in the dark!

Vegetable Creatures

Thursday, October 7th, 2010

vegetable-creatures

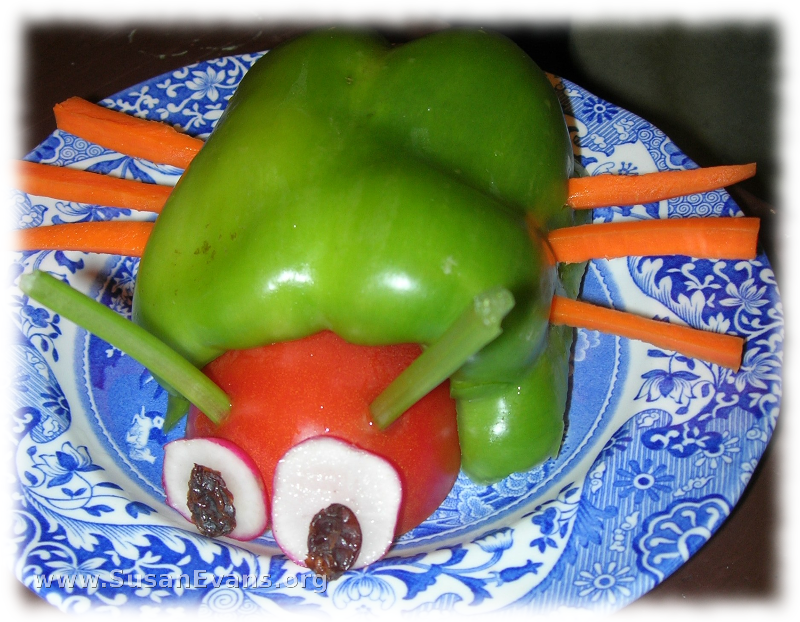
With the autumn comes the harvest, and lots of fresh vegetables are readily available for low prices. What can you do with a pile of vegetables, to make your kids want to eat them with gusto? I’ve seen lots of pictures of vegetable creatures and smiling children wanting to eat their vegetables with more enthusiasm. I decided to have my kids make insects, since that’s what we were studying. My older two sons made the main part of the body out of a half a bell pepper. They used a cut tomato for the head. Eyes were made from cut raisins on top of either radish or carrot slices. Antennae were made out of thin celery or carrots. Legs were made out of carrots. One of my sons made spots with cut (and therefore sticky) raisins.

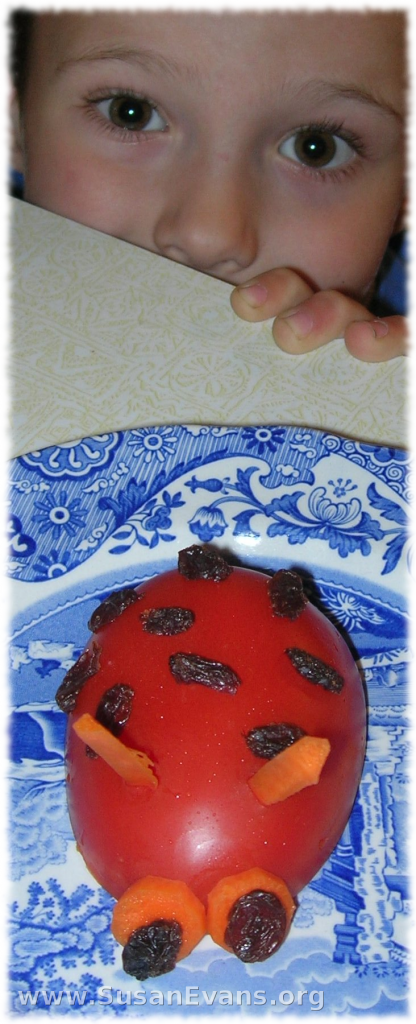
ladybug-tomatoMy third son wanted a ladybug, so he used half a tomato for the body, with raisin spots. Antennae and eyes were made out of carrots, with the eyeballs being raisins. My daughter made a caterpillar out of a cucumber, with lots of carrot feet poked in. I think I poked the holes with an ice pick. (An adult should obviously poke the holes, unless you have a teenager who is making a vegetable creature.) Raisins formed the eyes, with celery for the antennae.

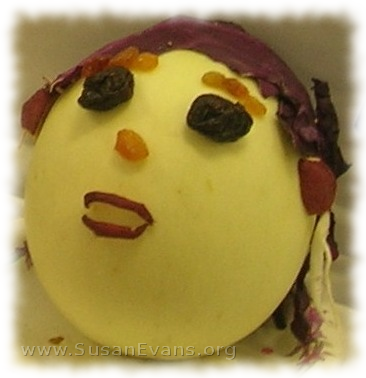
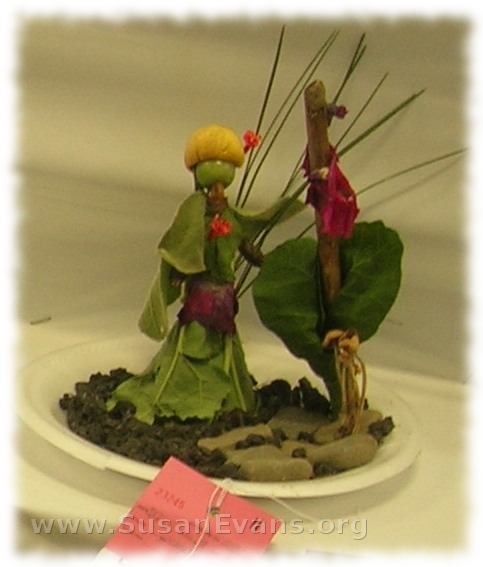
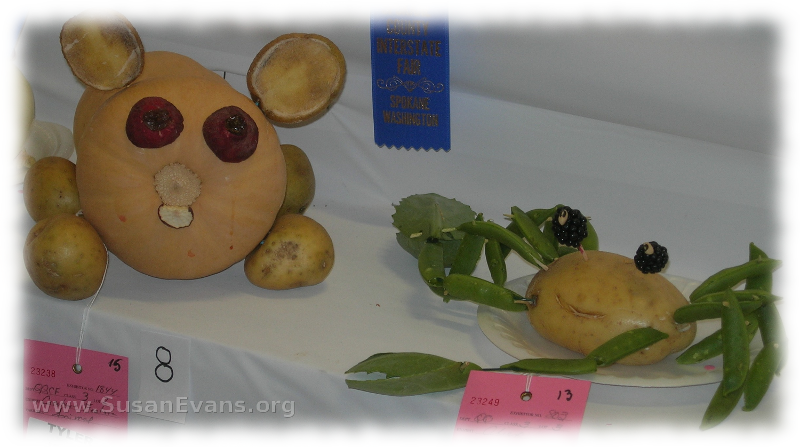
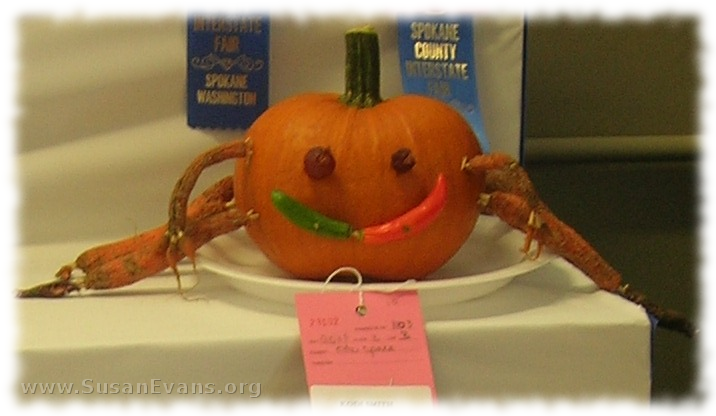
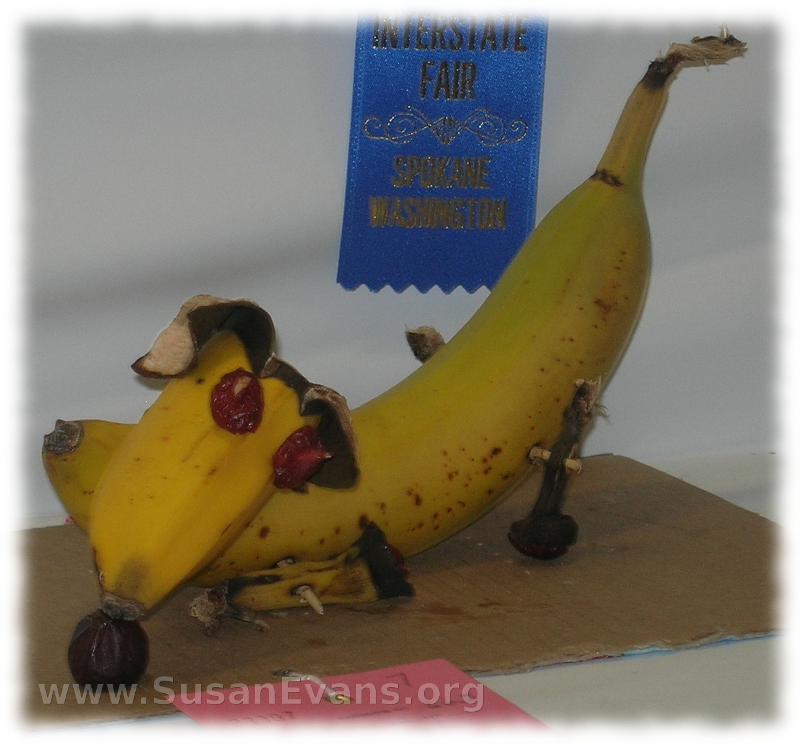
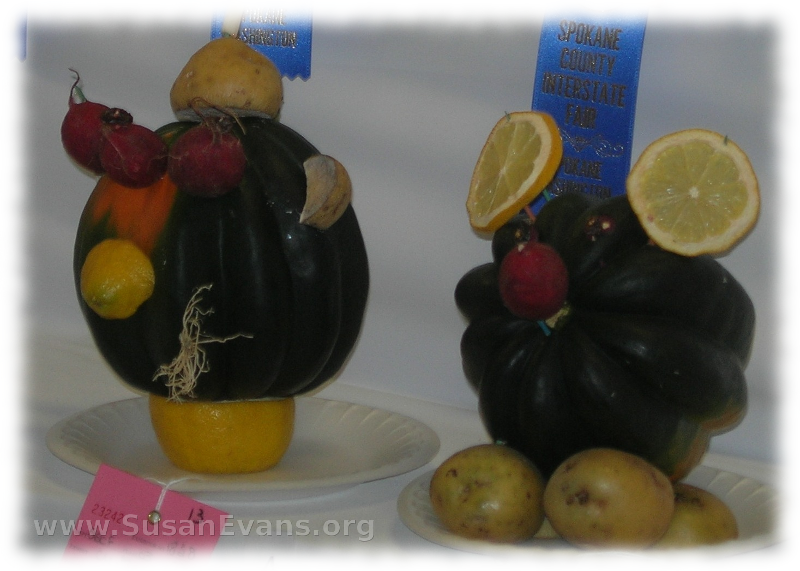
After going to the fair a couple of weeks ago, our family saw lots more vegetable creatures, and some fruit creatures, too. We saw a puppy made out of bananas, a spider made out of a coconut and a kiwi, a pumpkin creature with hot peppers for a smile and carrots for legs, and a melon head with a purple cabbage scarf and prune eyes. We saw squash creatures with lemon slice eyes, a radish nose, and potato feet. We also saw a potato crab with snow peas for legs and blackberries for eyes. Apparently you are allowed to use toothpicks to attach these creatures together when you are entering them at the fair. I even saw sticks and pine needles used, so the category must be to use things that grow out of the ground. An interesting scene displayed what looked like a woman next to a pole. Lots of cabbage was used, and many raisins dotted the ground. These fair entries sure looked like great fun to make!

melon-face

veggie-sculpture

potato-creaturepumpkin-facebanana-creaturesquash-creatures

Autumn Mobile

Wednesday, October 6th, 2010

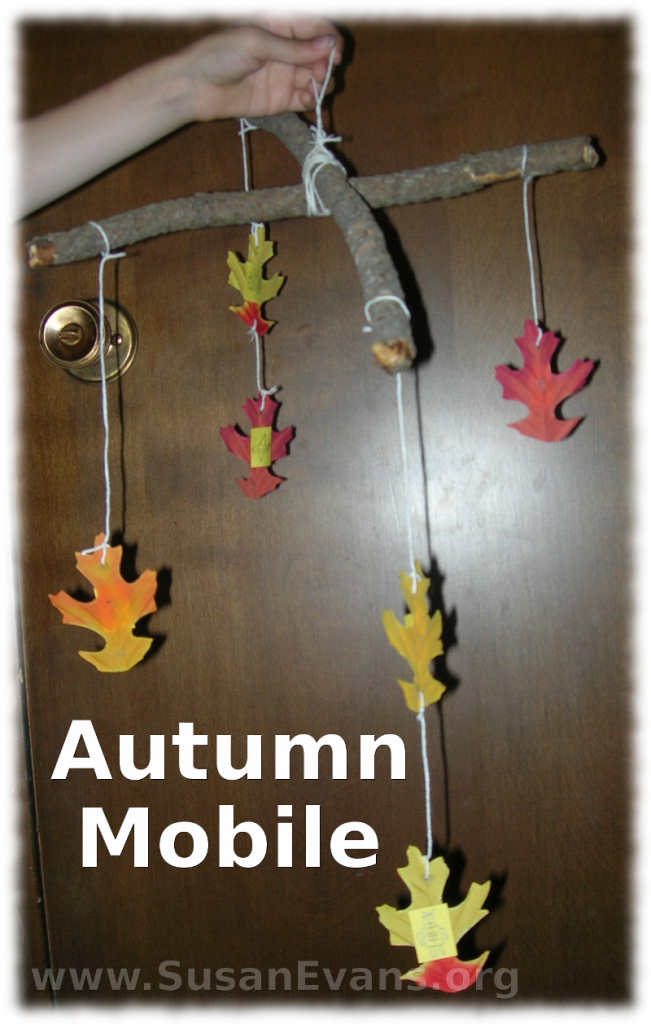
autumn-mobile

Most mobiles that I’ve seen have been lame. They look like pieces of trash as they hang somewhere, and I can’t wait to take them down and throw them away. So when my husband was in charge of a Tiger Cub Scout group, one of the activities in the book was to make an autumn mobile. I thought I would invent one that looked rustic, like you had just gone on a nature walk. Plus, the kids learned how to do lashings and to tie things together.

Start with two sticks that you find on a nature walk. Put the sticks into a perpendicular “X” shape, and lash the sticks together. (Basically, alternate winding the string around one, and then the other one, to firmly hold the two sticks in place.) Make a loop on the top to hang it up. Then poke a hole in some real autumn leaves that aren’t too dry, or use fake leaves like I did. I poked the hole with a nail, which I pounded with a hammer, but you have to have something underneath that you don’t mind getting holes in. Tie the string to the leaf, then tie it to the stick. You can also add any other nature stuff by poking holes and having the stuff hang wherever you want, as long as the mobile is balanced, weight-wise. Then you’re done.

For the Cub Scout book, the boys needed to draw something that represented each member in their family. So, for example, my son sketched a computer for Dad, a flower for Mom, a butterfly for his sister, an airplane for his younger brother, and a person drawing for his older brother. This way the mobile represented our family. The boy had to think about each member of his family, and what characteristics each person had, or what likes and dislikes. We stuck the pencil sketches (drawn on yellow paper to blend into the autumn leaves) to each leaf with some sticky tack, but you could use glue. It came out quite well, and I kept it up all autumn.