Archive for the ‘Fun Spring Activities’ Category

Gardening: Your Backyard Oasis

Friday, May 29th, 2020

gardening-your-backyard-oasis

How would you like to create a backyard oasis? Everyone needs more of nature, and gardening is calming for your body and mind. When you sit on your porch, what do you see? With a little effort and a few tips, I will show you how to improve your outdoor space.

Gardening: Your Backyard Oasis (video demonstration)

Make a beautiful haven where you can sit and pray or think about life, and get away from it all. I started filming this video near the end of April, and now it’s the end of May. So I show the progression of the backyard, awakening from the winter, and blooming into the spring and summer.

We also hung lights around the backyard deck for the first time, changing the atmosphere in the evenings to a festive experience, which I will show you by the end of the video.

Vegetable Garden Tips

The first tip for vegetable gardens is to have raised beds so that you can dump really good soil into them. When I first moved into this property 20 years ago, I didn’t know that the soil was not good for growing anything. Not only was it too sandy with rocks (look at the dirt that I’m sitting on in the video), but the 23 pine trees on our property make the soil acidic. Furthermore, most of my backyard is in shade because of the trees.

I love the fact that my backyard looks like the woods. But eventually I realized that the only way to improve my yard was to grow mostly shaded plants. Tip #2 for a vegetable garden, then, is to try to find a place where there is sun. We finally found a place (that used to be a dirt pile) to the right of our deck.

vegetable-garden

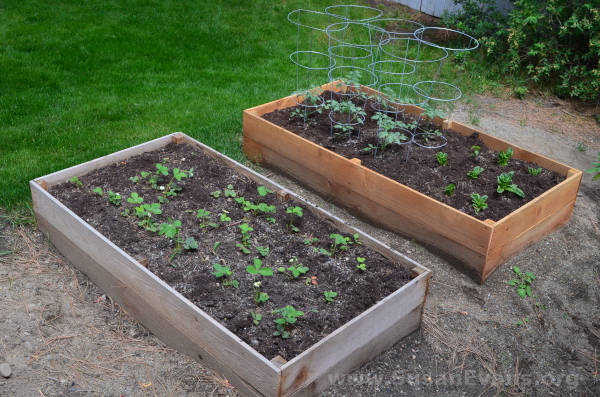
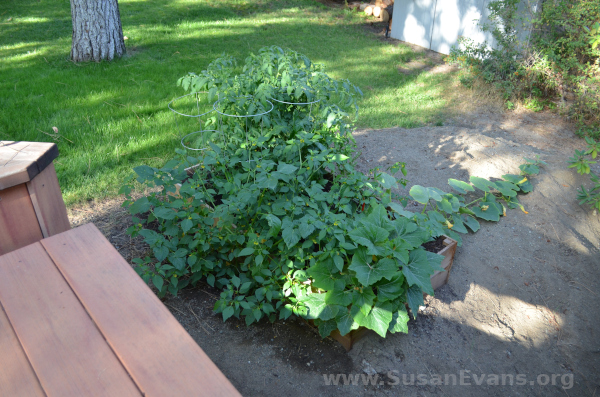
Last year we only had one raised bed, as you can see in the picture below. I didn’t know how large the plants would grow, so I overcrowded it. For this reason, even though there were lots of leaves, the plants didn’t produce much fruit.

So tip #3 for a vegetable garden is not to overcrowd the plants. Leave space between the plants. Then the roots won’t be competing for the nutrients in the soil with any other plants, and the sun can shine on all the leaves of each plant.

Tip #4 would be to give the vegetable garden a good watering every day, especially when the plants are young.

Tip #5 is to have tomato cages for the tomatoes, and if you are growing beans or other vines, place the raised bed next to a fence so they have something to crawl up. Next year I might add a third bed next to the chain link fence just for this purpose. This year all I needed was the tomato cages to re-enforce the stems of the tomato plants, so they don’t topple over or break with the wind.

Tip #6 is to pick off any dead leaves that you see. This keeps the plants healthy.

overcrowded-garden

Perennial Garden Tips

At the beginning, the perennial garden didn’t look like much. When removing the pine needles and dead leaves, we saw a few green perennials coming up. (Perennials are flowers that come up year after year.) We trimmed the bushes, pulled some weeds, and amended with good soil. After a month of watering the garden, it looked beautiful!

This perennial garden is right outside the bay window of my dining room, so it can be enjoyed every time we sit down to eat a meal.

perennial-garden

Rose Garden Tips

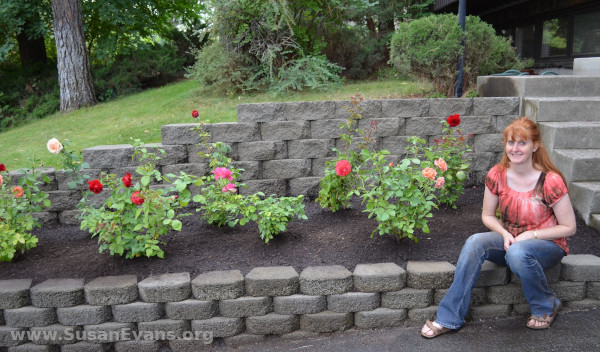
My rose garden is in the front yard, but I thought I would include it in the gardening that we do. I show you in the video how to prune the rose bushes after uncovering them from the winter. We also put rose fertilizer on each bush. Roses are my favorite flower, so I really love this garden!

rose-garden

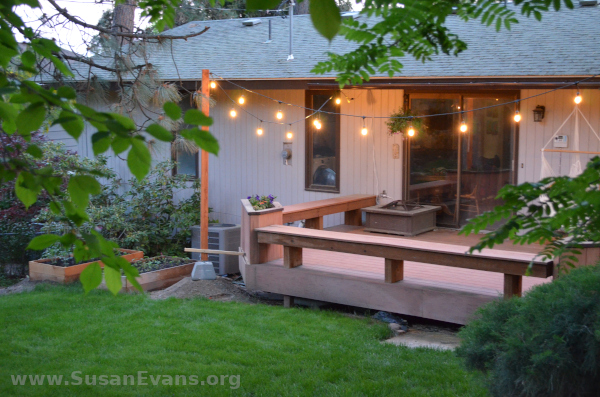
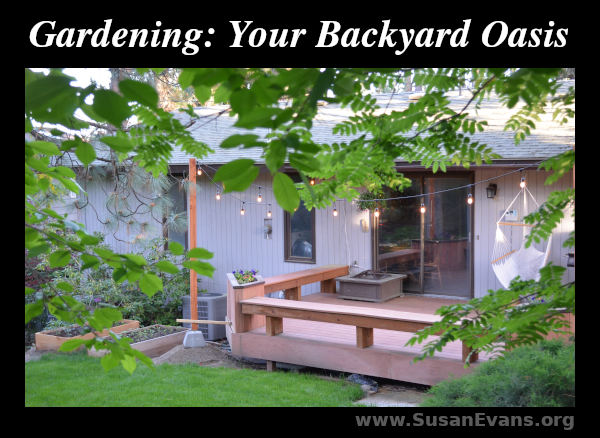
The back porch looks lovelier this year than ever, since my husband hung lights on poles bolted down to blocks of cement. (I show you a close-up of the base of these poles in the video.) My husband placed a hook on the top of each pole, and strung white lights. It feels like I am in Europe, where I traveled and lived before I was married. It makes me feel so much joy!

garden-evening

Here are some other gardening posts you might like:
Make Your Own Nest

Monday, March 21st, 2016

make-your-own-nest

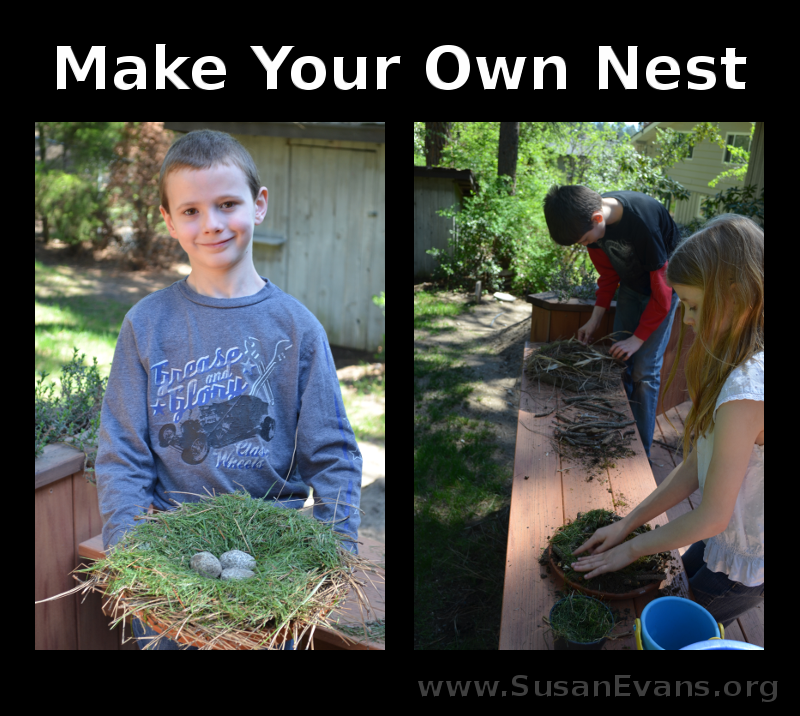
When you are learning about birds in the spring, a fun activity you can do with your kids is to make your own nest. Your kids can “fly” around the yard as if they were birds, searching for materials from which to build their nest.

You want to start with a base, or a place to build your nest. You can grab one of those pottery dishes that go under a large potted plant. Or grab a tray from your kitchen. Or you can just build your nest on the ground or in a tree.

nest

Materials you can gather to make your own nest:

  • twigs and sticks
  • dead leaves
  • moss and lichen
  • wheat stalks
  • dead grass
  • bark from trees
  • dead weeds
  • fluff from flowers
  • wet mud

How to put together your nest:

You will want to mix some dirt and water to create your glue. Birds sometimes use spider webs or other sticky plants to keep their nest together instead of mud, but many birds use mud.

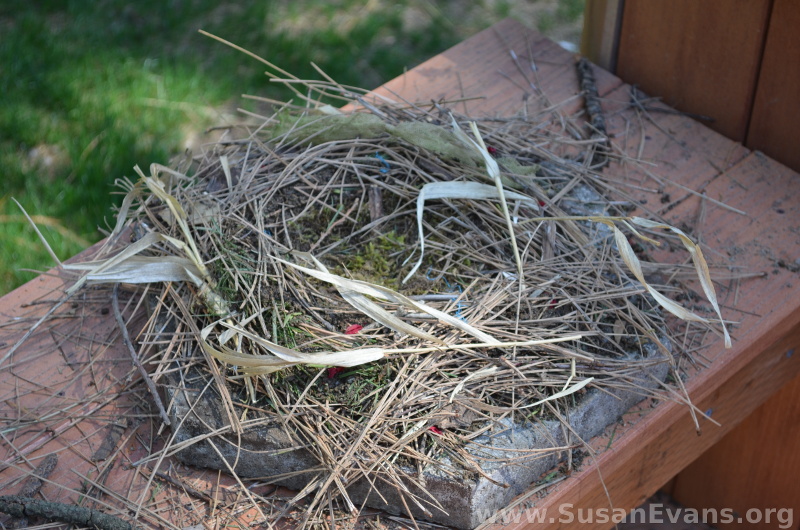
Start arranging your dry grass, leaves, pine needles, twigs and other debris into a nest shape. Use the mud to glue it all together. Make it nice and soft by adding moss and fluff to line the inside of the nest.

Now you can place some oval-shaped rocks into the nest to make it look like a bird laid eggs there.

More bird activities for a bird unit study:

I hope you enjoyed putting together your own nest. For more hands-on learning ideas, join the Unit Study Treasure Vault.

Tea Party in a Bag

Monday, January 4th, 2016

tea-party-in-a-bag

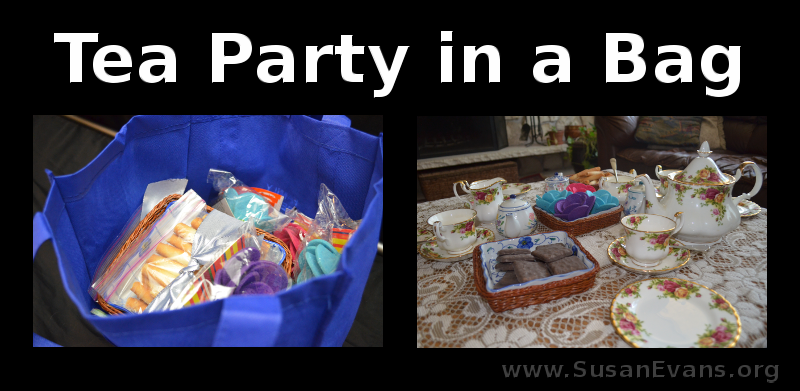
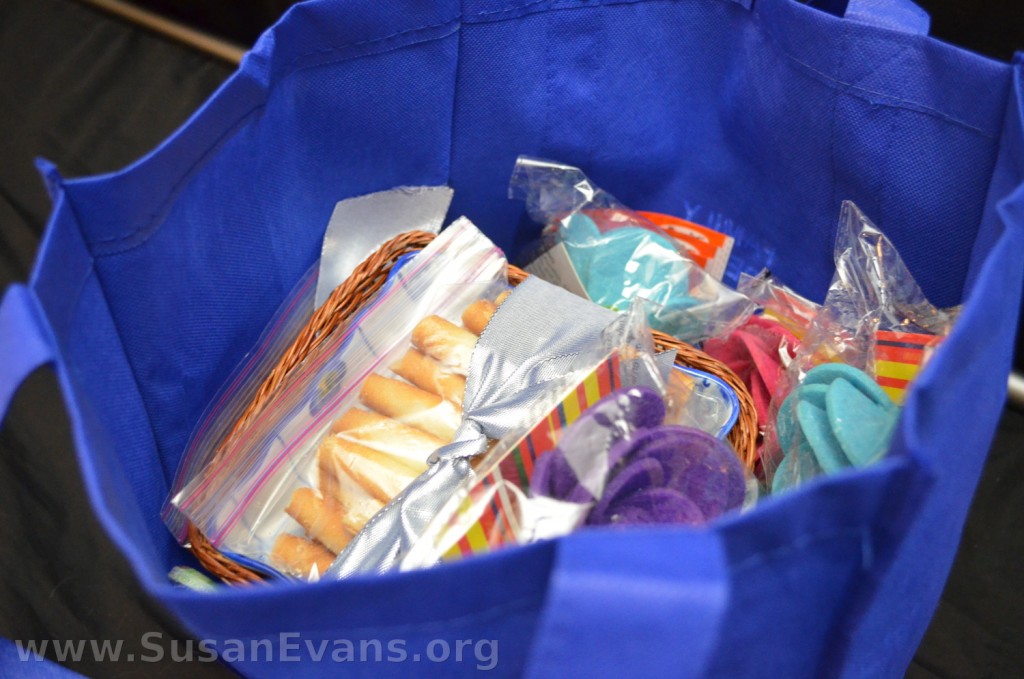
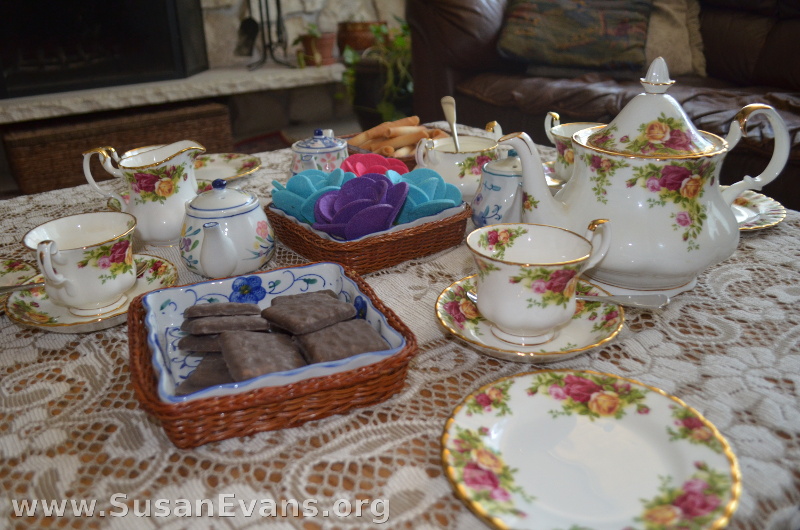
When my daughter was in the hospital for her spinal surgery last year, someone gave her a gift of a “Tea Party in a Bag.” I thought this idea was wonderful! The woman from my mom’s church placed some delicious tea party snacks and dishes into a cloth bag. Whenever my daughter wanted a tea party, all she would have to do is open the bag and set out the dishes and treats!

We did need to heat up some water for the tea, but that’s pretty easy to do. You will want to make sure to include an assortment of tea bags to choose from, if you are wanting to assemble your own “Tea Party in a Bag.”

The dishes can be toy dishes or real teacups and a teapot. Since I had real dishes, we used the toy dishes from the bag as decorations for the table. If you want to get real teapots and teacups, you can buy them in second hand shops or yard sales inexpensively.

tea-party-gifts

You might want to include a lace tablecloth or other table covering, but this is optional. You might also want to include pretty decorations, like the cloth flowers that were included in our package.

Make sure the tea party treats are in sealed containers or bags. That way if the girl wants to wait for a month or two before having the tea party, the treats will not be stale. Store-bought cookies, cakes, miniature pies, or nuts would all be appropriate for inclusion in your tea party bag.

tea-party

My daughter invited a friend over, and we had a fun time with our tea party. This was a blessing to me as a mom because I was so exhausted from having stayed up all night at the hospital for several days, and I loved having an easy activity that required nothing from me but the heating up of water. A great gift!

Garden Patch for Kids

Monday, March 16th, 2015

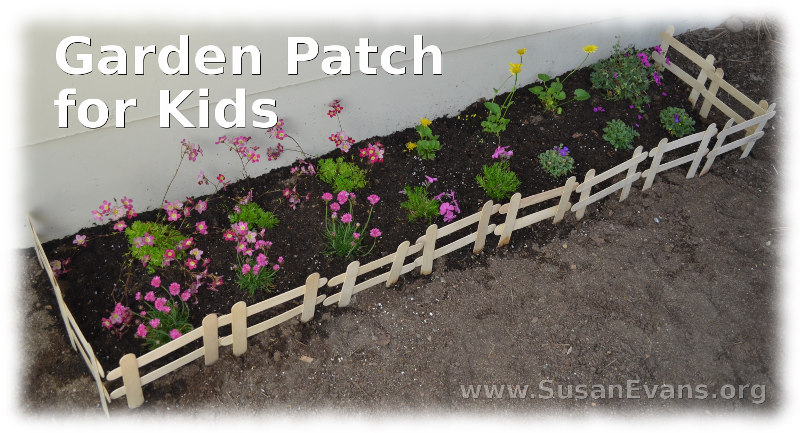
garden-patch-for-kidsWhy not make a fun garden patch for kids? Your children can enjoy playing in the dirt and can watch the plants grow. Here is how your child can design his or her own garden patch.

Designing a Garden Patch for Kids

  • Find a spot in your backyard where you can place a garden patch. A sunny spot will work better than a shady one.
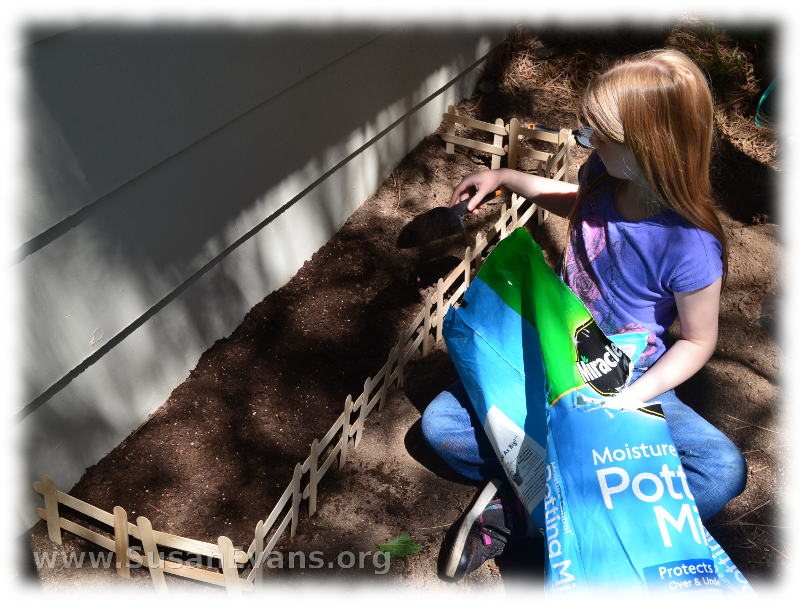
  • With a large shovel, dig a hole about a foot deep, removing any bad soil and replacing it with good soil. If the soil is good already, then just fluff it up with the shovel.
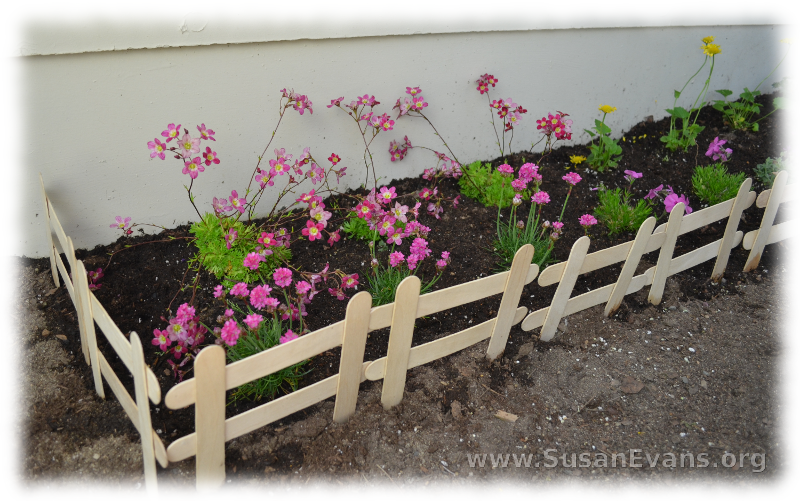
  • You can buy some fencing at a dollar store or make your own by hot gluing large popsicle sticks together in the shape of a fence. Stab them into the soil.

kid-garden

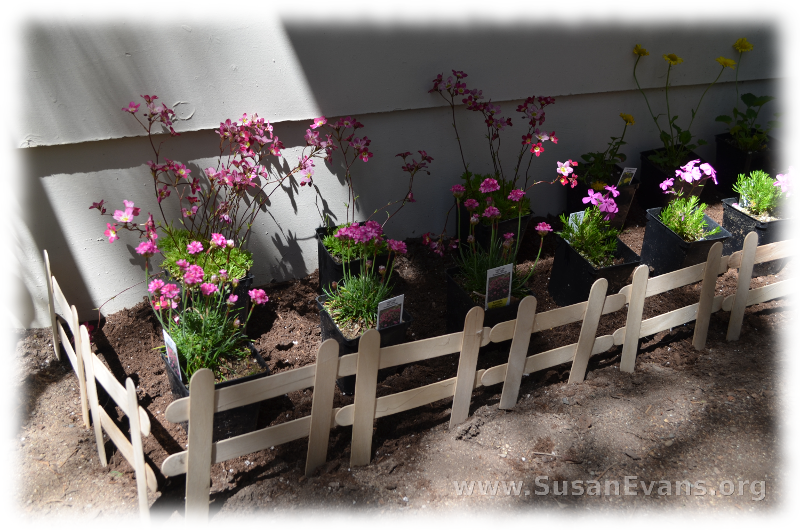
  • Choose some plants from a local nursery, and set them on top of the area, re-arranging the plants until the tall ones are in the back and the shorter ones in front.

planning-a-kids-garden

  • Now dig a hole for each plant, take the plant out of the container, and place the plant into the soil. Pat the dirt around it like a nice comfy blanket.
  • Water your garden. Give it a long drink with a gentle spray, either with a hose or with a watering can
  • Enjoy your garden.

kid-gardening