Archive for the ‘Seasonal Activities’ Category

Creative Ways to Use Cookie Cutters #10: Jello Shapes

Wednesday, May 1st, 2013

jello-shapes

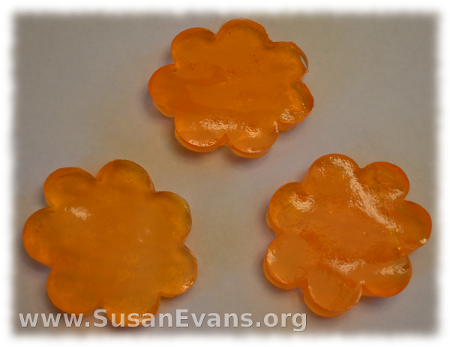
Strangely, when you are looking for creative ways to use cookie cutters, you think of things you wouldn’t normally think of. It is a mental exercise, and it helps to ward off dementia and Alzheimer’s, later on in life when you become an old geezer. And speaking of geezers, today’s cookie cutter idea is jello shapes. Jello jiggles and makes everyone happy, from toddlers to the elderly, even if they are wearing dentures.

Make jello according to the box directions. This usually is one cup of hot water, then stir. Then one cup of cold water, then stir. Jello is not that hard to make. Throw in one or two packets of Knox powder, to make the jello stiff. You also want to choose a pyrex dish that will give you the desired thickness for your jello–a larger pan for thinner pieces, and a smaller pan for thicker pieces.

Make the jello several hours before you intend to cut it. Then take it out of the refrigerator once it’s hardened, and press your cookie cutter into the jello. Pick up the shapes and place them on a plate. Walk into a room with people in it, and serve your fancy jello shapes to them. Watch their eyes light up.
 

Creative Ways to Use Cookie Cutters #9: Quesadillas

Tuesday, April 30th, 2013

quesadillas

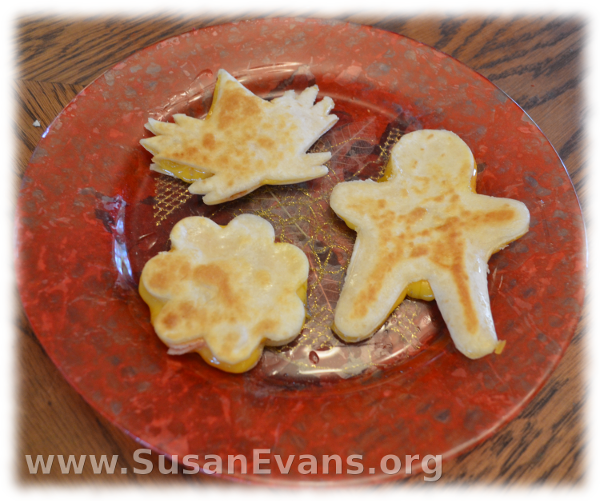
Wouldn’t you love to delight your children with delicious quesadillas shaped by cookie cutters? Yes. Your children will smile when you pile these onto a plate. You might even be able to sneak in tiny amounts of vegetables without them noticing, because they are so everjoyed by the happy-looking lunch in front of them.

You will obviously need flour tortillas and cheddar cheese. You can experiment with different kinds of cheese. Throw small bits of ham into the quesadilla, and maybe tiny bits of tomato, green or red bell pepper, or scallions. Mushrooms are delicious as well.

Make the quesadillas first, before shaping them with the cookie cutter. You can do this in the microwave or in the skillet. It tastes way better when fried in a skillet with olive oil. Set a flour tortilla on a plate. Grate the cheese and throw in whatever else you want on top of the tortilla, making the filling evenly spread. Top with another tortilla. Place the uncooked quesadilla into the frying pan and fry both sides. When golden brown, place on a cutting board and cut out shapes with your cookie cutter.

If you’re a tired mom and you just want to make the quesadilla in the microwave, you can do that. I’ve got to say it’s easier to cut with cookie cutters because the quesadilla is softer. Use the kitchen scissors to make your edges sharper if the edges aren’t clear. Also, if you cut around the cookie cutter with a knife, the process is easier.

Now serve these delicious quesadillas with salsa or Ranch dressing for dipping. Enjoy!

Creative Ways to Use Cookie Cutters #8: Gift Bags

Monday, April 29th, 2013

gift-bags

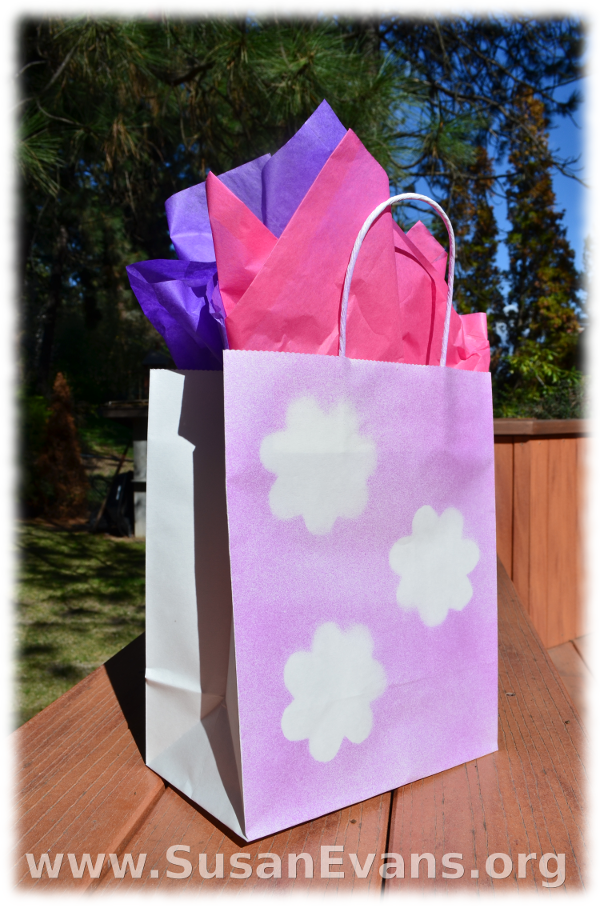
Gift bags are another one of the many creative ways to use cookie cutters, and the recipients of your gifts will enjoy getting their gift in a unique bag.

You will need the following items:

  • white paper gift bag (at craft supply stores)
  • spray paint (in whatever color you want)
  • colorful tissue paper
  • white computer paper
  • cookie cutter, of course!

Grab a pencil and trace around a cookie cutter on a sheet of paper. Then stack several squares of paper under it before cutting it out, so that you only need to cut out the figure once.

Using sticky tack, white tape, or blue painter’s tape, stick the cut-out shapes all over your white gift bag. Now grab your spray paint and spray the bag. Let it dry overnight.

In the morning, remove the figures, and you have your finished gift bag. Add color-coordinated tissue paper to the bag to make it look lovely, keeping in mind the favorite colors of the recipient of your gift. Don’t forget to load the gift into the bag before adding the tissue paper!

Stay tuned for the next instalment of “Creative Ways to Use Cookie Cutters.” Hint: The next idea has a Mexican flavor.

Creative Ways to Use Cookie Cutters #7: Patches

Friday, April 26th, 2013

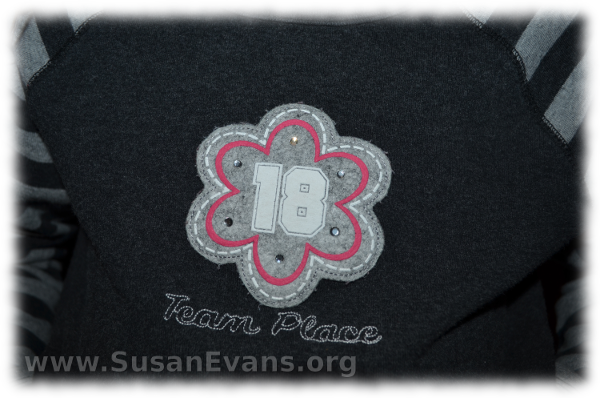
how-to-make-a-patch-for-clothesAnother creative way to use a cookie cutter is to make decorations for your clothing. I will show you how to make a patch for clothes.

It all started one Sunday afternoon while resting on my bed. My daughter came up to me with a flower decal on her shirt. A light bulb went off inside my mind, and I asked her to go get the cookie cutter and put it against her shirt. Sure enough, the decal was exactly the same as the cookie cutter. I thought to myself, “You could easily make a decal for your clothes using a scrap of felt and some embellishments.”

I recommend using felt because you don’t need to hem it, and it won’t fray. Use the cookie cutter as a stencil to trace around on a piece of felt. Use a marker or pen if you can’t see pencil marks on the cloth. Cut the felt shape.

You can decorate the felt shape with fabric markers or sew a pattern with contrasting colors of thread. You can sew buttons, glitter, ribbon, or other embellishments onto your shape.

Using fabric glue, paste the felt shape onto a long or short-sleeve T-shirt that is boring and blah. Make sure you use color-coordinated fabrics for a beautiful result.

To make the T-shirt more durable, you will want to sew around the edge of the felt shape. This is a perfect simple sewing project for a child who is brave enough to use a pointy (not blunt) needle. Just sew a simple stitch up and down, all the way around the shape. Now you are finished. You may wear your masterpiece for everyone to enjoy.

how-to-make-a-patch-for-clothes-2

I can’t wait to show you idea #8! Stay tuned for something you can use to make birthdays special…