Posts Tagged ‘art’

Textured Art

Wednesday, December 4th, 2013

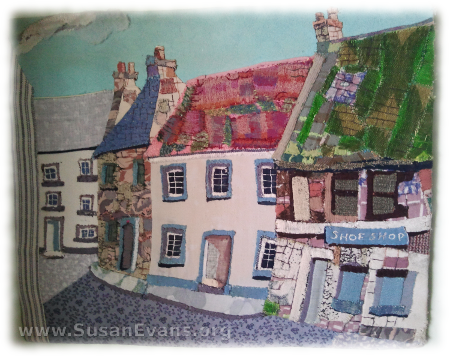
textured-artYou can create textured art by finding a diversity of cloths and making a picture to frame and hang on your wall. I saw this hanging on the wall of a dear friend, and I loved the idea!

If you want to create a village like this, start with the background cloth. Then add the houses and the street. You can go ahead and use fabric glue to put together the town. You might want to think through your color scheme so that the colors will blend harmoniously and not clash. Conversely, you might want to use only bold colors or pastel colors.

After getting the main shapes in place, you will want to add details. Make the doors and windows, and add even more embellishments until you have exquisite detail. If you add fuzzy moss to the rooftops, you can choose fabric that will create this illusion. Shiny fabrics can work well for metals, and velvet looks soft and mossy. You could also add lace if you are making a frilly picture.

Add any other details, like clouds in the sky, or stars and a moon. If you want shapes of animals and people to populate your village, go ahead and add them. Otherwise a beautiful town in the sunshine can be a charming piece of textured art, hanging on your living room wall.

textured-art-6

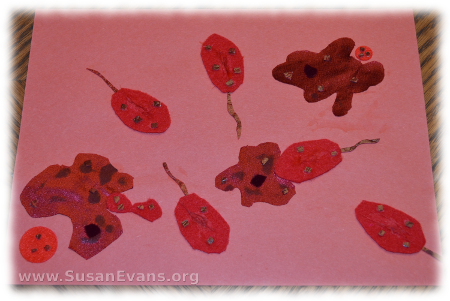
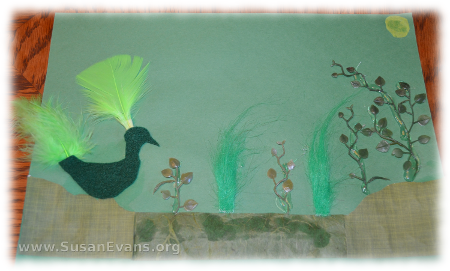
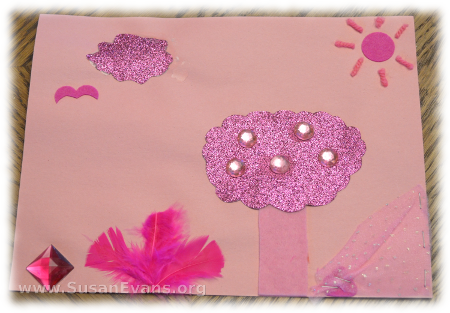
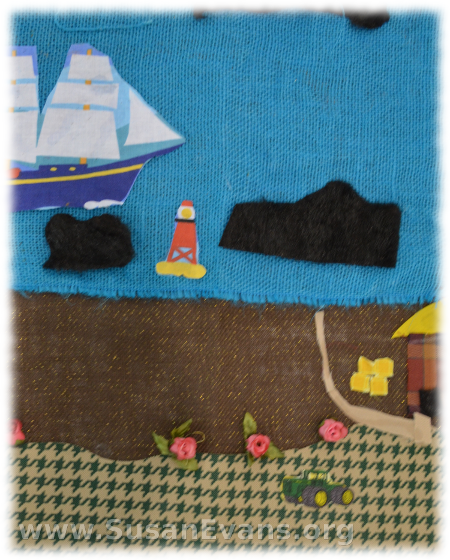
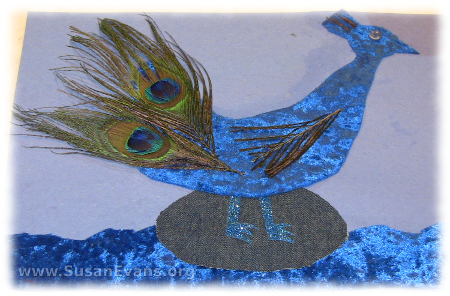
You can simplify this activity for your children by giving them one color for their textured art. For example, one of my sons loves green, so I dumped lots of green bits of materials on the table. I gave him a piece of green construction paper as a backdrop, and he had scissors and glue to create a work of art in green. My other children chose blue, pink, and red. As you can see, my son who wants to be a microbiologist has designed a red textured art piece that shows amoebas eating bacteria!
textured-art-2
textured-art-5
textured-art-3
textured-art-4

Greek Art for Kids

Monday, December 2nd, 2013

greek-art-for-kids

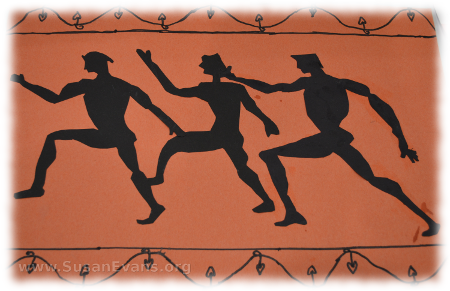
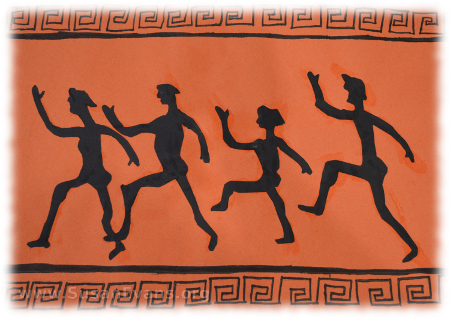
Are you looking for super easy Greek art for kids? This art activity is the easiest I’ve ever seen! I saw this entry at the state fair and decided to do it with my own children. All you need is orange and black construction paper, scissors, and a black marker.

You will use the orange construction paper as the background of your project. We have chosen orange because it looks like the terra cotta pottery from Greece. Now you can cut out shapes of people from the black construction paper. It might be easier to draw the figures in pencil before cutting them out. Make sure the figures all face the same direction.

For the finishing touches, take your black marker and add embellishments and twirls to the top and bottom of your paper. If you need to look at Greek pottery designs, you can look here for inspiration.

If you liked this simple Greek art for kids activity, you will love my free Ancient Greece Unit Study. You might want to subscribe to my YouTube Channel to not miss any upcoming unit study videos.

greek-art-for-kids-2

Make Your Own Clock

Wednesday, November 20th, 2013

make-your-own-clock

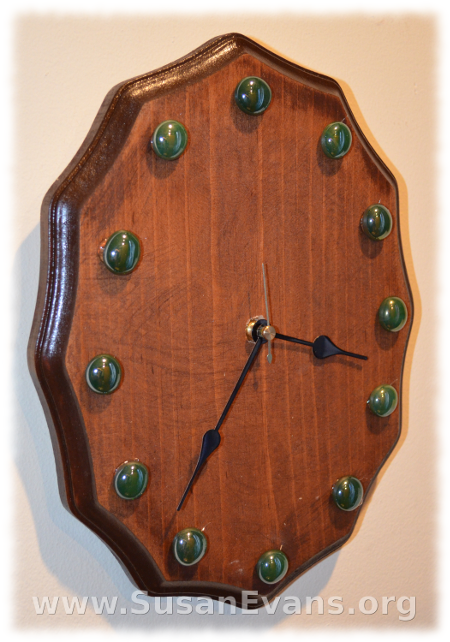
I never knew that you could make your own clock, until my sister sent the different parts for my kids to put together. Yes, you can make a clock to fit your home decor. This is a perfect idea for a Christmas or birthday gift, because you can take into account the hobbies and color scheme of the one who will receive the gift.

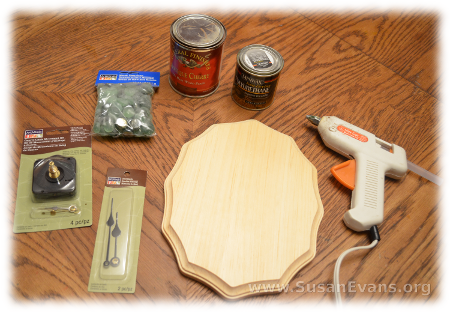
To make your own clock, you will need the following supplies, which you can easily get at most craft supply stores:

  • wood base (whatever shape you want)
  • stain or paint
  • varnish
  • quartz clock movement kit
  • extra clock hands, if you want bigger ones
  • mosaic glass gems (or numbers 1-12)
  • drill with a thick bit
  • hot glue gun

make-your-own-clock-2

First you will want to stain the wood base or paint it. Let it dry overnight, and then put a coat of varnish over the top. Let that dry a couple of days.

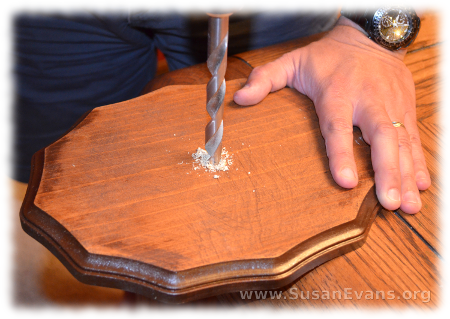
Drill a hole through the middle of the base. I used a ruler to find the exact center of the base. Look at how big the clock movement kit is, to see how big your drill bit should be. Insert the clock movement box to the back of the clock, inserting the hands before doing so. The kit should come with visual instructions on how to do it. It’s really self-explanatory. Make sure to insert a battery after the clock is finished.

make-your-own-clock-3

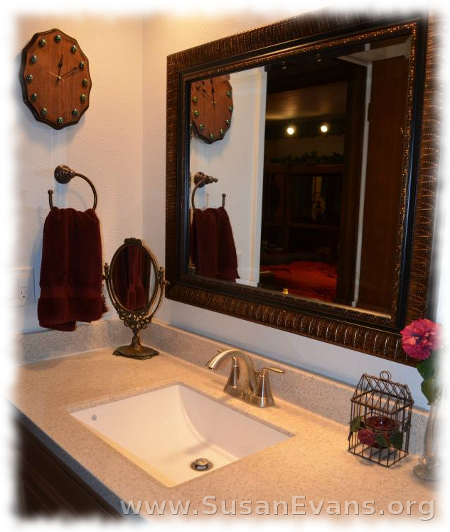
You will want to add embellishments like gems or numbers around the edges. You can also add small, flat decorations like 3-D stickers or doll accessories. For example, if you are giving the clock to a hunter, you can hot glue a small rifle to the clock. If you are giving the clock to a teacher, you can place a large 3-D apple sticker on it. We decided to leave ours simple. It matches our newly refurbished bathroom!

make-your-own-clock-4

Fiery Furnace Craft

Thursday, October 17th, 2013

fiery-furnace-craft

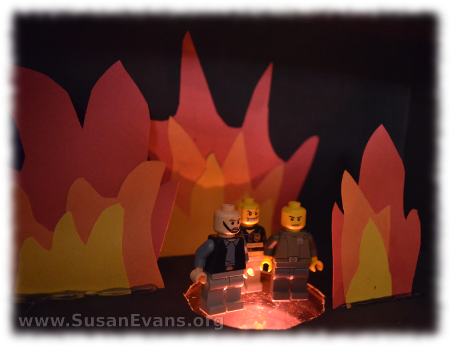
You can bring the story of Shadrach, Meshach, and Abednego in the book of Daniel to life by making this fiery furnace craft. You will need the following items:

  • shoebox
  • black paint
  • pencil
  • red, orange, and yellow card stock paper
  • hot glue gun
  • school glue
  • scissors
  • tape
  • red cellophane
  • three (or four) small toy men
  • flashlight

fiery-furnace-craft-2

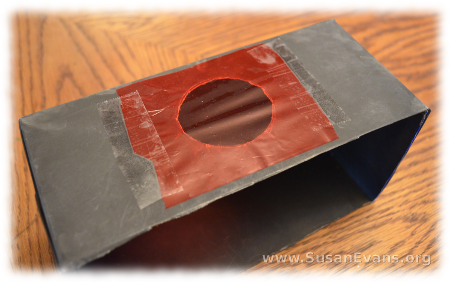
Paint the shoebox with black paint, and let it dry overnight. Using a large flashlight as a stencil, draw a circle in the bottom of the box. Make sure the box is on its side. Stab your scissors into the middle of the circle, and cut the circle out. Tape red cellophane over the hole on the outside of the box.

fiery-furnace-craft-3

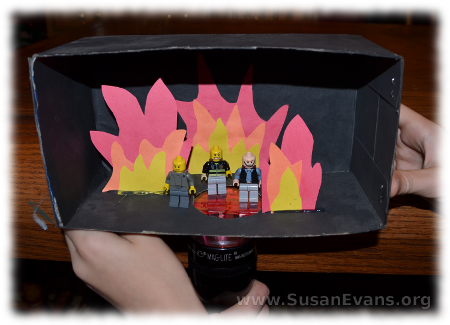
Cut out flames from the red, orange, and yellow papers, and glue them together with school glue. Hot glue the flames to the bottom of the box. Now place your three toy men into the box.Your fiery furnace craft is complete.

Tell the story of Shadrach, Meshach, and Abednego from the book of Daniel, adding a fourth toy figure at the end of the story. Yes, Jesus Himself showed up in the fiery furnace to protect these men from being killed.

Through this story, God shows us that we do not need to be afraid when we obey God. These men refused to bow down to any other god, and even though it infuriated the king, they obeyed God. They trusted that God could save them from the furnace, “but even if He does not, we will not bow down to you, O king,”they said.

The furnace was so extremely hot that the people who threw them into the furnace died from the heat. This was a miracle. God rules the universe. He controls every atom, and fire does not burn unless God says so. We can trust God, that He will help us through difficult times through His presence with us.

Sign up below for a free printable e-book of this Bible crafts series!

If you enjoyed this fiery furnace craft, you will love Using Simple Costumes and Props to Teach the Bible. You receive this 2-hour video for free when you sign up for the Unit Study Treasure Vault, which has an enormous Bible section that you will love!