Posts Tagged ‘art’

Ship in the Moonlight

Wednesday, January 22nd, 2014

ship-in-the-moonlight

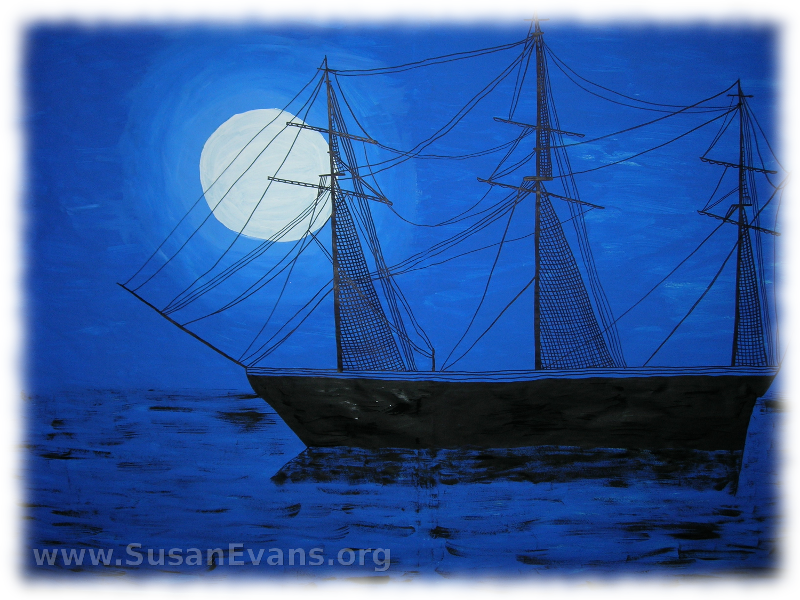
I’m shocked at how good this “Ship in the Moonlight” backdrop came out! It was pretty easy to paint. I’m going to show you the steps I went through to paint this scene. I painted it as one of the backdrops for my creative writing class: Time Travel: Writing Historical Fiction. It represents “The Midnight Ride of Paul Revere,” where Paul Revere waited to see if he should put one lamp or two in the church tower, to indicate whether or not the British were coming by land or by sea. The famous poem by Henry Wadsworth Longfellow was memorized by each of my three sons years ago, when they recited it while wearing a three-cornered hat.

How to Paint a Ship in the Moonlight:

  1. Tape a large piece of butcher paper to a wall or large window. I used packing tape to make sure it wouldn’t fall off my glass sliding door.
  2. Grab your dark blue tempera paint, and paint the entire paper except for a circle, which will be the moon. (Make the moon larger than you want it, because you will be blending the white into the blue in just a minute.)
  3. Paint the moon white, and carefully blend in the blue in circles around the moon. This was surprisingly easy.
  4. Let the background dry overnight.
  5. Get a black permanent marker and draw a ship, using a picture from a book. The more details you put in for the rigging, the more impressive it will look.
  6. Fill in the bottom part of the ship with black tempera paint. Then get a fanned paint brush, and swoosh black paint lightly for the water of the ocean. The water took me maybe 10 minutes to paint. I made a shadow for the ship, and I filled it in with more swooshes of the fanned brush.

Your “Ship in the Moonight” backdrop is now complete! You can use it to recite “Paul Revere’s Ride”, re-enact night scenes from history, or leave it hanging on your wall as a work of art.
Oil Pastels on Black Paper

Monday, January 6th, 2014

oil-pastels-on-black

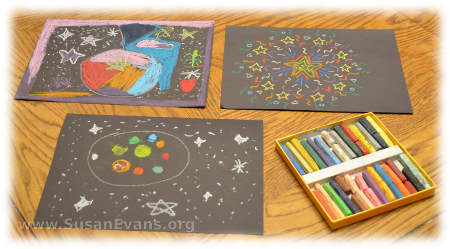
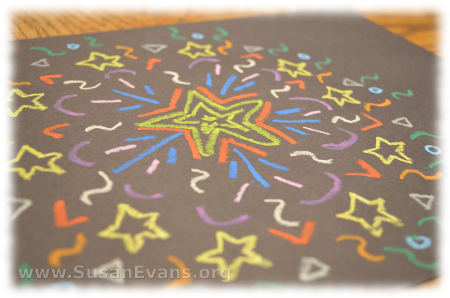
A simple yet elegant art project to do with kids is to color with oil pastels on black paper. The bold colors really pop against the black. You can do an outer space scene, a night time scene, or a cave. You could draw confetti or fireworks against a dark sky. Another design would be to start in the middle of the page with a star or circle, and draw designs outward from it, making everything symmetrical in a radial pattern.

Oil pastels are brighter than regular crayons, and you can get them in the art supply section of most stores. The lighter colors show up better than the darker ones, if you are using a piece of black card stock paper or construction paper for the background.

oil-pastels-on-black-2

Here are some other ideas for night time scenes:

  • a city with all the windows of its buildings lit up
  • the Milky Way
  • the phases of the moon going across the sky
  • Big Ben in London
  • trees with snow silhouetted against the night sky
  • an observatory
  • a spaceship moving through outer space
  • an owl swooping down to catch a mouse
  • bats hanging upside-down on a tree branch

Make sure you have plenty of black paper before you begin! You can also spread out a huge black paper on the wall, and kids can use oil pastels to draw on the black wall!

Snow Scene Centerpiece

Monday, December 16th, 2013

snow-scene-centerpiece

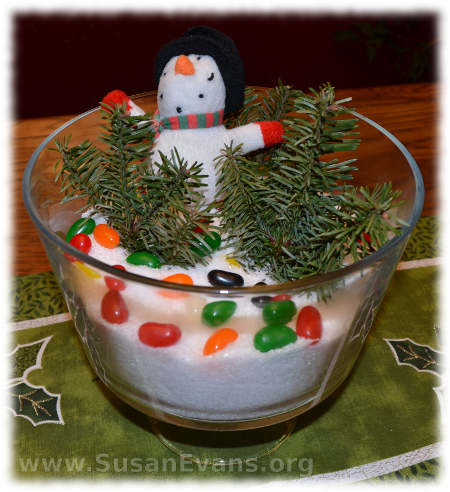
Make a beautiful snow scene centerpiece for your table in less than five minutes. All you need is rock salt (or Epsom salt), a branch of greenery, some Christmas ornaments, and a large glass bowl.

Dump the rock salt into a large clear bowl in the center of your table. Rock salt looks more beautiful, but Epsom salt is more useful, since you can re-use the Epsom salt in your bath after December is over.

Place some greenery into the white salt. You will need to break off small bits of a branch of an evergreen tree, or you can use shears to cut it. I stuck pieces of greenery into the “snow” so that they would look like trees in a forest. But you can also lay them flat in a beautiful way.

Look at the decorations on your tree, and see if you want to showcase one ornament, or if you want to choose several ornaments. A village house would look pretty in the snow. Arrange the ornaments in your bowl. I added jelly beans for color. You could add red berries or a red garland for a similar effect. Just mess with the scene until it looks pretty.

Enjoy your finished snow scene centerpiece! For more fun winter activities, click here.

Decorate Your Own Canvas Bag

Monday, December 9th, 2013

decorate-your-own-canvas-bag

Here is a tutorial for how to decorate your own canvas bag, making it unique to keep or to give away as a gift. My 8-year-old daughter wanted to learn to sew, so she was excited to start this activity.

You will need a plain canvas bag, which you can buy at any craft supply store. You will also need a needle and thread, fabric scissors, and some scraps of cloth. Design your own scene, using the scraps of cloth. If you don’t want to sew, you can use fabric glue and be finished in about 5 or 10 minutes. Otherwise you can pin the pieces in place, one by one, layer by layer like we did.

decorate-your-own-canvas-bag-2

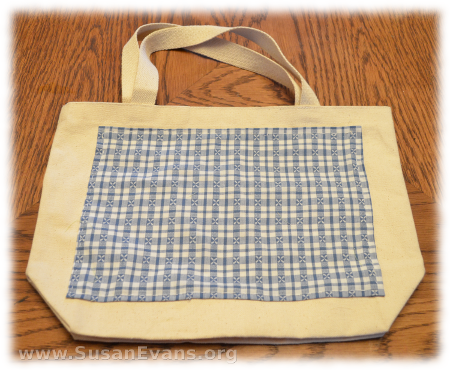
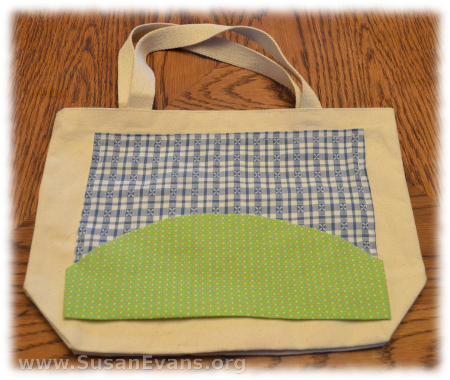
First my daughter wanted to sew a sky onto the whole scene as a backdrop. I ironed a rectangle of blue patterned cloth, folding down the 4 edges and ironing them. I pinned the blue cloth onto the canvas bag. My daughter sewed the cloth onto the bag.

She wanted to add a green meadow, so we added some green. After ironing the cloth and folding down the 3 straight sides, we pinned and sewed the green hill.

make-your-own-canvas-bag-3

Next we wanted some trees for a forest. You could use some green felt, cutting out trees. (If you use felt for everything, you will never need to iron or hem, because felt doesn’t become unravelled. This makes it perfect for the finishing touches to decorate your own canvas bag.)

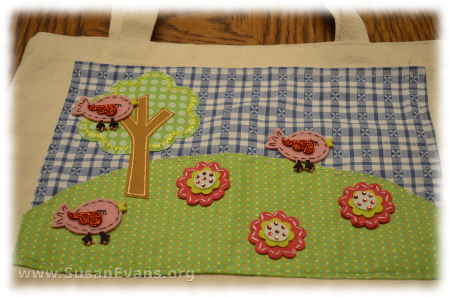
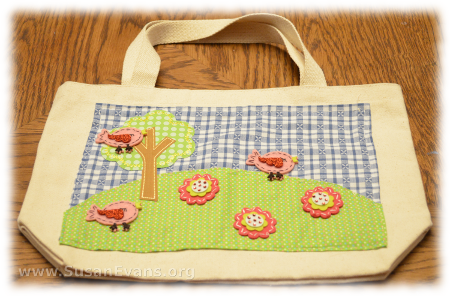
One short-cut is to get patches at a craft supply store. You can sew these on, iron them on, or just use fabric glue to attach them. We found a tree, some birds, and some flowers. My daughter arranged them on the canvas bag and glued them down with fabric glue.

When you decorate your own canvas bag, it will look something like this:

decorate-your-own-canvas-bag-4