Posts Tagged ‘cake’

Shield Cake

Monday, April 11th, 2016

shield-cake

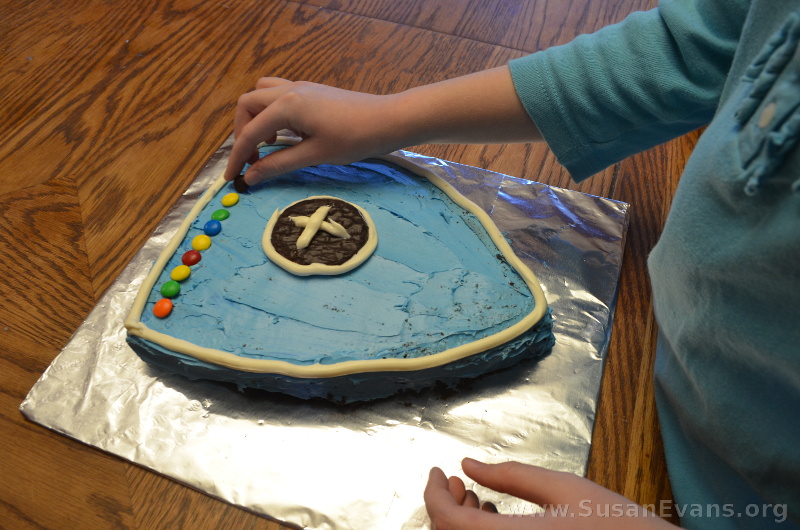
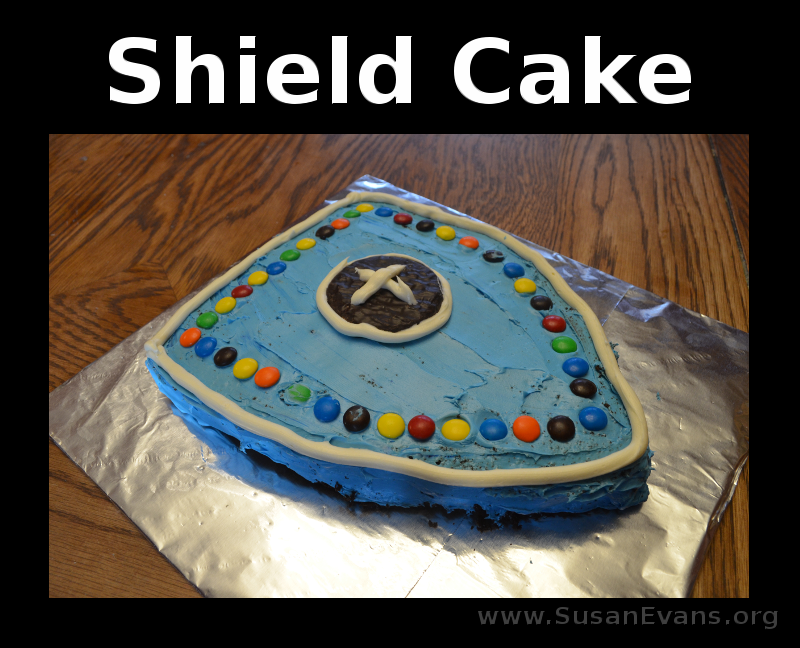
Instead of cooking a medieval feast as a culminating activity for a medieval unit study, why not bake this simple shield cake? You can have fun creating a coat of arms with candy on the top of the cake.

Begin by baking a rectangular cake, preferably chocolate. Cut one end of the cake into a triangular point. Then tape some foil to a piece of cardboard that is larger than the cake. Upend the cake onto the prepared foil.

Grab two tubs of white frosting, and tint one of them to be the background color for the shield. You can choose any color you want. Frost the entire cake, including the sides.

decorating-shield-cake

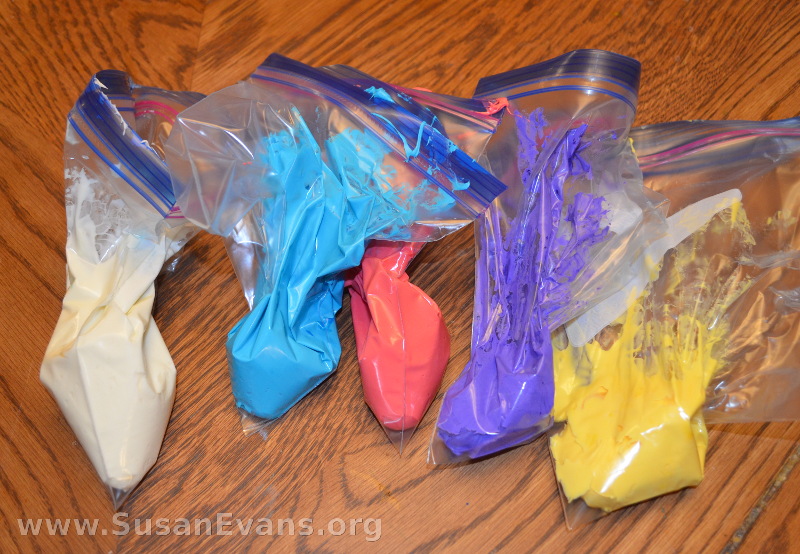
Now comes the fun part. Divide the second tub of frosting into different bowls, tinting them whatever colors you want to create your coat of arms, dragon, cross, or any other shape. Place the tinted frosting in a plastic Ziplock bag and snip off the corner. Draw whatever you want with the tinted frosting.

We used white frosting to frame the outline of the shield. We also outlined a Peppermint Patty and drew a cross in the center of it. You can now use whatever candy you want to embellish your shield cake. We used colorful M&M’s to go around the entire cake.

Now enjoy eating your medieval shield cake!
Resurrection Cake

Monday, March 14th, 2016

resurrection-cake

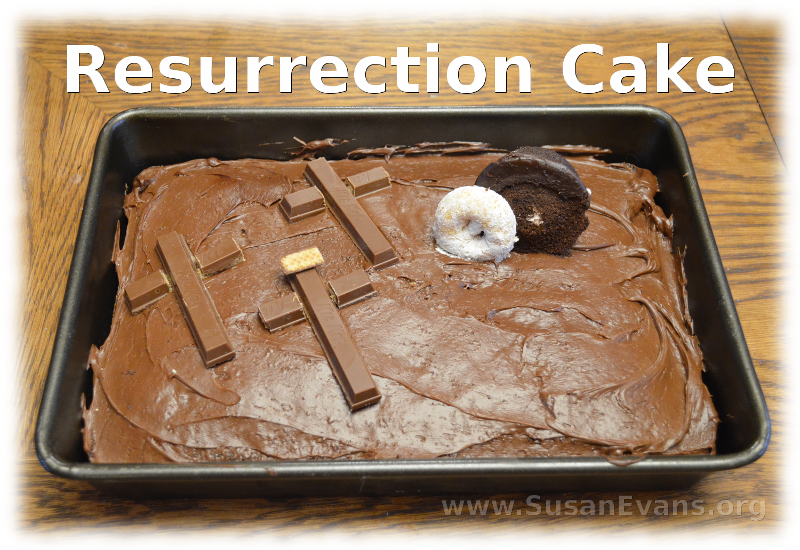
Why not make a resurrection cake to celebrate the resurrection of Jesus on Easter? It’s super easy to make. First you will want to bake a cake of any flavor. Frost the cake with chocolate frosting to represent dirt. Grab some Kit Kat chocolate bars, or similar cookies or chocolates that you can break apart to form crosses. I tried to stand them up, but unless you glue the pieces of the cross together, it will fall apart. It’s simpler just to lay them down.

A piece of Kit Kat fell apart on the counter, and it looked like the sign that would have been above the cross of Jesus, the one that would have said, “King of the Jews.” So I glued it with chocolate frosting to the top of the center cross.

I bought a package of chocolate Ding Dongs, and I used one for the tomb, setting it on its side. I used a white powdered doughnut for the rolled-away stone. Your cake is ready to serve!

If you are looking for more on the resurrection of Jesus, take a look at these fun hands-on activities:

Fiery Furnace Cake

Monday, February 8th, 2016

fiery-furnace-cake

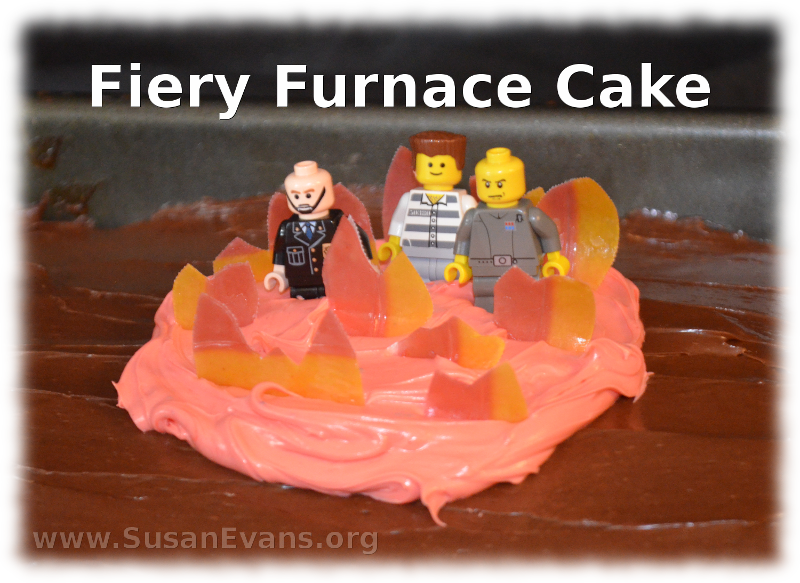
When reading the story of Shadrach, Meshach, and Abed-nego in the book of Daniel, why not make a Fiery Furnace cake to bring the story to life? I baked a rectangular cake and frosted it with chocolate icing. Then I tinted some white vanilla frosting with red food coloring. I placed a circle of red icing in the middle of the cake.

We cut flame shapes of fruit roll-ups and stood them on end into the red icing. (Make sure you buy the roll-ups in red, orange, or yellow.) If you want to make the flames more rigid, you can choose to not remove the paper backing. But be sure to warn the people eating the cake that the paper is still on.

Of course, you will need to add three LEGO figures, or you can use toy people from any other building set. You will want to have a fourth LEGO figure as well.

Now light some candles, so that you see actual fire coming from the fiery furnace. Red, orange, or yellow candles would be perfect. Turn out the lights and set those candles on fire. When you blow out the flames, place the fourth figure (Jesus) into the furnace. Then turn on the lights. At this point you can tell the children that God saved the lives of these three men, and that He was with them in the midst of the fire. In the same way in our lives, God is with us in the midst of our suffering, and He will bring us through it.

Skin Model Cake

Monday, January 18th, 2016

skin-model-cake

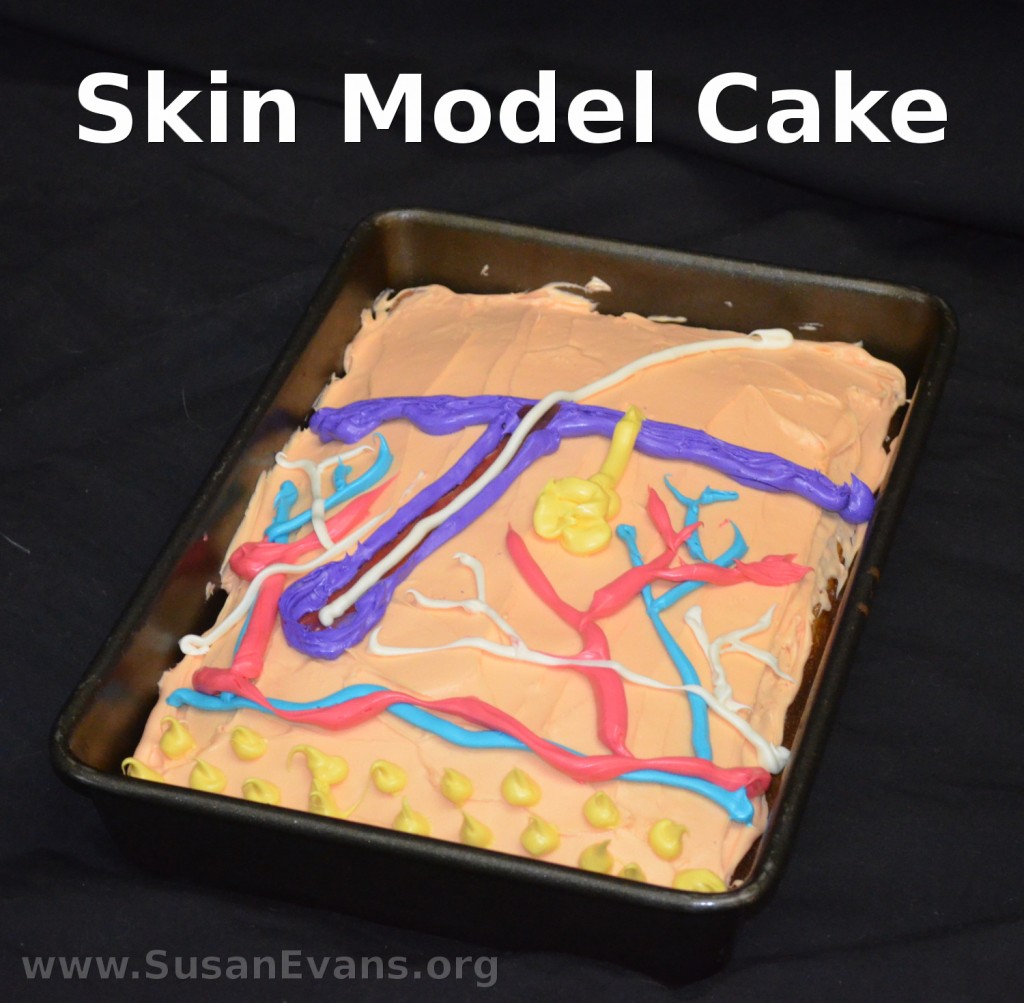
When studying the integumentary system in human anatomy, why not create a skin model cake? This is a great way to re-enforce the diagram of the human skin. As you form each part of the human skin with icing, you will review why each part of the human skin is important.

You will want to start by baking a rectangular cake in whatever flavor you want. Grab two tubs of white icing, and empty one of the containers into a bowl. You will want to make a skin color, so you will need a lot of yellow food coloring, and a little bit of red food coloring. Stir with a spoon until you get the right color. Then frost the entire cake with the skin-colored icing.

skin-icing

Now open the second container of icing and divide it into four bowls, but leave some white icing in the container. In the four bowls, place drops of food coloring until you have these vibrant colors: yellow, blue, red, and purple. After stirring, place the icing in small freezer bags. Cut a small hole in the bottom of each.

icing-skin-model

Now look at a diagram of the human skin, and begin “drawing” the diagram with the different colors of icing:

  • The epidermis is the outside layer of skin. Outline it purple, and continue down to the hair follicle, which is like an onion bulb.
  • Use white icing to draw a hair up and out of the hair follicle, above the epidermis. You could also use a piece of licorice for the hair, if you would like to add candy.
  • Yellow dots at the bottom of the cake represent the fat globules of the hypodermis, which is technically not part of the skin. (The dermis is the area between the epidermis in purple and the hypodermis with yellow dots.)
  • While you have the yellow icing in your hand, you might as well make the sweat gland, which is like spaghetti in a blob, going up to a sweat pore on the skin.
  • Blue icing is for veins, and red icing is for arteries. White icing is for nerves.

Now you are finished with your skin model cake. Feel free to eat it!