Posts Tagged ‘crafts’

Eggshell Art

Wednesday, May 29th, 2013

eggshell-art

Make beautiful eggshell art with your kids. It’s easy and fun to make a mosaic with broken pieces of eggshell dyed different colors.

You will need the following materials:

  • eggshells
  • egg dye
  • paper towels
  • vinegar
  • drinking glasses
  • black card stock
  • pencil
  • white school glue

eggshell-art-3

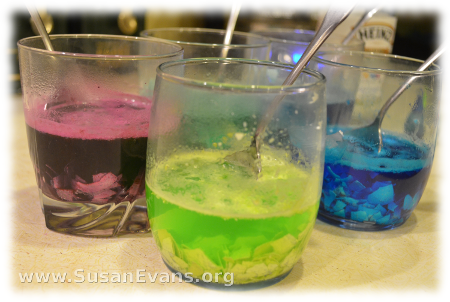
Start by dying the broken eggshells different colors. Pour half a cup of boiling water into each drinking glass, along with one tablespoon of vinegar and 10-20 drops of food coloring. Wait for 5 minutes, stirring the eggshells occasionally.

eggshell-art-5

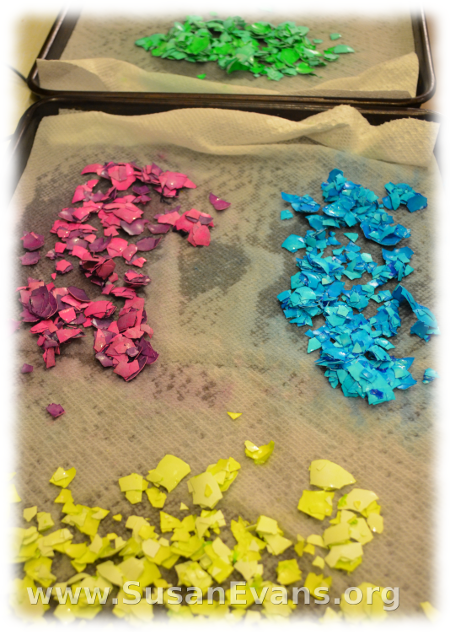
Dump each glass into a colander in the sink, one by one. Line a cookie sheet with paper towels, and place the eggshells on it to dry. Don’t mix the colors unless you’re trying to make strange confetti. Let it dry overnight.

eggshell-art-6

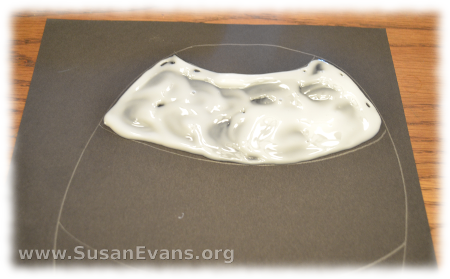
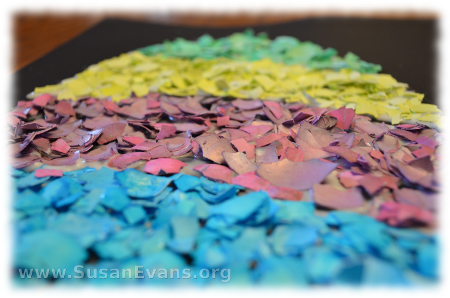
Draw a design with pencil on the black card stock paper. Then fill one area with white school glue. Dump one color of eggshells onto the page, pressing the eggshells down. Re-arrange the eggshells until they look nice. Lift the page to let the excess eggshells fall from the page. Then move on to the next color until your design is cmplete. After letting it dry, you can enjoy your finished eggshell art!

eggshell-art-2

How to Make a Spring Tree

Thursday, May 23rd, 2013

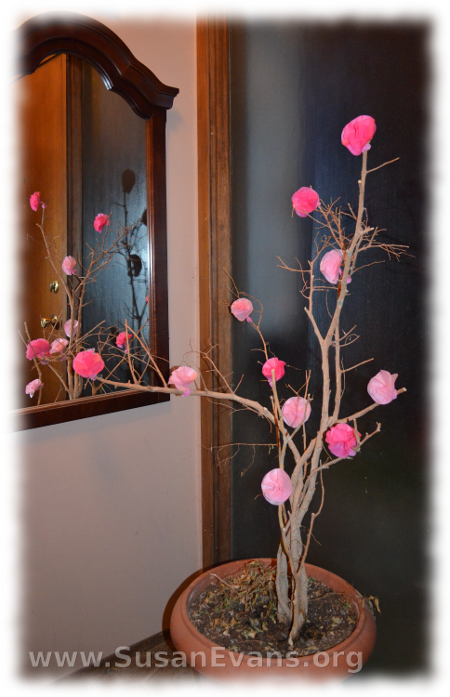
spring-treeYou can make a beautiful spring tree for your entryway by attaching tissue paper flowers to a gnarly branch stuck into some dirt in a pot.

I happen to have a dead tree in my entry way, as you well know from my Thankfulness Tree. Those who follow me on Facebook also saw a dilapidated picture of oversized ornaments hanging from it at Christmas time. Ah, yes. Why don’t I just throw the darned thing out already? Because look! I just transformed it into a gorgeous spring tree! It makes me smile each time I pass by. (And my daughter was delighted, too. My husband just rolled his eyes.)

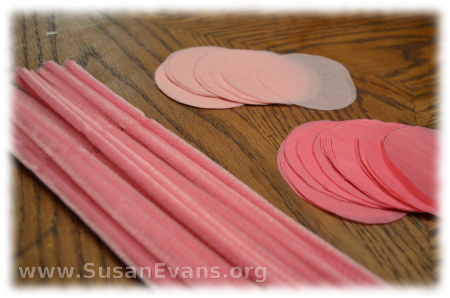
You can make tissue paper flowers with cookie cutters, and those come out more fancy than the simplified ones I’m going to show you here. Instead of using a cookie cutter, I grabbed the lid of a mayonnaise jar and traced around it on light and dark pink tissue paper. Make 4 circles with a pencil, then cut stacks of the tissue paper all at once to make this project go faster. (It’s actually easier to cut 6 or 7 layers of tissue paper than to cut one piece, because the paper is so flimsy.)

spring-tree-2

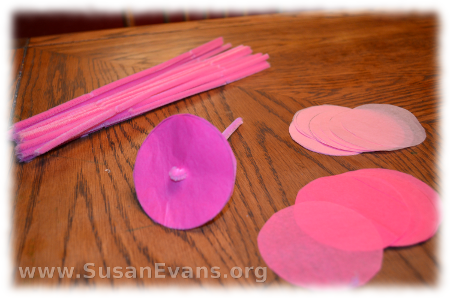
Now that all your circles are cut out, stab half a piece of pipe cleaner into the center of a stack of 4 or 5 pieces. Hook the pipe cleaner to make a lump so that the tissue paper doesn’t slide off the end. Now fluff up the tissue paper. Your flower is finished.

spring-tree-3

Make as many flowers as you like to decorate your tree. I used one large piece of tissue paper for light pink, and one for dark. I cut as many circles as I could, and I ended up with the amount of flowers you see in the picture.


Creative Ways to Use Cookie Cutters #14: Scrapbooking

Tuesday, May 7th, 2013

scrapbooking

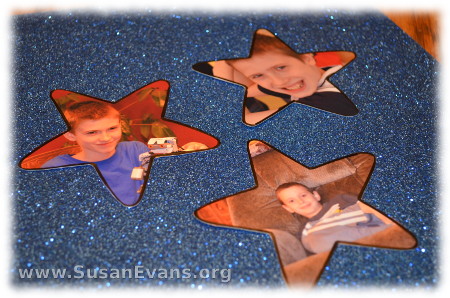
What are some other creative ways to use cookie cutters? How about scrapbooking? When you need a specific shape for your pictures, you can slap down the picture, grab a cookie cutter of the desired shape, and trace around the cookie cutter. Cut out the picture, and stick it to the scrapbooking page with double-sided acid-free tape.

I traced around the cookie cutter with an acid-free marker so that each star was outlined with black before even attaching it to the page.

“But, Susan, I don’t scrapbook, so what’s the use for me to know this?” Well, I’m glad you asked, because there are many variations on this scrapbooking theme. First of all, you could do a photo collage on one piece of scrapbooking paper and frame it as a gift.

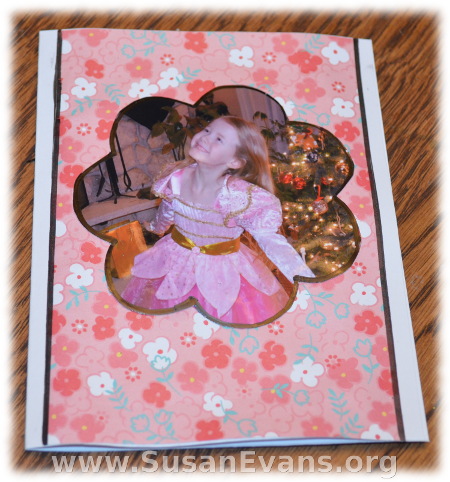
Another idea is to make a card. Outline the shape of a cookie cutter on a photo, and glue it to some card stock paper folded in half, and you’ve made yourself a greeting card. Take a look at the simple birthday invitations I made for my daughter’s upcoming “Secret Garden” birthday. All I did was glue some pretty flower paper to the front of the card, and I outlined down the sides with black marker. Super easy and beautiful!

scrapbooking-card


Creative Ways to Use Cookie Cutters #12: Dolls and Pillows

Friday, May 3rd, 2013

creative-ways-to-use-cookie-cutters-dolls-pillows

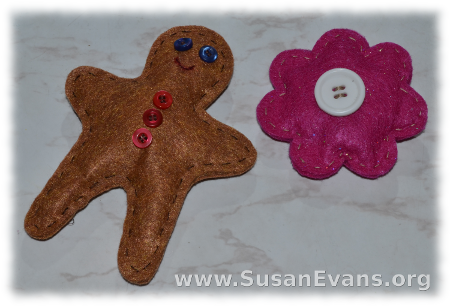
We are counting all the creative ways to use cookie cutters, and we are on #12: Dolls and Pillows! Some cookie cutters lend themselves well to make a felt doll. The gingerbread man cookie cutter is fabulous for this toy. Trace around the cookie cutter on two pieces of brown felt. Cut them out. Decorate the gingerbread man by sewing on button eyes, a red smile stitched on with thread, and three buttons down the front.

Get some filler, either a cotton-like substance, or the scraps of felt that were left over from the brown felt. Stitch the entire gingerbread man, except for one arm. Then put the stuffing into the doll and stitch it shut. This pillow took me 30 minutes only because I was trying to find two matching buttons for the eyes.

This is a perfect simple sewing craft for a child to make, since the stitches just go up and down (a straight stitch). You can also make a pillow from any other shape of cookie cutter. A star pillow would be fun for the Fourth of July, and a maple leaf pillow would be good for the autumn. A clover pillow would be perfect for Saint Patrick’s Day. Smaller pillows make great pin cushions, or they can be used as pillows for dolls.