Posts Tagged ‘hands-on science’

Human Anatomy Game

Monday, February 1st, 2016

human-anatomy-game

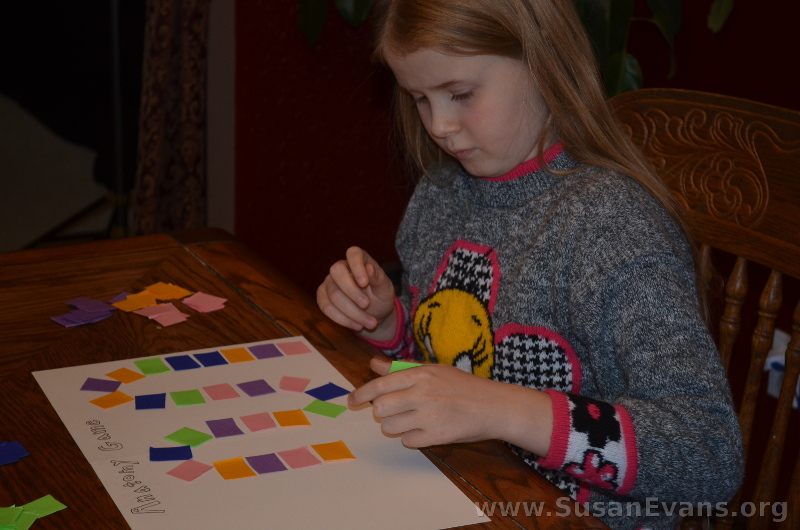
Why not create your own human anatomy game to review the body systems? My elementary-aged daughter and son created their own board games with a deck of cards. My daughter chose a rectangular board, and my son wanted his to be circular. We already had a circle of cardboard bouncing around the house, but if you don’t, you can use a large lid and outline a circle onto cardboard and cut it out.

My son drew a brain, outlined it with black marker, and colored it with crayons. Then he glued down circles to the game board.  My daughter cut out small rectangles of card stock paper in various colors. Each color represented a different body system. She made a stack of cards for each color. Then she glued down a colorful path on her game board, doodling around the edges of the path.

make-your-own-anatomy-game

Questions for a Human Anatomy Game

Here are some of the questions my kids came up with for the human anatomy game:

Skeletal System

  • What are the finger bones called?
  • True or False: Bones make red blood cells.
  • What is the center of the bone called?
  • Where are your radius and ulna located?
  • What is another name for the scull?
  • Do bones have nerves in them?
  • Is the spinal cord made up of bones?

Muscular System

  • What is the muscle that opens and closes your mouth?
  • True or False: Glucose is used to fuel muscle cells.
  • Where are the biceps and triceps located?
  • Your intestines have what type of muscle?
  • Where is the cardiac muscle located?
  • What muscle do you sit on?
  • What kind of joint is in your shoulder?

Digestive System

  • The tube that connects your mouth to the stomach is called the ____.
  • The first step to digestion is ___.
  • What is the meeting place of the esophagus and the stomach called?
  • The teeth at the back of your mouth are called your ____.
  • Your stomach is lined with what kind of muscle?
  • What sucks up nutrients in your small intestines?
  • What does the liver produce?

Integumentary System

  • What are the two layers of the skin called?
  • What do you call a person with no skin pigments?
  • If you eat too many carrots, what makes your skin orange?
  • True or False: Hair is dead at the root.
  • Which parts of your body have the thickest skin?
  • When you are hot, liquid comes out of your ____.

Nervous System

  • What is the Central Nervous System?
  • What is the Peripheral Nervous System?
  • What connects your brain to your spinal cord?
  • The nerves send signals to the ____.
  • True or False: Muscles move because of neurons.
  • The gap between neurons is called the _____.
  • What would happen if your brain had no folds in it?

Feel free to use these questions, or make up other questions for your cards. Then play your human anatomy game, and have fun reviewing the body systems!

Skin Model Cake

Monday, January 18th, 2016

skin-model-cake

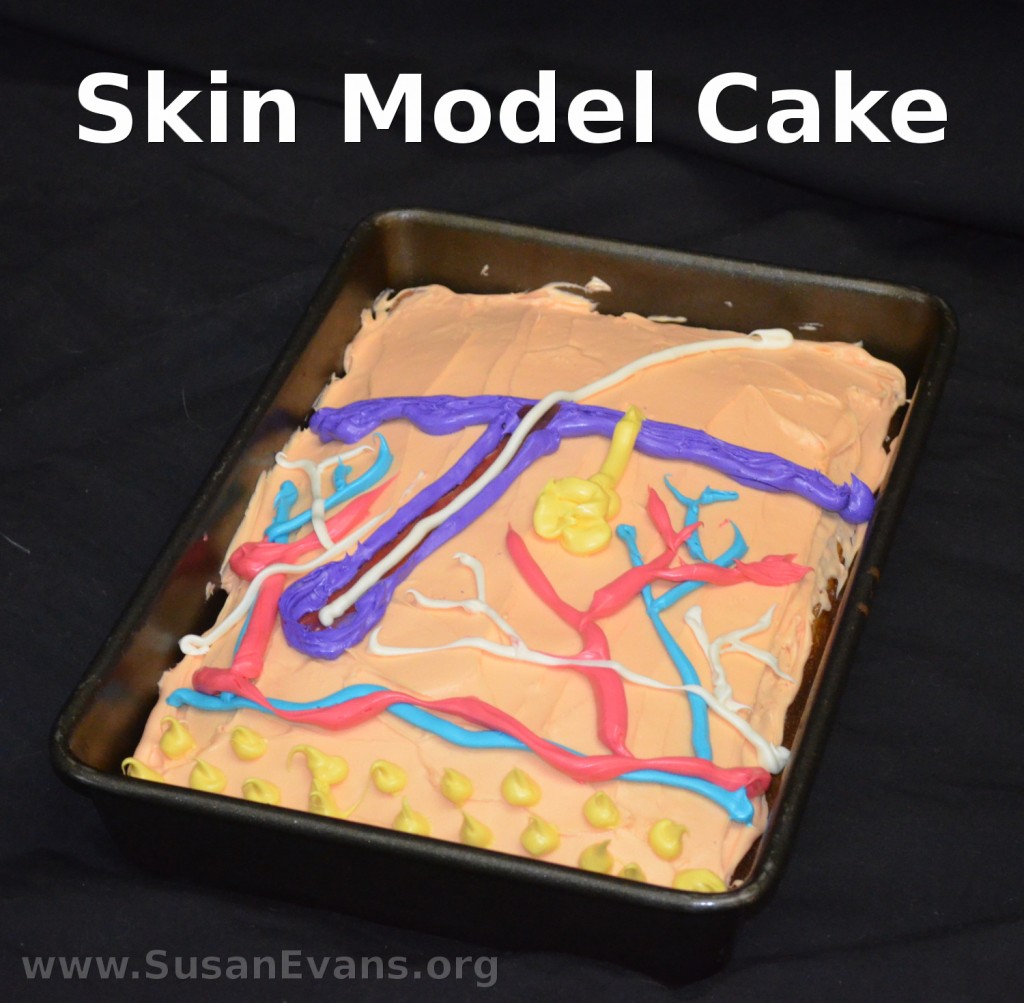
When studying the integumentary system in human anatomy, why not create a skin model cake? This is a great way to re-enforce the diagram of the human skin. As you form each part of the human skin with icing, you will review why each part of the human skin is important.

You will want to start by baking a rectangular cake in whatever flavor you want. Grab two tubs of white icing, and empty one of the containers into a bowl. You will want to make a skin color, so you will need a lot of yellow food coloring, and a little bit of red food coloring. Stir with a spoon until you get the right color. Then frost the entire cake with the skin-colored icing.

skin-icing

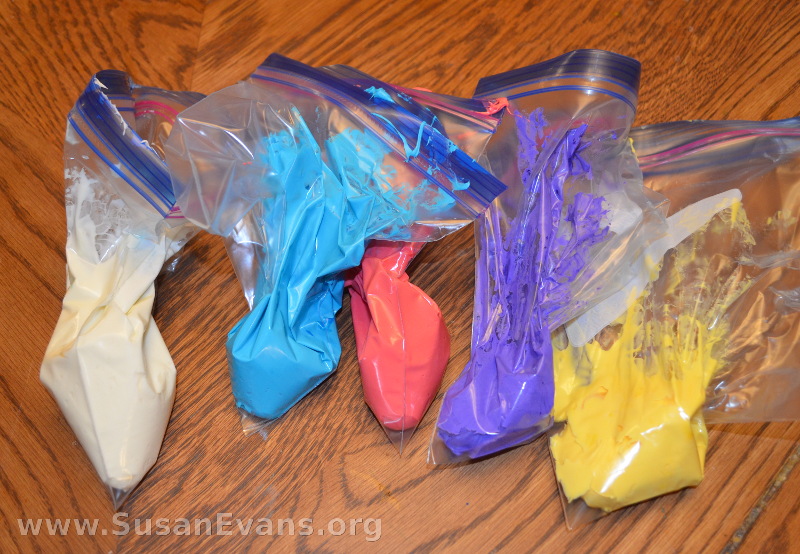
Now open the second container of icing and divide it into four bowls, but leave some white icing in the container. In the four bowls, place drops of food coloring until you have these vibrant colors: yellow, blue, red, and purple. After stirring, place the icing in small freezer bags. Cut a small hole in the bottom of each.

icing-skin-model

Now look at a diagram of the human skin, and begin “drawing” the diagram with the different colors of icing:

  • The epidermis is the outside layer of skin. Outline it purple, and continue down to the hair follicle, which is like an onion bulb.
  • Use white icing to draw a hair up and out of the hair follicle, above the epidermis. You could also use a piece of licorice for the hair, if you would like to add candy.
  • Yellow dots at the bottom of the cake represent the fat globules of the hypodermis, which is technically not part of the skin. (The dermis is the area between the epidermis in purple and the hypodermis with yellow dots.)
  • While you have the yellow icing in your hand, you might as well make the sweat gland, which is like spaghetti in a blob, going up to a sweat pore on the skin.
  • Blue icing is for veins, and red icing is for arteries. White icing is for nerves.

Now you are finished with your skin model cake. Feel free to eat it!

LEGO Atomic Structure

Wednesday, October 7th, 2015

LEGO-atomic-structure

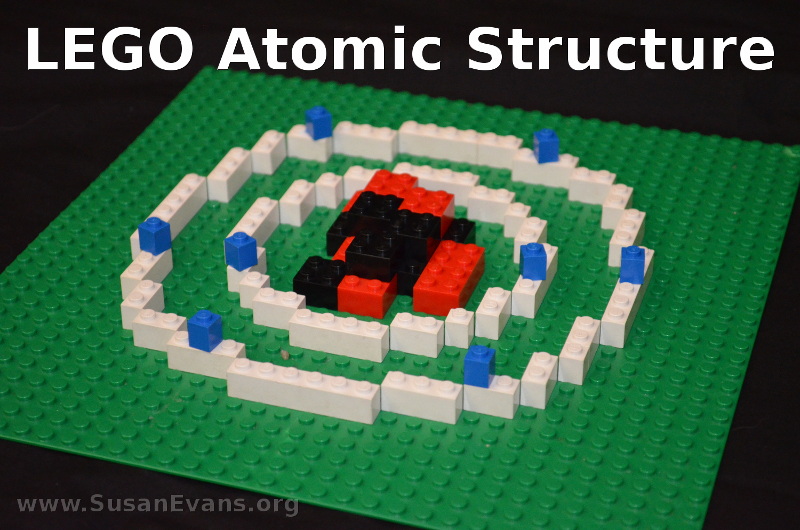
A fun hands-on activity for studying chemistry is to build a LEGO atomic structure, including the protons, neutrons, and electrons of each atom. Each of your atomic models will help to re-enforce the Periodic Table of Elements as you seek to find out how to build each one.

The LEGO atom at the top of this post is an Oxygen atom. The nucleus contains 8 protons and 8 neutrons. The protons are red, and the neutrons are black. The 8 electrons are blue LEGOs that are placed on top of white LEGO rings. The inner shell has 2 electrons and the outer shell has 6 electrons, making a total of 8 electrons.

neon-atom-in-lego

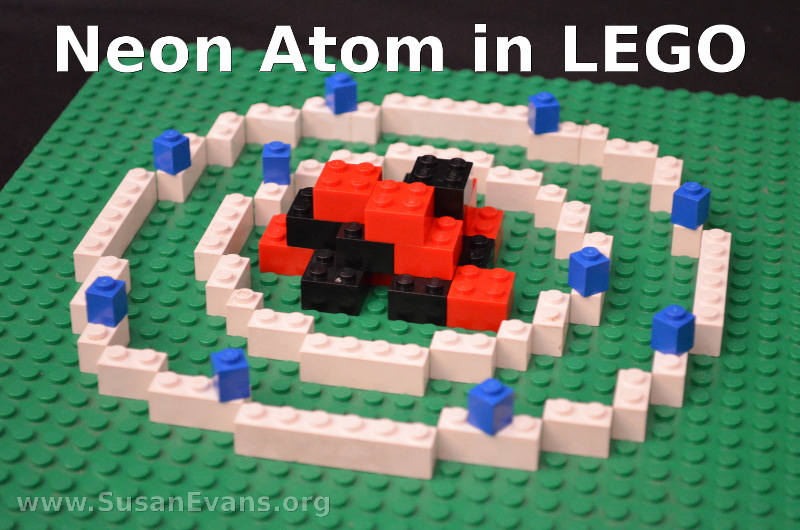
The Neon atom has 10 protons, 10 neutrons, and 10 electrons. Go ahead and build the Neon atom, just as you built the Oxygen atom, including the correct amount of black, red, and blue LEGOs.

Continue to build more elements. The more elements you build, the more familiar you will become with the atomic numbers. Handling the LEGOs physically will help your tactile learners re-enforce the learning to make it unforgettable. You will need to have a Periodic Table of Elements open in order to build the atoms correctly. The atomic number is the number of protons and electrons in the atom, and these are always the same number. To find the number of neutrons, subtract the protons from the atomic number. Easy!

If you would like to build atomic models out of styrofoam balls or candy, take a look at this post:

For more posts about chemistry, check out my chemistry series, which includes fun demonstration videos for each hands-on activity:

Also check out the fun coloring book we used during our study to help familiarize ourselves with the Periodic Table of Elements:

I hope you enjoyed building at least one LEGO atomic structure!

How to Make Homeschool Science Come Alive

Friday, December 12th, 2014

how-to-make-homeschool-science-come-aliveAre you wondering how to make homeschool science come alive? Well, you’ve come to the right place! Today you will hear a panel of homeschool parents discussing how to make science one of the most exciting subjects for your homeschool!

The reason hands-on activities are more important for science than for any other topic is that you can’t truly understand the science concepts without seeing them in action. This is why experiments are so important and why you really ought to touch what you are studying.

Why You Shouldn’t Feel Intimidated by Science

You don’t have to know anything scientific before teaching science. Since the material you are teaching is meant for a child, you can easily learn it along with your kids. If you have a delight in your eyes while you are teaching it, that delight will spark interest in your children.

Everyone makes mistakes while doing science, so don’t be afraid to fail. When making the Edible Sedimentary Rock, you will notice in the video that I poured the liquid into the pan quickly instead of slowly, and the layer was lumpy instead of smooth. My daughter screamed from being splashed accidentally with the hot liquid, which I had no idea would pop out of the pan at all. So you see, even my polished experiments contain mistakes and failures, and you can just laugh and move on.

It helps to see a video demonstration of the concepts being taught. If you are studying Earth and Space or Chemistry, feel free to watch these video demonstrations:

What Materials Do You Need for Homeschool Science?

For elementary science, you don’t need to buy very much that isn’t already in your house–vinegar, a drinking glass, a funnel, those kinds of things. Once you get to high school science, you will want to get some equipment like a microscope, a scale, beakers, etc, depending on what you are studying. You really need to do the high school experiments in the lab sciences to fully understand those concepts, so you don’t want to scrimp at that point.

Science Field Trips

When you are studying outer space, you can do star gazing, go to an observatory, or visit a space center. When studying birds, you can go bird watching, visit a bird sanctuary, or go to a chicken farm. A weather station is a perfect field trip if you are studying the weather. Just go to a place that brings your science topic to life, and you can experience that topic in a fresh way.

What About Preschool Science?

Preschool science is all about delight and exploration. We have done nature collections, put together various terrariums, played with bubbles, and explored many other science topics. Here is a fun article about preschool science: Science in Early Childhood.