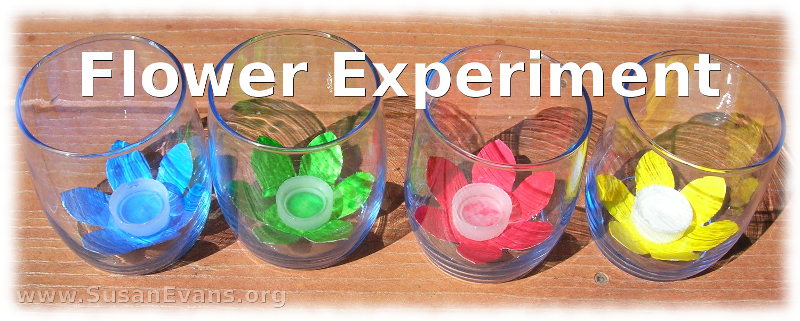
Here is a fun flower experiment: Grab some colorful construction paper, and cut a flower shape in four different colors: blue, green, red, and yellow. Grab four bottle caps, and put sugar water into each. Place the construction paper flowers into each of four clear glasses, with the full bottle caps in the centers. Then put them outside, and watch which bottle cap gets drunk out of the most by bees and butterflies. For some reason, the red color attracts insects more than the other colors…
Posts Tagged ‘science’
Flower Experiment
Tuesday, May 29th, 2012My Favorite Science Websites
Sunday, May 6th, 2012These are some of my favorite science websites:
- Periodic Table Song– Scroll down and listen to the Chemistry Element Song. Go on… Do it right now. The periodic table will never be the same…
- Science Experiments You Can Do at Home – Science experiments with clear descriptions.
- All About Birds – Click on a picture of a bird, read a description, and listen to the bird call.
- Free Creation Science Videos – Creation science videos for older kids who can watch lectures.
- Answers in Genesis Free Kid Videos – Creation science videos for younger kids. My kids enjoyed watching the 9-part series of Dangerous Journey, a kid version of Pilgrim’s Progress. Even though it technically wasn’t an animated cartoon, my kids still liked it.
- DNA Tube – Some of these videos might contain evolution, but you can find outstanding videos for upper-level science here.
Extracting DNA
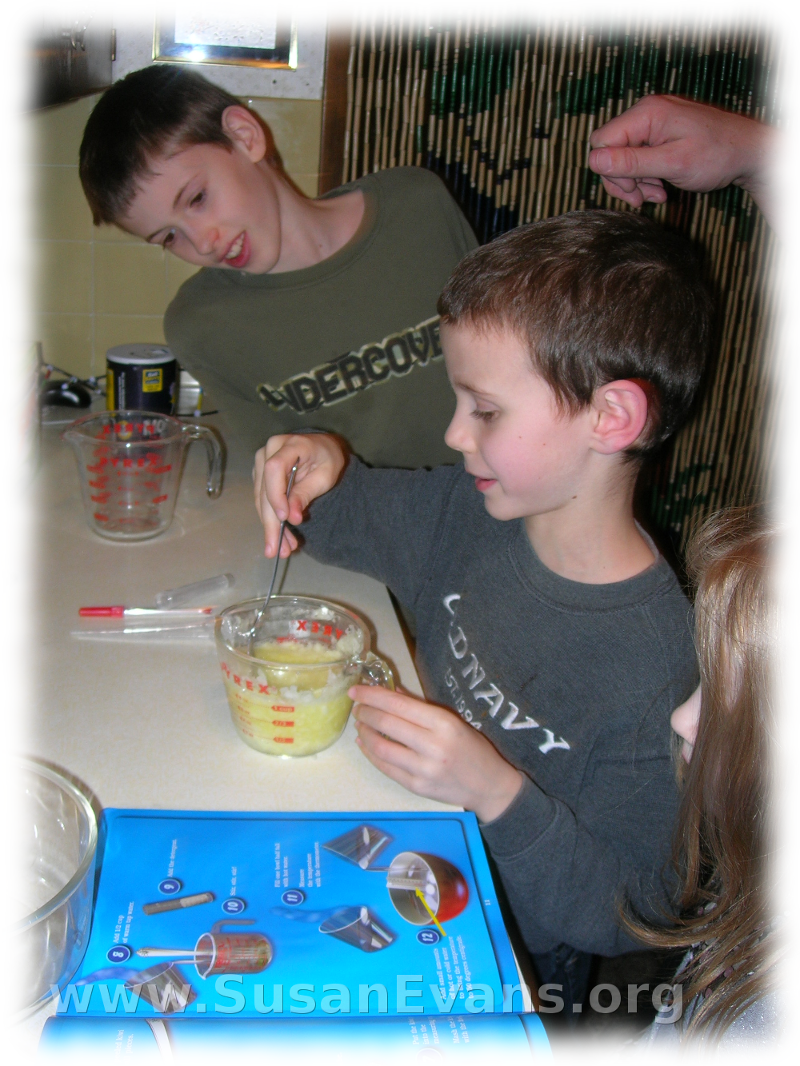
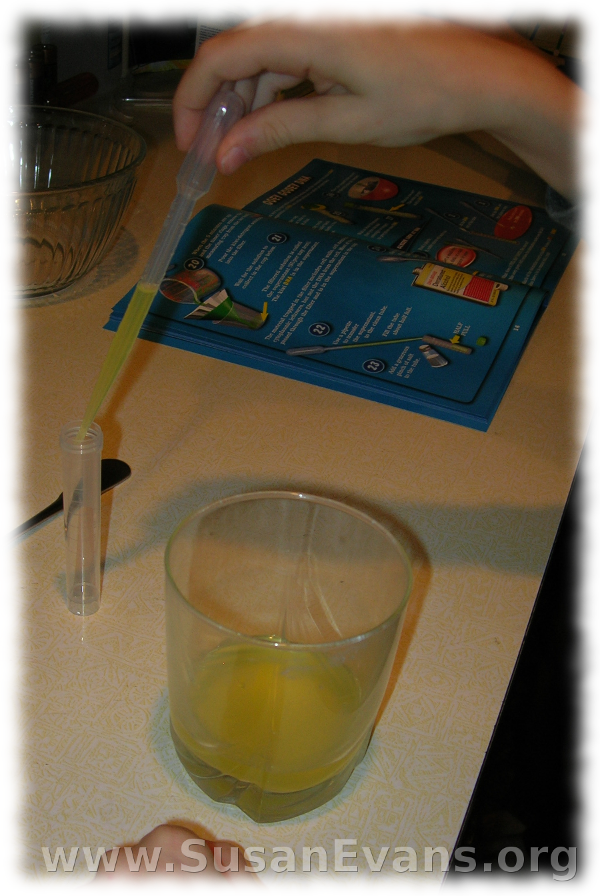
Thursday, April 12th, 2012My husband did an experiment with my kids the other night. We had fun extracting DNA from an onion. My 8-year-old son Nathaniel received a DNA kit as a gift, so he was eager to try one of the experiments. First we cut an onion into small pieces, and the kids mashed it in a glass measuring cup. We added half a cup of warm water. Then we added 5 ml of powdered detergent. We stirred it.
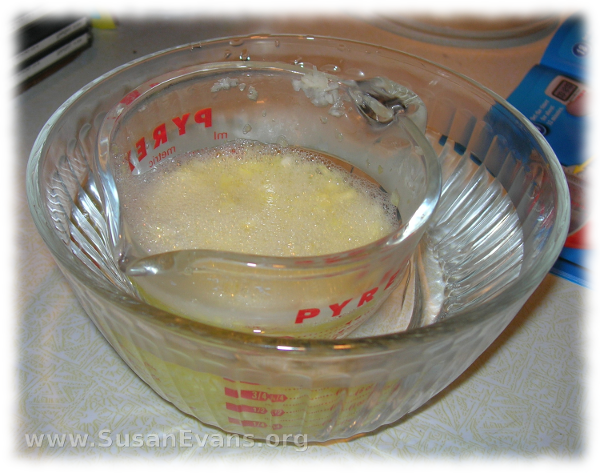
Next we filled a bowl with hot water. We measured the temperature with a thermometer, adding cold water until it was 50 degrees Celcius. We put the measuring cup with the smashed onion bits into the hot water. Then we set the timer for 12 minutes.
We added hot water as needed, to keep the mixture at 50 degrees, stirring from time to time. Also, we got a second bowl and filled it with ice cubes and water.
Ding. (The timer went off.) We took the mixture out of the hot water and put it into the cold water. We set the timer for 5 more minutes.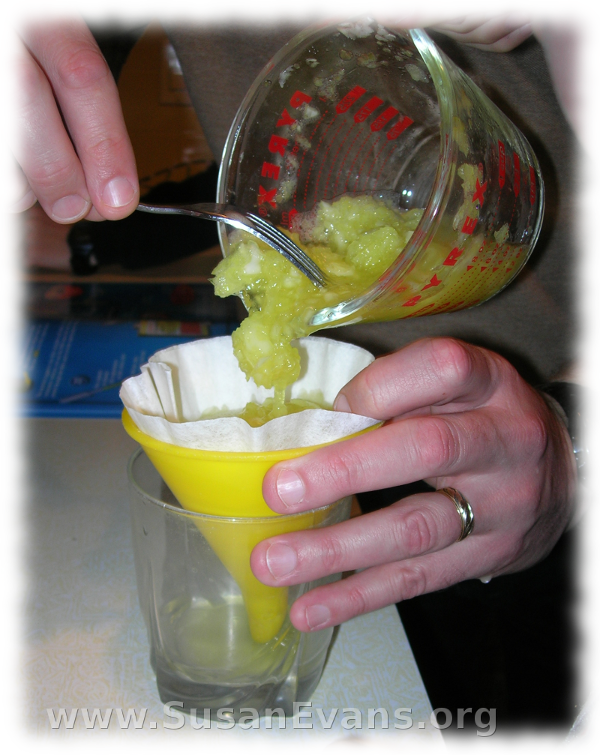
Ding. We grabbed a coffee filter and stuffed it into a funnel. Then we poured the onion mixture through the filter and funnel, and into a glass. The gunk trapped in the filter included “cell walls, cell membranes, and cytoplasmic leftovers, but not the DNA from the cell.” The DNA passed through the filter.
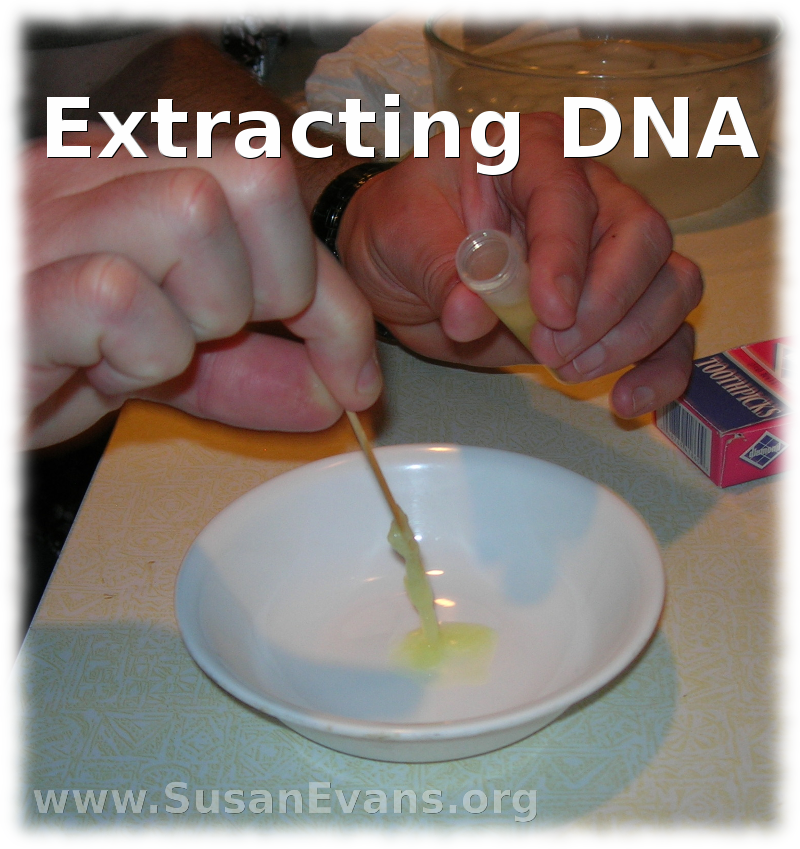
We poured the DNA liquid (called supernatant) from the glass into a test tube, filling the tube halfway. We added a pinch of salt, then dripped chilled (denatured) alcohol down the side of the tube, filling the other half of the test tube. We screwed the cap onto the tube and rocked it back and forth like we were dancing with a maracas. We placed the tube in the freezer and waited at least 10 minutes, tapping our feet impatiently.
Ding. Oh my goodness! The white gloppy stuff is DNA! It feels gooey like mucous, and and it’s stringy, like it has formed chains!
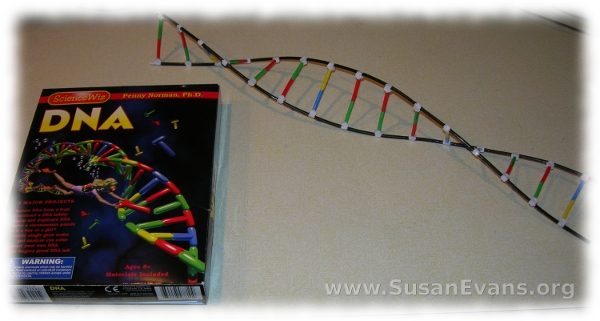
My husband also helped my kids put together a DNA chain with the plastic snap-together DNA pieces. He looked at me and said that he gives this Science Wiz DNA kit a thumbs up. The colorful instructions were easy to follow, and the experiments were fun.
 Linked to Science Sunday at Adventures in Mommydom:
How to Organize a Nature Display
Thursday, January 5th, 2012Are you looking for nature display ideas? You’ve come to the right place! I’m Susan Evans, your homeschool organization guru, and today I’m going to show you how to organize a beautiful nature display.
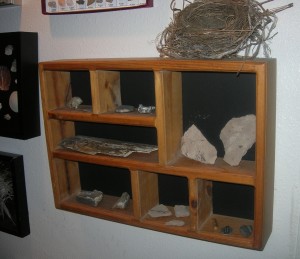 First you will need some sort of wooden shelf with compartments. I got mine at a yard sale for $3.
- It had no backing on it, so I went to the store and bought a posterboard that was black and very stiff. (You can also use black velvet board.) The black color really pops to help make your display look gorgeous, by the way.
- I cut the posterboard to size. Then I used an industrial stapler to stick it to the back of the display. (You can use the industrial stapler for other home decorating projects, so I recommend getting one.)
- After I had the backing on the display, I wanted something strong to hold it up because you’re going to have nature collections that include objects that are heavy. So you want a heavy-duty wire, and then use your industrial stapler to staple the wire into both sides on the edges.
- Here are some items you can have in a nature display: fossils, a bird’s nest, rocks and minerals, feathers, animal sculls, snake skins, pine cones, seeds, seashells, moss, old cocoons, blue egg shell from robins, etc.
- The items are just leaned up against the back. If you don’t want the items to slip down, you can put a little tiny dab of hot glue on the back that would hold it in place.
Now you have a nifty, fabulous nature display area for your homeschool. If you would like more ideas on Organizing for a Fun Homeschool, I have a two-hour video workshop where I show you every room in my house just like this. Go check it out!
