Archive for the ‘Bible’ Category

Bible Rocks and Minerals

Sunday, November 13th, 2022

Bible-Rocks-and-Minerals

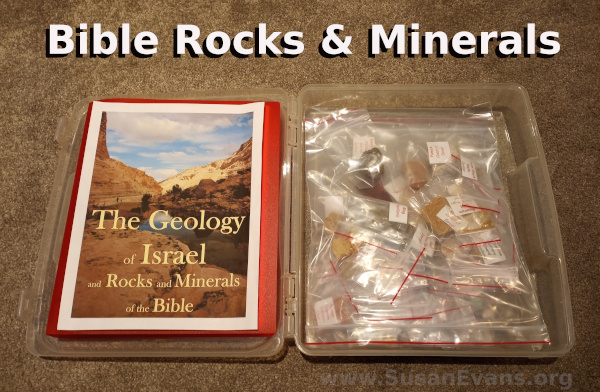
I’ve recently noticed many places in Scripture that mention rocks and minerals. Years ago we purchased The Geology of Israel and Rocks and Minerals of the Bible from Northwest Treasures, which is a set of rocks and minerals that is specific to the Scriptures and to Israel, along with a binder with information about the rocks contained in the set. My kids gathered around to look at each rock and mineral to better understand, in a tangible way, the rocks referred to in Scripture.

Today I’m going to show you my two favorite rocks and minerals passages in Scripture: the precious stones in the Levitical priest’s garments and the precious stones referred to in the New Jerusalem that descends from heaven in the book of Revelation.

Precious Stones of Levitical Priest

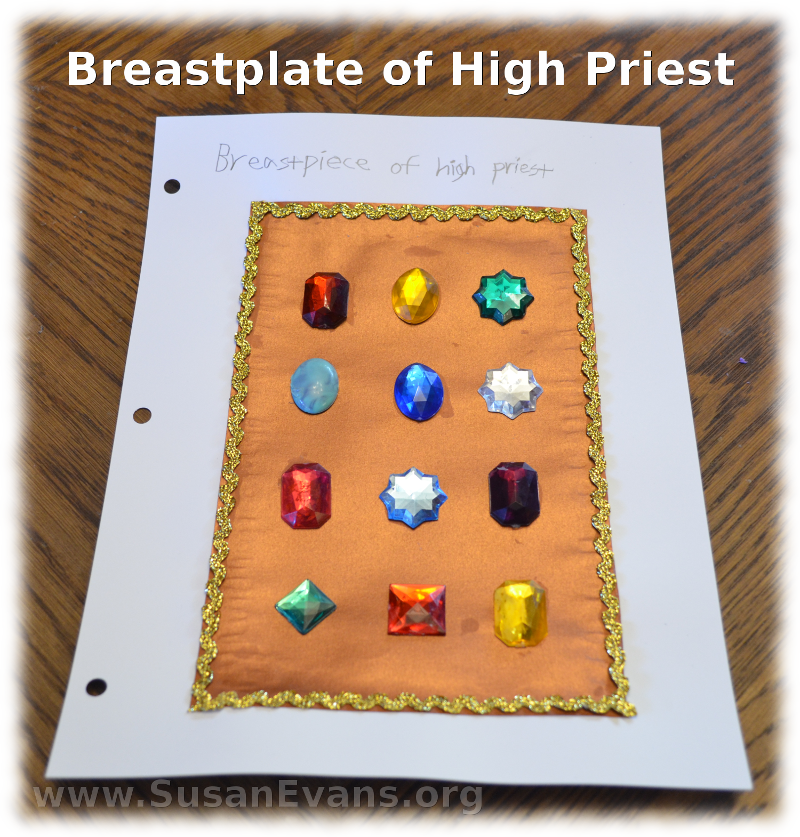
I’ve always been fascinated by the precious stones in the high priest’s breastplate, which is described in Exodus 28:17-20. These stones were to be put into the beautiful woven garment that was for Aaron, the high priest. Each one of these rocks represents a different tribe of Israel, starting with Ruben (the oldest), all the way down to Benjamin (the youngest.)

We are going to look at some of these rocks and minerals today:

You can also do a craft for the breastplate of the high priest with shiny bronze paper and plastic gems to represent each color of the precious stones listed in Scripture. I give instructions on how to do this craft here:

breastplate-high-priest-craft

Precious Stones from Revelation

My other favorite Scripture passage for the study of rocks and minerals is the New Jerusalem coming down out of heaven in Revelation 21:10-21.

The New Jerusalem is in the shape of a square, with three gates on each of the four sides. Each gate is an enormous pearl, and under each gate is a foundation stone. Each foundation stone is decorated with every kind of precious stone. These stones are mentioned: jasper, sapphire, chalcedony, emerald, sardonyx, sardius, chrysolite, beryl, topaz, chrysoprase, jacinth, and amethyst. Let me show you:

The length and width of the New Jerusalem is 1,500 miles across, so you have 500 miles for each foundation stone! Those are enormous foundation stones, one huge rock under each gate, holding up the walls of the New Jerusalem. The foundation stones are adorned with beautiful designs (maybe mosaics!) with only precious stones that glitter and sparkle in the light. God will be the Light of the city. You can see the precious stones adorning each foundation stone because the ground is transparent gold like glass! So the streets are clear, but they are shimmering because they are made from gold rather than sand, which is what window glass is made of. WOW.

We made a model of the New Jerusalem:

If you enjoy hands-on Bible activities, you will love Using Simple Costumes and Props to Teach the Bible, as well as the Bible section of the Unit Study Treasure Vault, which contains hands-on activities for every book of the Bible!

__________________________________________________________________

$200 Christmas Giveaway!

Christmas-Giveaway

Once again, I have teamed up with some generous bloggers for the 9th annual Christmas Blessings Giveaway to bless FIVE families this year. In the past we have had two winners for this giveaway, but this year we wanted to give to even more families – we are giving away $200 gift cards to 5 families! Each winner will get a $200 gift card to wherever they choose – a restaurant, clothing store, grocery store, online retailer – any place that offers gift cards!

There are lots of entry options in the Rafflecopter form below – the more you enter, the better your chance of winning! I know it can seem tedious and time consuming to go through all the entries, but isn’t a chance at $200 worth it? I think it is! Plus, all of these amazing bloggers donated their own money towards the prizes, so this giveaway wouldn’t be possible without them. I hope you’ll take the time to check out each one. Who knows, maybe you will find some new blogs to follow.

The giveaway will run from Monday, November 14th through Wednesday, November 23rd (ends at 11:59pm EST). Winner will be notified by email shortly after the giveaway ends and will have 48 hours to respond to claim the prize or another winner will be drawn. By entering this giveaway, you agree to be added to the email lists of the participating bloggers. Please be sure to read the Rafflecopter terms and conditions upon entering.
a Rafflecopter giveaway

Bible Notebook

Friday, August 5th, 2016

Bible-notebooks

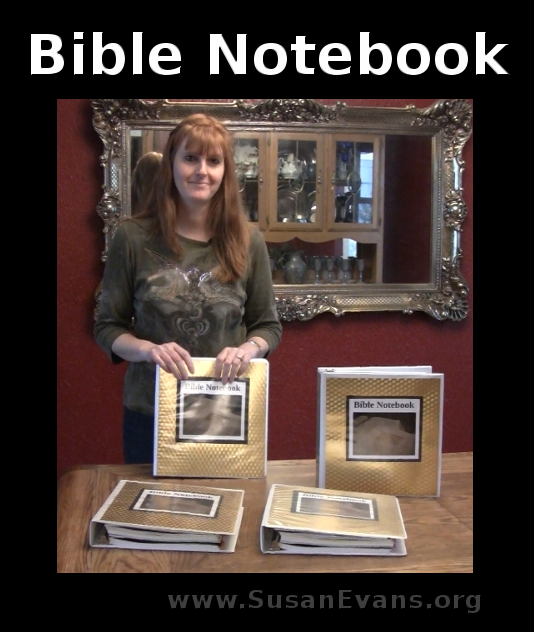
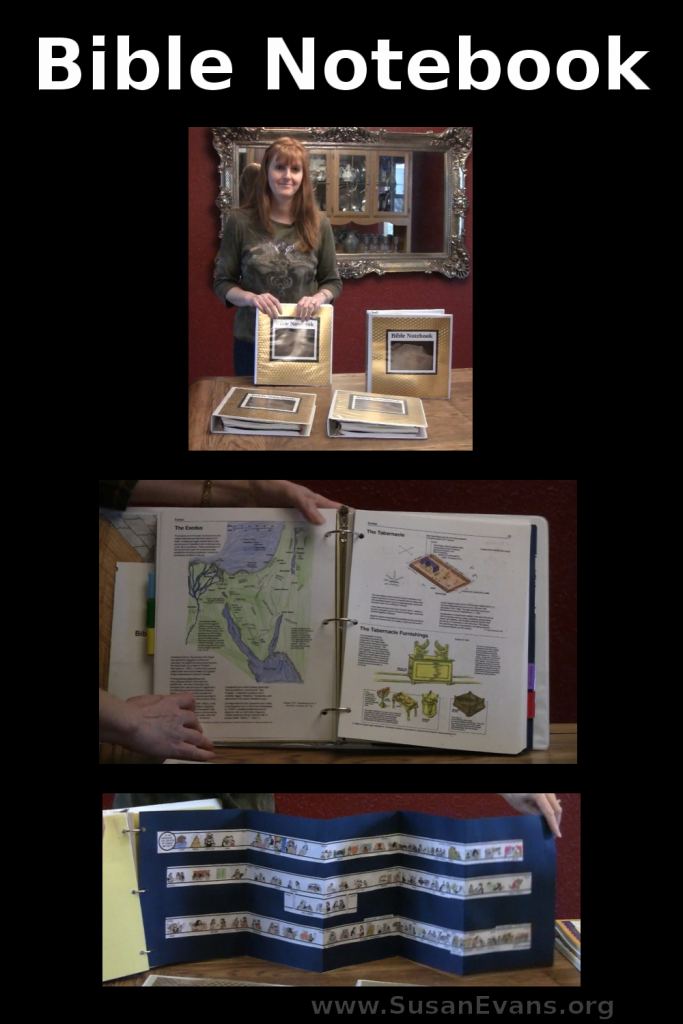
Today I will show you how to put together a Bible notebook with your children. These notebooks are great for homeschooling your children for Bible class. You can also use these binders for Sunday School or for any other purpose, such as a personal Bible notebook for you as a parent.

Video Demonstration of our Bible Notebooks

Here is a video demonstration where I show you what we included in our Bible notebooks:

Sections to Include in a Bible Notebook

Bible-sections-for-notebook

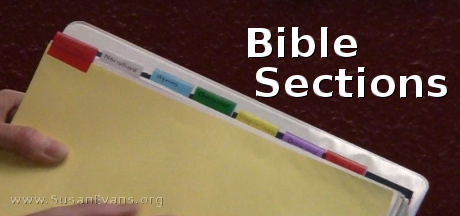
We divided the notebook into seven sections:

  1. Scripture memory: Print out the Scriptures that you want your children to memorize. You can use their AWANA verses from church, or have them memorize a verse to overcome specific sin in their lives. Psalm 23 and the Lord’s prayer are good places to start.
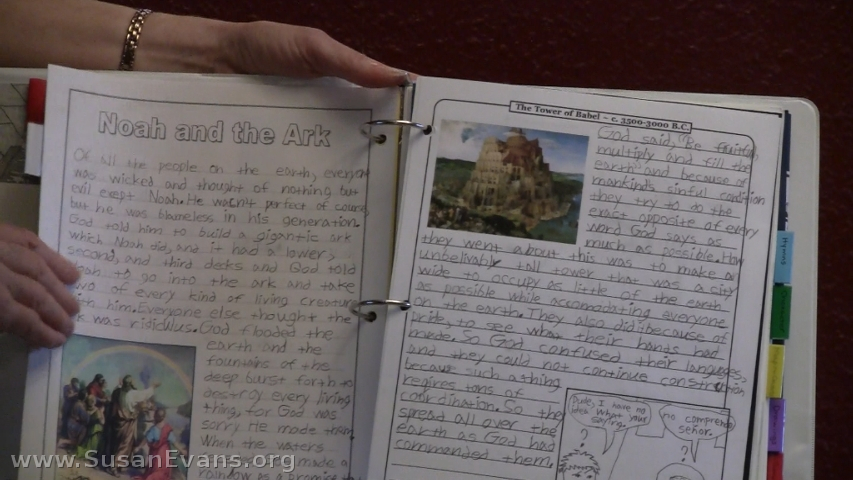
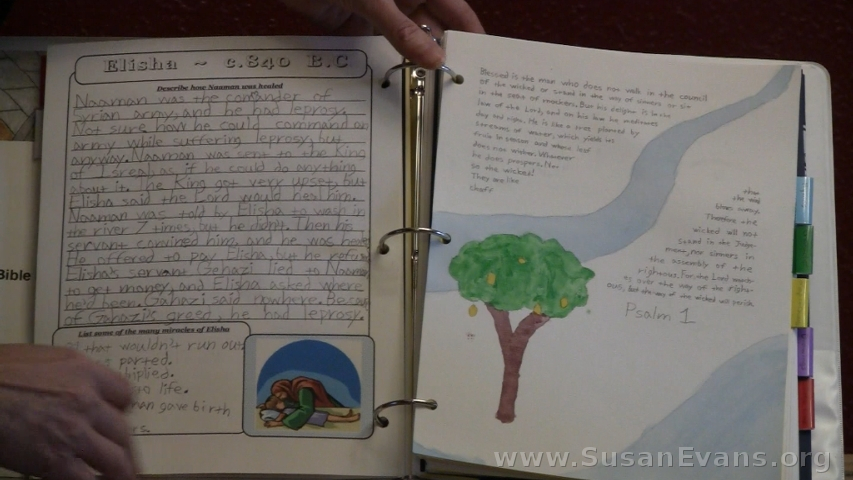
  2. Narrations: These are summaries of different stories from the Bible. Your child re-tells the story, trying to remember as many details as possible.You can print out notebook pages with pictures online, or just use regular notebook paper.

Bible-summary-pages

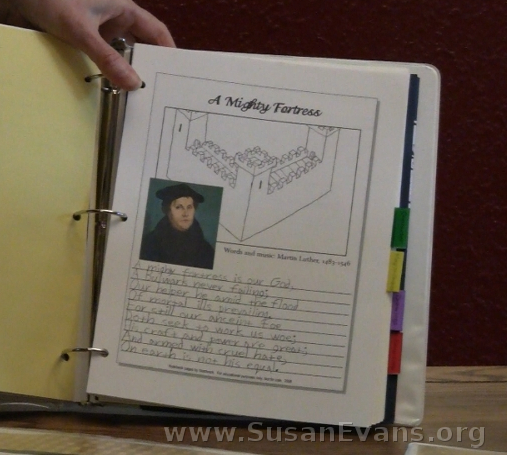
3. Hymns: These are the great hymns of the faith, like “A Mighty Fortress is Our God.” Have your kids learn the songs. You can find the hymns and sing along with the YouTube videos. Your children can write out the words on a notebook sheet of paper, looking at a hymn book for the printed words of each song.

hymns

4. Character: Define a character quality and ask God to help you grow in that quality. Write down ways that you show that quality throughout the day.

5. Drawings: Draw pictures of different Bible stories, choosing a scene that stands out in your mind. To see each of my children’s drawings, check out my series: 31 Days of Drawing through the Bible.

notebooks-for-Bible

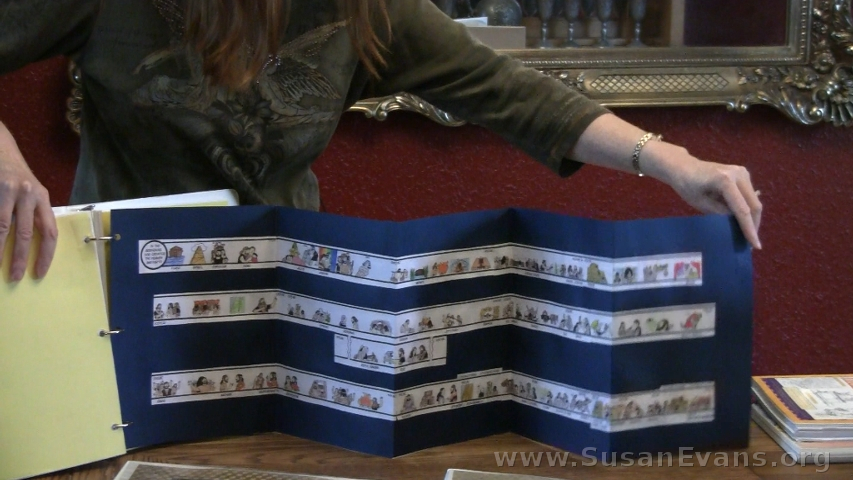
6. Time Line: Find a Bible time line printable or make up your own time line, drawing pictures to represent each Bible story. The one we used was from {affiliate link} Reproducible Maps, Charts, TimeLines, & Illustrations.

Bible-time-line

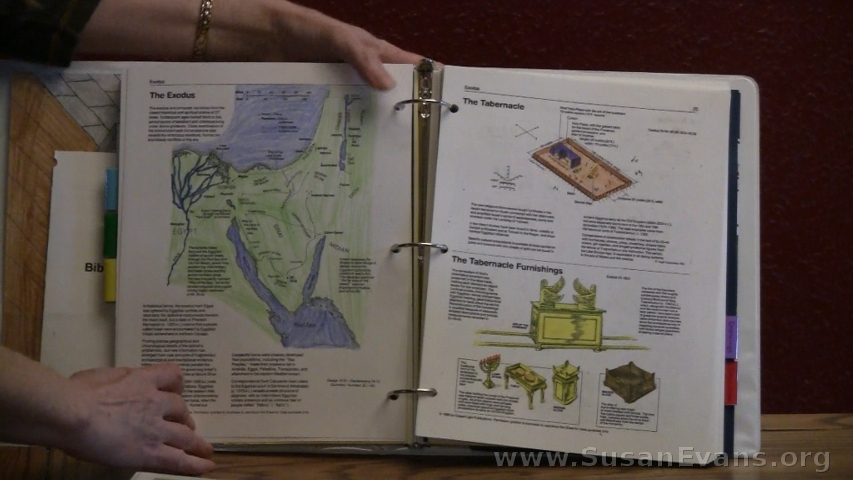
7. Maps & Charts: Color maps from Scripture stories. Print out charts outlining each book of the Bible. We used the ones from the same book where we got the time line. You can have an 8th section with the outlines of each book of the Bible, and the 7th section can be for maps and charts contained inside different stories from Scripture. (Watch the video above to see how we put together the notebook sections.)

Bible-maps-and-charts

Decorating Your Bible Notebook

Bible-Notebook-cover

Make sure to buy a binder that has a clear pocket in the front so that you can insert a decorated card stock paper into it for a beautiful cover. Print out the words “Bible Notebook” from your computer printer, and cut out the words and glue them to the cover page. Decorate it in any way you wish. We snapped a photo of an open Bible with our reading plan to decorate the front.

Bible-notebook

If you enjoyed this post, you will love the Bible section of the Unit Study Treasure Vault, where we have hands-on activities and exclusive videos for every book of the Bible!

I & II Thessalonians Unit Study

Wednesday, June 1st, 2016

Thessalonians-unit-study

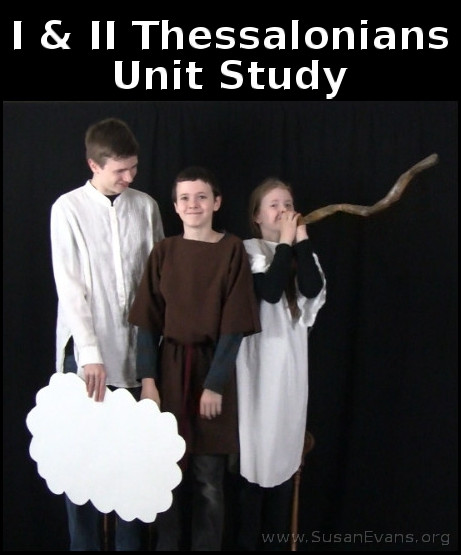
We had a great time filming our I & II Thessalonians Unit Study. We re-enacted lots of skits, referred to a map of Thessalonica, and baked a cake to represent the Day of the Lord.

When looking at the overview for I & II Thessalonians, we saw that one of the main themes was the Day of the Lord. We filmed Jesus and an archangel up on a chair holding some clouds while the archangel blew the shofar, the Jewish trumpet. The dead in Christ rise first to meet the Lord in the air, so we had a black gravestone made out of black poster board. One of my sons floated up out of the gravestone to meet the Lord in the air. You see him in the clouds with Jesus and the archangel.

map-of-thessalonica

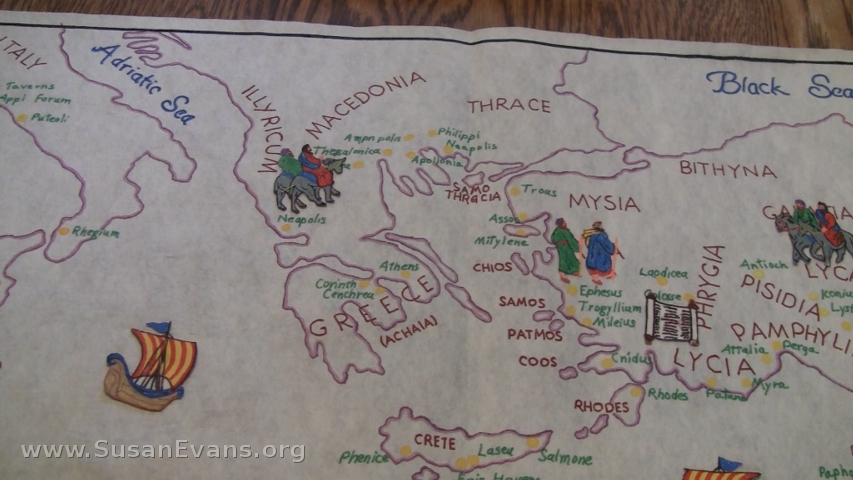
We looked at a map of where Thessalonica was located, which is in Macedonia north of Greece. I have a beautiful biblical map that a woman from my mom’s church gave her. It was created with markers on a large piece of felt. You can easily look in the back of your Bible to find a map of Paul’s missionary journeys, and you will find where the city is located.

be-patient-with-all-men

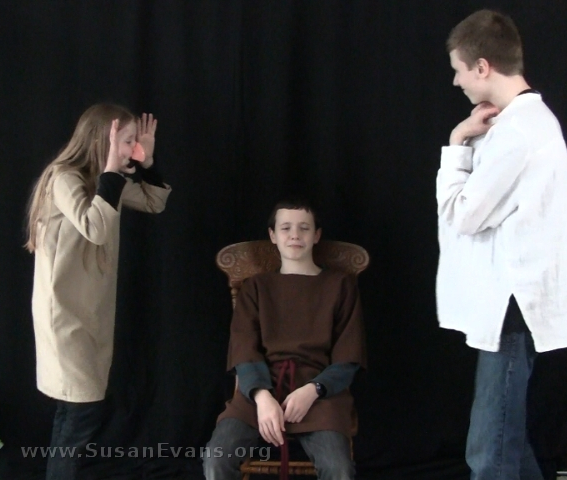
We acted out various skits to bring to life the topics discussed in these two letters from Paul to the Thessalonians:

  • If you don’t work, neither shall you eat. (Give bread to the one that is working, but don’t let the lazy person have any bread.)
  • While saying, “Peace and safety,” destruction comes. (Throw lots of couch pillows on an unsuspecting person.)
  • Admonish the unruly. (An out-of-control person gets scolded.)
  • Encourage the fainthearted. (When someone is sad, give them a hug.)
  • Help the weak. (Help an elderly man walk across the street.)
  • Be patient with all men. (Have a kid sit in a chair while people around him are being annoying. Have him sit patiently, as pictured above.)
  • Rejoice always, pray without ceasing, in everything give thanks. (Act out each of these commands.)

rapture-cake

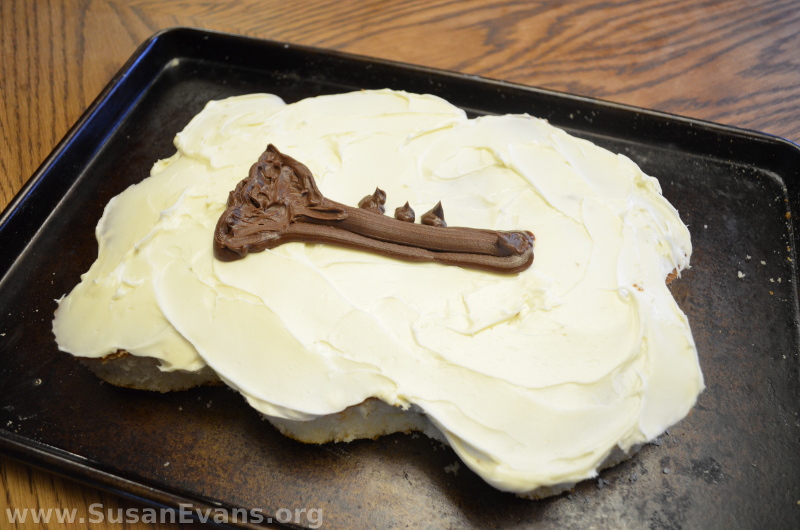
We also make a cake that represented the Day of the Lord. It is a cloud shape with white frosting. A trumpet shaped by chocolate frosting is on the top. This was the culminating activity for our I & II Thessalonians Unit Study.

If you enjoyed these activities, you will love the Bible section of the Unit Study Treasure Vault that includes unit studies for every book of the Bible!

Resurrection Cake

Monday, March 14th, 2016

resurrection-cake

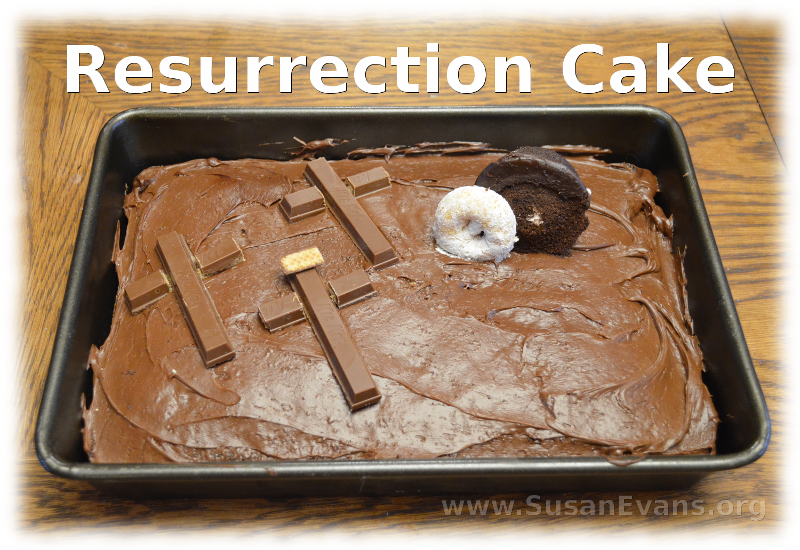
Why not make a resurrection cake to celebrate the resurrection of Jesus on Easter? It’s super easy to make. First you will want to bake a cake of any flavor. Frost the cake with chocolate frosting to represent dirt. Grab some Kit Kat chocolate bars, or similar cookies or chocolates that you can break apart to form crosses. I tried to stand them up, but unless you glue the pieces of the cross together, it will fall apart. It’s simpler just to lay them down.

A piece of Kit Kat fell apart on the counter, and it looked like the sign that would have been above the cross of Jesus, the one that would have said, “King of the Jews.” So I glued it with chocolate frosting to the top of the center cross.

I bought a package of chocolate Ding Dongs, and I used one for the tomb, setting it on its side. I used a white powdered doughnut for the rolled-away stone. Your cake is ready to serve!

If you are looking for more on the resurrection of Jesus, take a look at these fun hands-on activities: