Posts Tagged ‘spring’

Flower Cupcakes

Wednesday, April 10th, 2013

flower-cupcakes

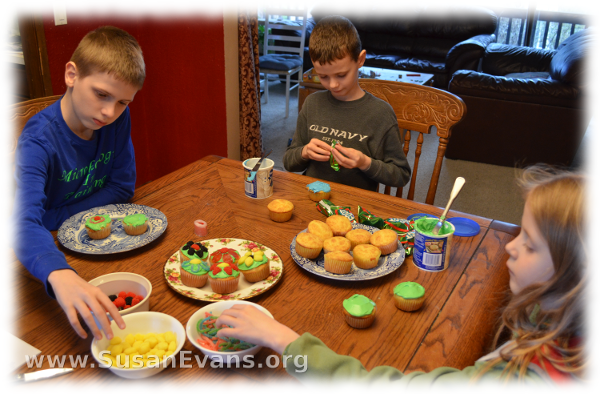
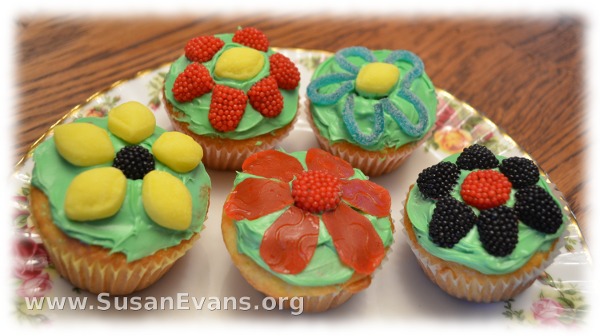
These flower cupcakes are a fun treat and are super easy to make. First get some cake mix and bake cupcakes according to the directions on the box. I used yellow cake mix, but you could choose any flavor you want, including chocolate that would look like soil from which all beautiful flowers grow. Chocolate frosting would look like the soil, too, if you’re into pure chocolate treats. You could even decorate the tops with only chocolate candy…

Go to the candy aisle of your grocery store and find some candy that will look like petals and the center of flowers. Lemon drops, candy raspberries, sour gummy worms, and fruit roll-ups are a good place to start. Place a lemon drop in the center, and place other candies like petals around the flower. Or cut fruit roll-ups to look like petals, and place them on top of the icing around a candy at the center. I used green icing to represent the fresh spring grass.

My children had a great time decorating and eating these yummy spring flower cupcakes!
flower-cupcakes-2

Spring Scavenger Hunt (free PDF)

Wednesday, April 3rd, 2013

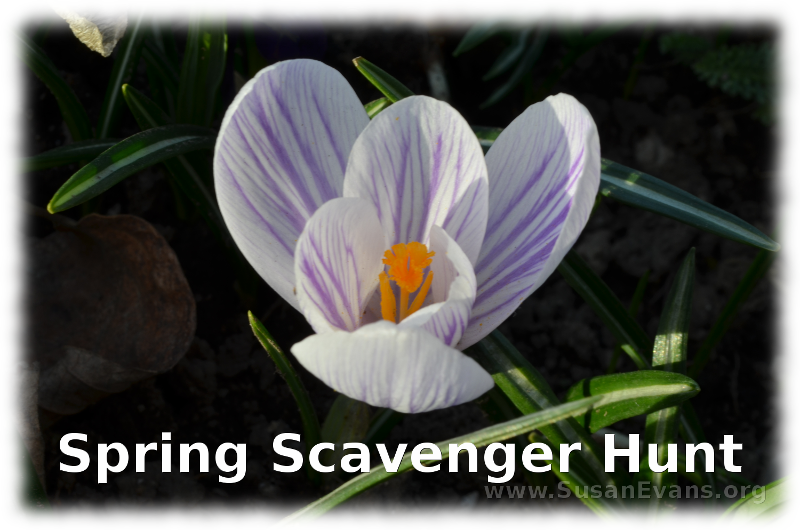
spring-scavenger-huntWhy not celebrate the coming of spring with a Spring Scavenger Hunt? Go on a fun nature hike and see if you can find the following items. Snap a picture of each item as you find it, and add the pictures to your nature journal. You can add descriptions under the photos, or older students can sketch the items into their journals, using the photos as a guide.

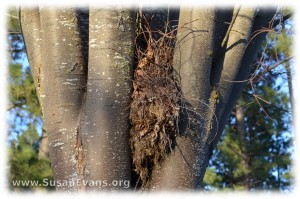
  1. bird nestspring-scavenger-hunt-2
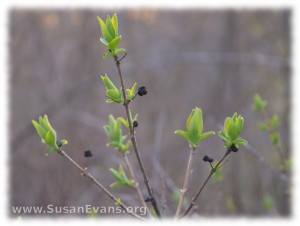
  2. buds on tree branches
  3. daffodils
  4. sapling (young tree)
  5. ducks on a pond or river
  6. caterpillar, cocoon, or butterflyspring-scavenger-hunt-3
  7. new cones on evergreen trees
  8. plants pushing up out of soil
  9. cumulus cloud
  10. tulips
  11. new grass
  12. feathers
  13. crocuses
  14. lichen growing on rocks
  15. dandelionsspring-scavenger-hunt-5
  16. squirrel
  17. egg shells
  18. seeds
  19. hyacinths
  20. bees buzzing around flowers

You can print out a copy of this scavenger hunt here:

Resurrection Garden

Wednesday, March 27th, 2013

Resurrection-Garden

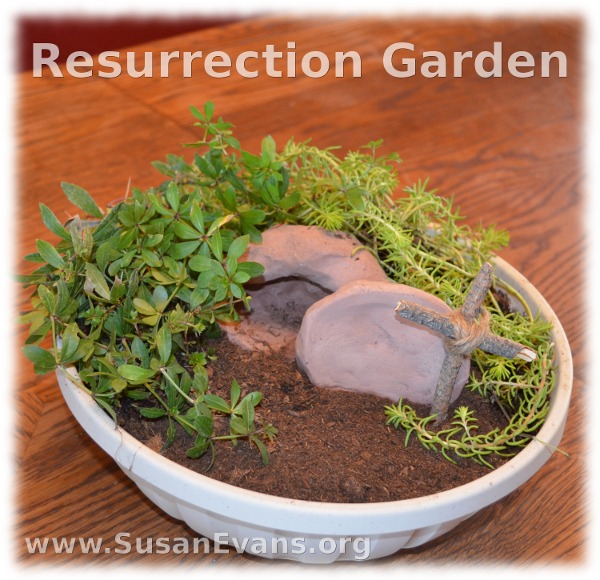
This easy-to-make Resurrection Garden is a meaningful centerpiece for your Easter table. You make the empty tomb out of self-hardening clay two days before. Then fill a large bowl with soil, place the tomb into the soil, and surround the tomb with plants. You will also want to make a cross out of two twigs tied together with twine.

I originally saw the idea for a Resurrection Garden here, so I thought I would do my own version. Melissa Holt is apparently the one who came up with this idea, using grass or mustard seeds that grew all around the flower pot tomb on the week leading up to Easter. My version takes less time because you don’t have to wait for the grass to grow. You could even put the wet clay straight into the dirt and complete the project in less than 15 minutes.

Items needed for the Resurrection Garden:

  • large bowl or flower pot
  • soil
  • terra cotta self-hardening clay
  • 2 twigs
  • twine
  • plants

Cut a slab of terra cotta clay off the main hunk of clay by using a butcher knife. Form the clay into a ball. Press your fist into the ball to made a cave-like indentation. Make a circle or oval of clay for the rolled-away stone as well. Place both pieces of clay (the tomb and the stone) on top of wax paper to dry for two days.

Fill a bowl or pot with soil. Place the tomb into the soil. Surround the tomb with shade plants from around your yard. Or you can purchase small indoor plants just for this project. Choose leaves of different colors and textures for maximum beauty for your scene.

Snap some twigs to the correct size for a cross, based on the size of your tomb. Join the pieces together with twine. Tie the knot in the back so that it can’t be seen. Stab the cross into the dirt on the side of the tomb. Now your Resurrection Garden is complete.

Edible Egg Nest

Monday, March 25th, 2013

Edible-Egg-Nest

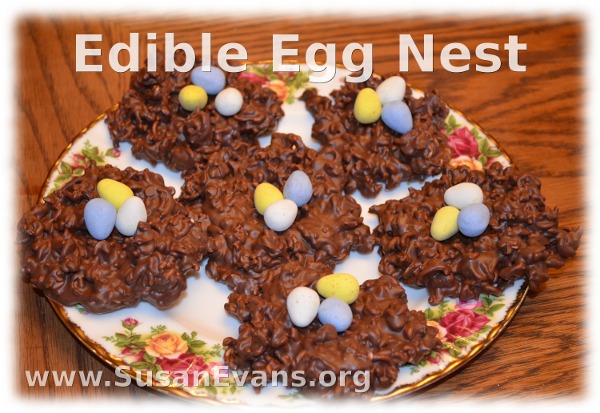
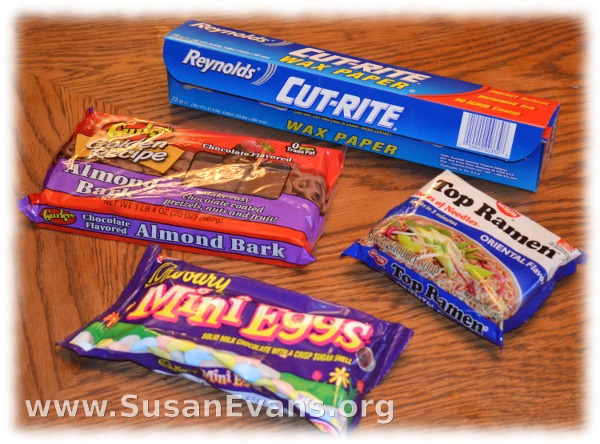
This edible egg nest is easy to make and looks so cute! It is made of dry oriental noodles mixed with chocolate almond bark. In order to make these nests with your children, you will need the following items:

  • chocolate almond bark (1 package)
  • cheap oriental noodles (2 packages)
  • Cadbury’s Chocolate Mini Eggs (or Easter M&M’s or jellybeans)
  • wax paper

edible-egg-nest-2

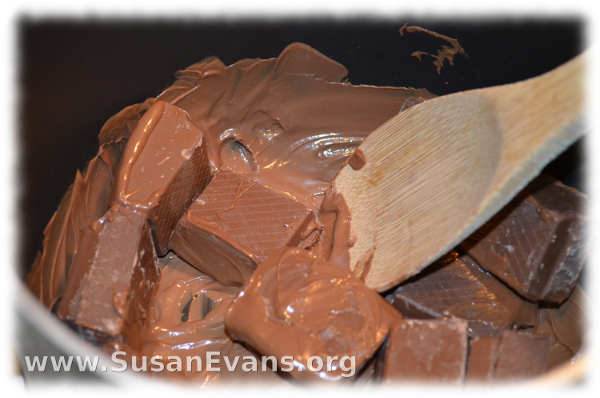
Melt the chocolate almond bark in a saucepan on medium heat. It will take less than 5 minutes, so keep stirring the whole time so that the chocolate doesn’t burn.

edible-egg-nest-3

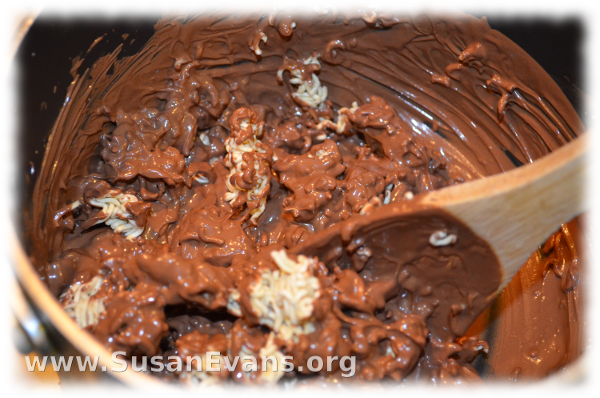
When the chocolate is liquefied, break up the dry oriental noodles and drop them into the pot. Stir until the chocolate completely covers the noodles, giving the mixture a nest-like texture.

edible-Easter-nest-2

Now spoon blobs of this yummy chocolate nest material onto a cookie sheet lined with wax paper. Indent the middle of the nests before you put them in the refrigerator to harden fully.

edible-Easter-nest

Allow to harden for a few minutes in the refrigerator before adding the yummy chocolate candy eggs to the nest. Then delight your children by allowing them to eat the delicious edible egg nest!