Posts Tagged ‘spring’

Creative Ways to Use Cookie Cutters #15: Soap Shapes

Wednesday, May 8th, 2013

soap-shapes

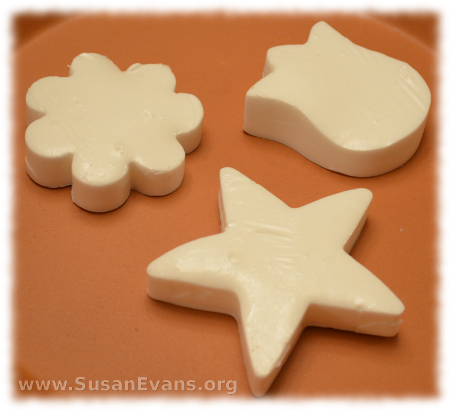
In our blog series “Creative Ways to Use Cookie Cutters,” Idea #15 is to make soap shapes. Go to the local craft supply store and buy a block of soap. These are refills and are not as expensive as a soap-making kit. You don’t need the soap-making kit because I will show you how to make shapes out of soap using cookie cutters.

soap-shapes-2

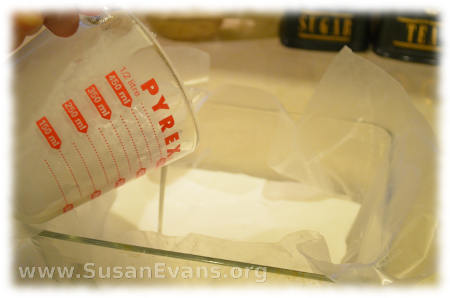
Grab a glass dish, and line it with wax paper. Using a large butcher knife, chop off some pieces from the large block of soap. Put them in a Pyrex measuring cup. Place the measuring cup in the microwave, and zap it for 20 seconds. Then zap it for 10-second intervals until it is fully melted. If you want to add fragrance, color, or decorations, you can add those and stir them in. Pour the liquid soap into the wax-paper-lined dish. Wait for at least an hour or two for the soap to solidify at room temperature.

soap-shapes-3

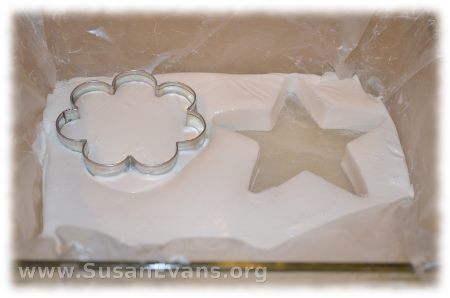
Now grab your cookie cutter and shove it down into the soap. Pull it out. You will have a cookie cutter with the soap in it. Gently push it out, and your gorgeous soap is finished. You can give these soaps away as gifts.
Creative Ways to Use Cookie Cutters #14: Scrapbooking

Tuesday, May 7th, 2013

scrapbooking

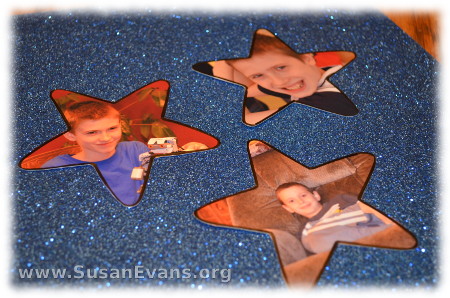
What are some other creative ways to use cookie cutters? How about scrapbooking? When you need a specific shape for your pictures, you can slap down the picture, grab a cookie cutter of the desired shape, and trace around the cookie cutter. Cut out the picture, and stick it to the scrapbooking page with double-sided acid-free tape.

I traced around the cookie cutter with an acid-free marker so that each star was outlined with black before even attaching it to the page.

“But, Susan, I don’t scrapbook, so what’s the use for me to know this?” Well, I’m glad you asked, because there are many variations on this scrapbooking theme. First of all, you could do a photo collage on one piece of scrapbooking paper and frame it as a gift.

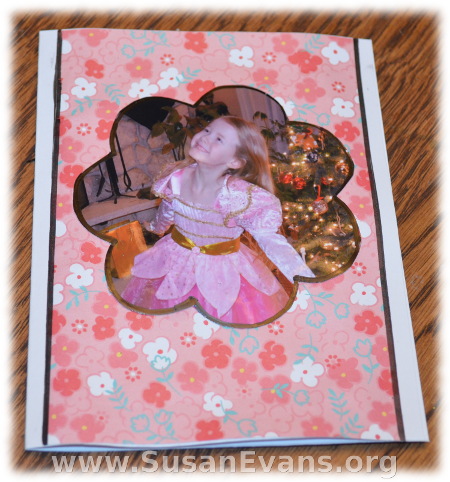
Another idea is to make a card. Outline the shape of a cookie cutter on a photo, and glue it to some card stock paper folded in half, and you’ve made yourself a greeting card. Take a look at the simple birthday invitations I made for my daughter’s upcoming “Secret Garden” birthday. All I did was glue some pretty flower paper to the front of the card, and I outlined down the sides with black marker. Super easy and beautiful!

scrapbooking-card


Creative Ways to Use Cookie Cutters #10: Jello Shapes

Wednesday, May 1st, 2013

jello-shapes

Strangely, when you are looking for creative ways to use cookie cutters, you think of things you wouldn’t normally think of. It is a mental exercise, and it helps to ward off dementia and Alzheimer’s, later on in life when you become an old geezer. And speaking of geezers, today’s cookie cutter idea is jello shapes. Jello jiggles and makes everyone happy, from toddlers to the elderly, even if they are wearing dentures.

Make jello according to the box directions. This usually is one cup of hot water, then stir. Then one cup of cold water, then stir. Jello is not that hard to make. Throw in one or two packets of Knox powder, to make the jello stiff. You also want to choose a pyrex dish that will give you the desired thickness for your jello–a larger pan for thinner pieces, and a smaller pan for thicker pieces.

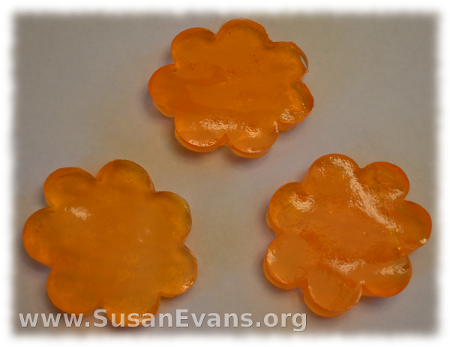
Make the jello several hours before you intend to cut it. Then take it out of the refrigerator once it’s hardened, and press your cookie cutter into the jello. Pick up the shapes and place them on a plate. Walk into a room with people in it, and serve your fancy jello shapes to them. Watch their eyes light up.


Creative Ways to Use Cookie Cutters #9: Quesadillas

Tuesday, April 30th, 2013

quesadillas

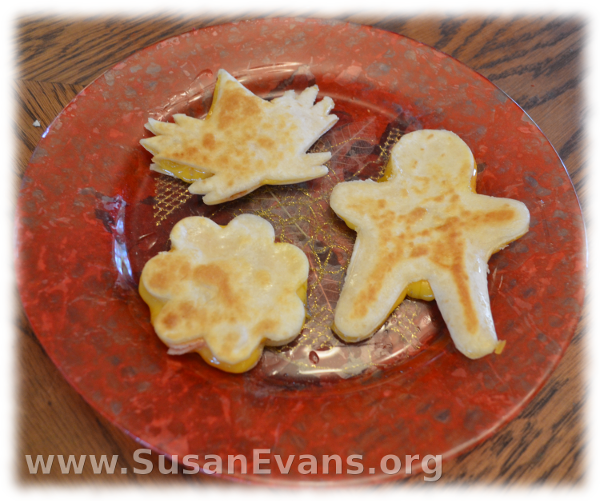
Wouldn’t you love to delight your children with delicious quesadillas shaped by cookie cutters? Yes. Your children will smile when you pile these onto a plate. You might even be able to sneak in tiny amounts of vegetables without them noticing, because they are so everjoyed by the happy-looking lunch in front of them.

You will obviously need flour tortillas and cheddar cheese. You can experiment with different kinds of cheese. Throw small bits of ham into the quesadilla, and maybe tiny bits of tomato, green or red bell pepper, or scallions. Mushrooms are delicious as well.

Make the quesadillas first, before shaping them with the cookie cutter. You can do this in the microwave or in the skillet. It tastes way better when fried in a skillet with olive oil. Set a flour tortilla on a plate. Grate the cheese and throw in whatever else you want on top of the tortilla, making the filling evenly spread. Top with another tortilla. Place the uncooked quesadilla into the frying pan and fry both sides. When golden brown, place on a cutting board and cut out shapes with your cookie cutter.

If you’re a tired mom and you just want to make the quesadilla in the microwave, you can do that. I’ve got to say it’s easier to cut with cookie cutters because the quesadilla is softer. Use the kitchen scissors to make your edges sharper if the edges aren’t clear. Also, if you cut around the cookie cutter with a knife, the process is easier.

Now serve these delicious quesadillas with salsa or Ranch dressing for dipping. Enjoy!